Are you thinking of turning your top-performing blogs into videos? If yes, we can help you turn a blog post into a video both with and without using AI tools.
Blogging is a great marketing strategy, but it is becoming more challenging with time.
It is reported that 52% of bloggers say that it is getting harder to engage readers with their content. So, there is a need to make something more engaging than the blog, and creating a video out of the blog is the perfect way to do so.
In this article, we have gathered two different ways to turn blog posts into engaging videos. Let’s dive in to learn more.
How to Turn Blogs into Videos
Now let’s get started on how you can turn your blogs into videos with and without AI tools.
Method 1 – Using AI Tools
To convert your blogs into videos, you first need to decide which AI tool you are going to use. We recommend using Invideo AI or Fliki AI. Both offer out-of-the-box features to turn your blog into a video.
Let’s see how you can do that with Invideo AI and Fliki AI, one by one.
Turn Blogs Into Videos Using Invideo AI
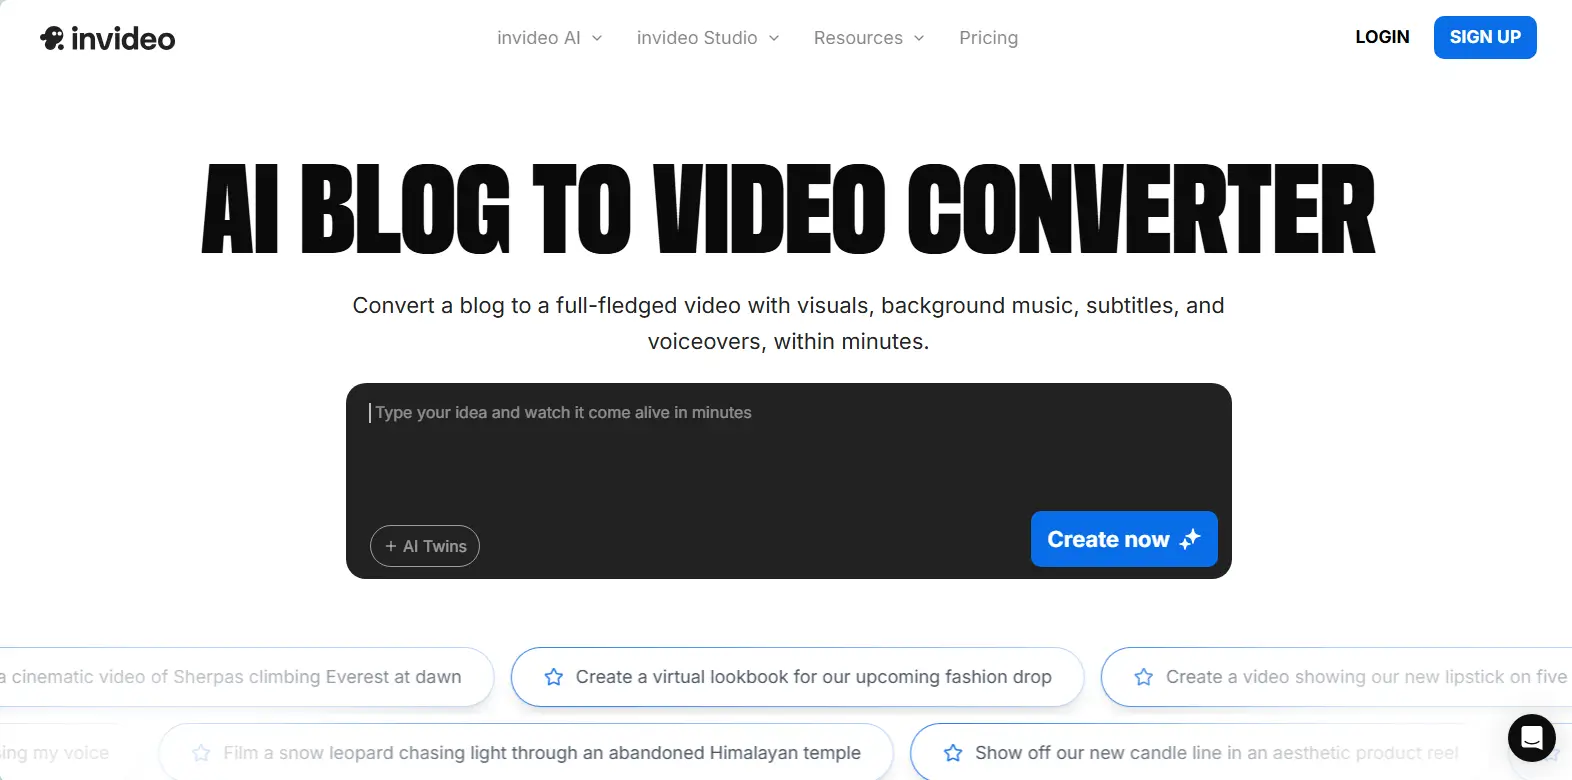
Invideo AI is a powerful AI video generator that can turn any text into a high-quality video with realistic AI voices in just a few minutes.
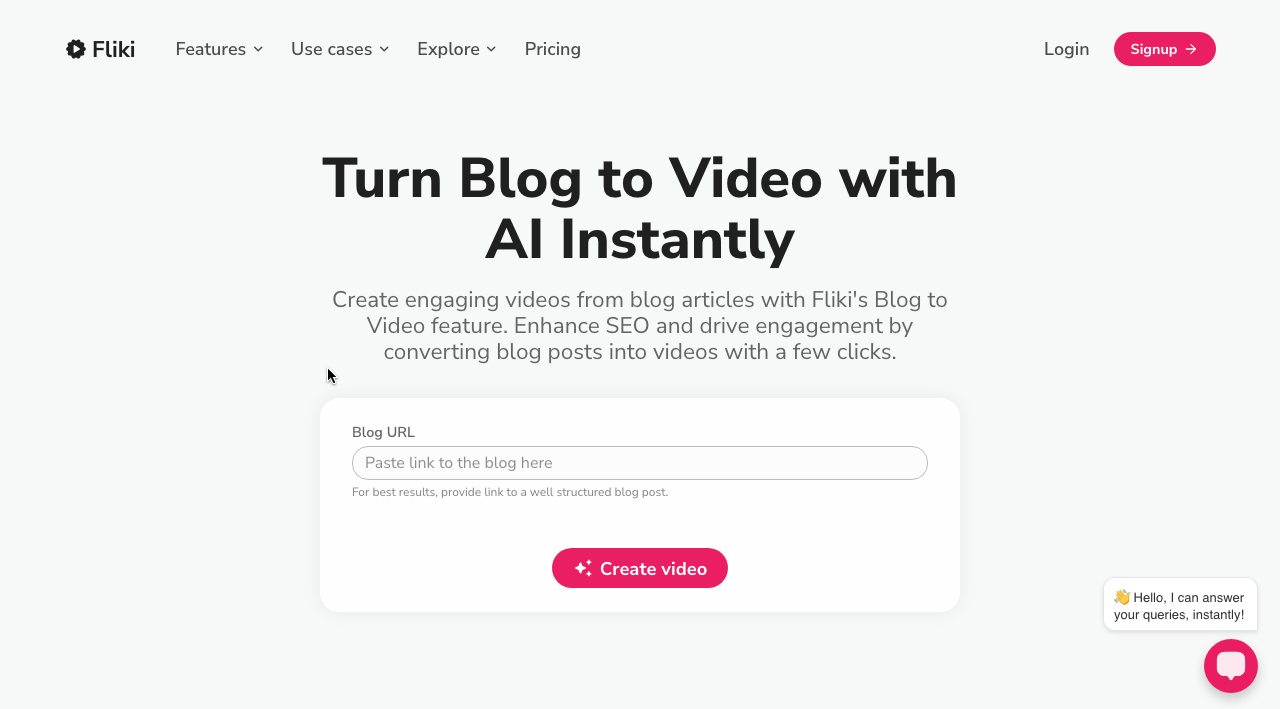
If you’re looking to quickly convert blog posts into engaging videos, the Blog to Video tool by Invideo AI is the perfect solution. This tool helps businesses and creators repurpose written content into visually captivating videos in no time.
You can do the same with your blog posts as well. All you need to do is just enter the URL of your post, and the rest will be taken care of by the Invideo AI generator.
Follow the steps below to learn how to turn blogs into engaging videos.
Step 1: Creating a Video from a Blog With Invideo AI
First, open your Invideo AI account.
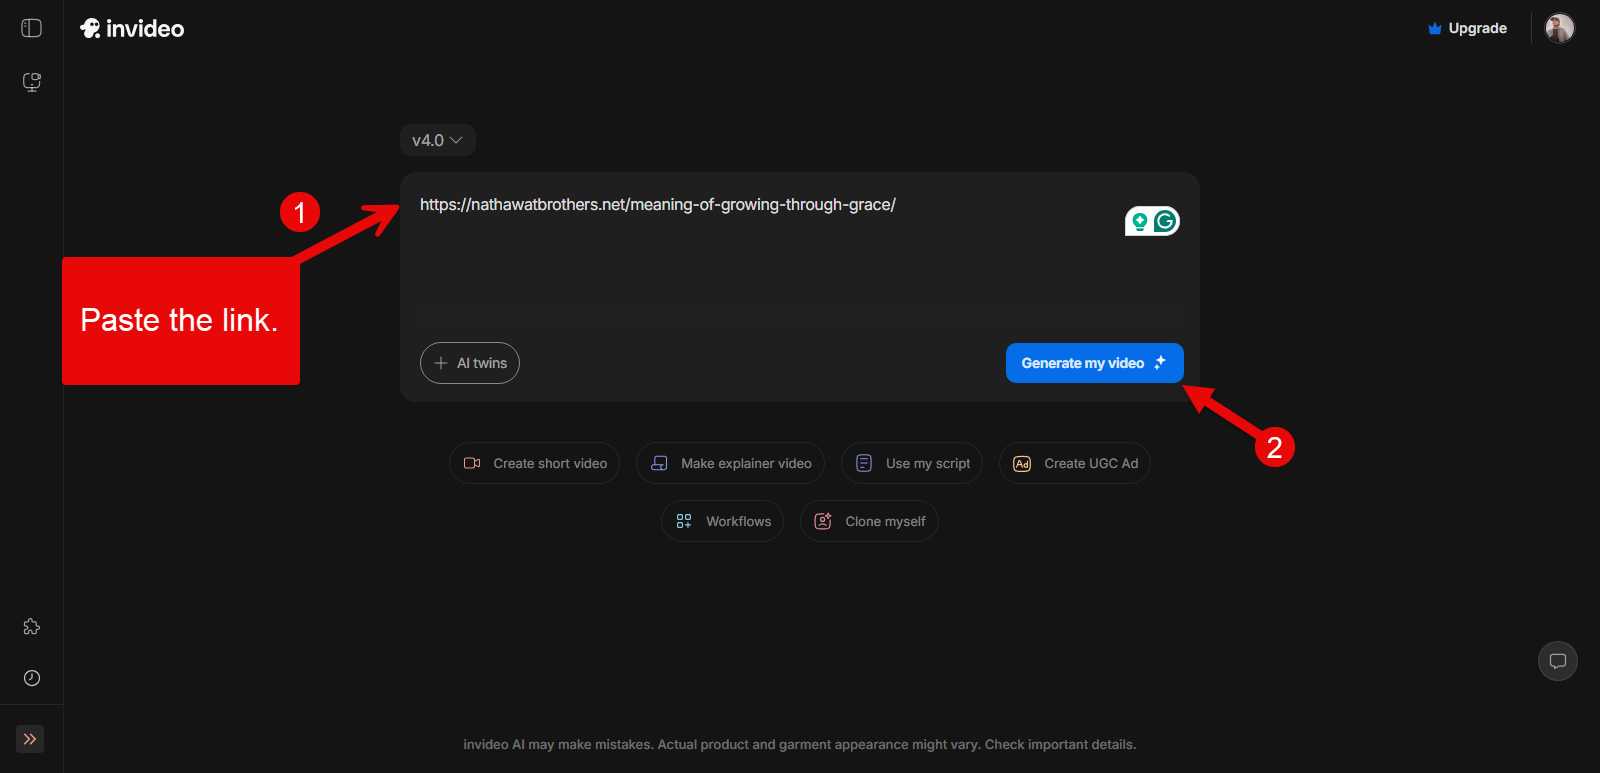
Then paste the link directly into the prompt field to generate the video. Once added the link, simply click on the Generate my video button.
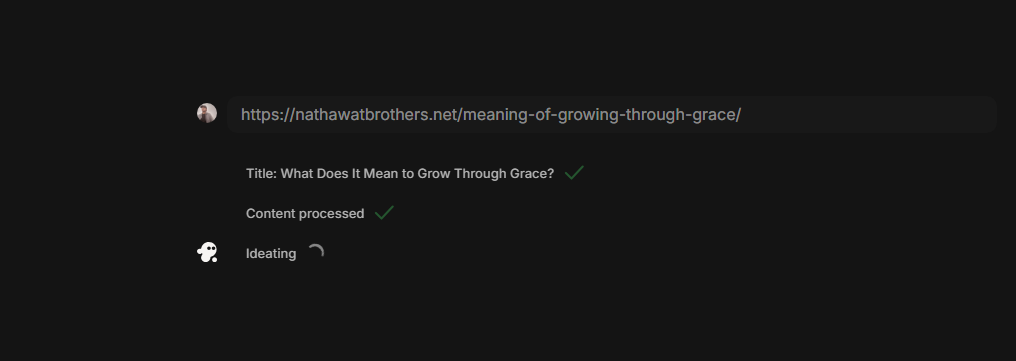
It will take a while to process the link you have added. After processing the Title and Content, it will present you with the video creation options, just like the following:
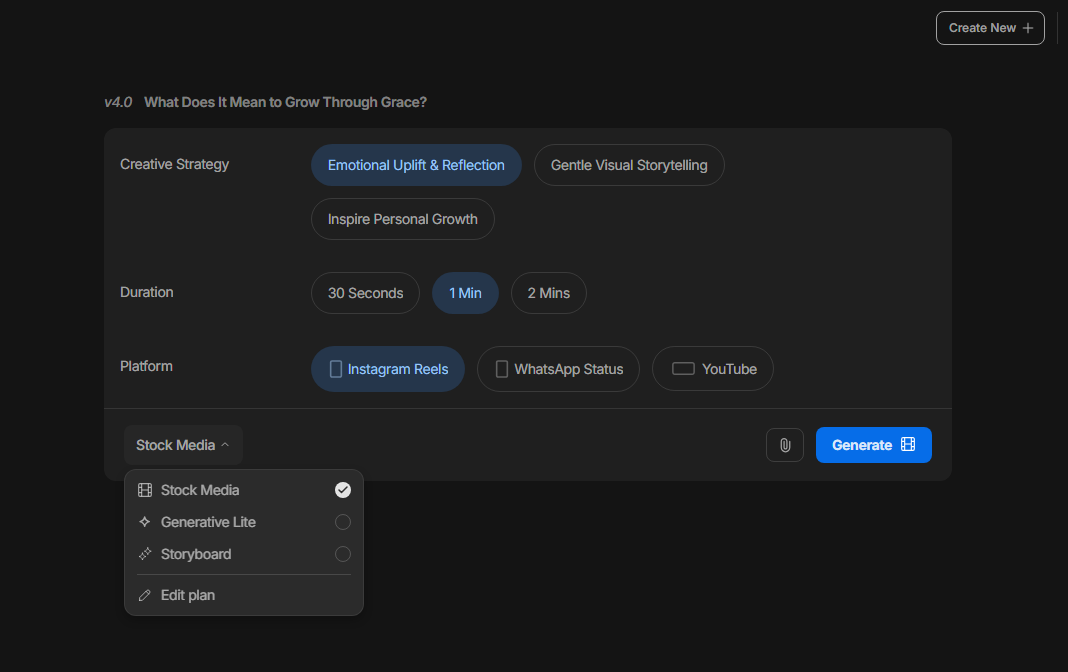
You get:
- Video creative strategies options
- Duration: 30 Seconds, 1 Min, 2 Mins
- Platform: Instagram Reels, WhatsApp Status, YouTube
It also allows you to choose the media of the video, whether Stock, Generative Live, Storyboard, or the Edit Plan. You can also upload the files if you want the video to be personalized.
Once done with the configurations, click Generate.
Step 2: Download the Video Generated by Invideo AI
As you click the Generate button, the Invideo AI video generator will again take a few minutes to finally generate the video.
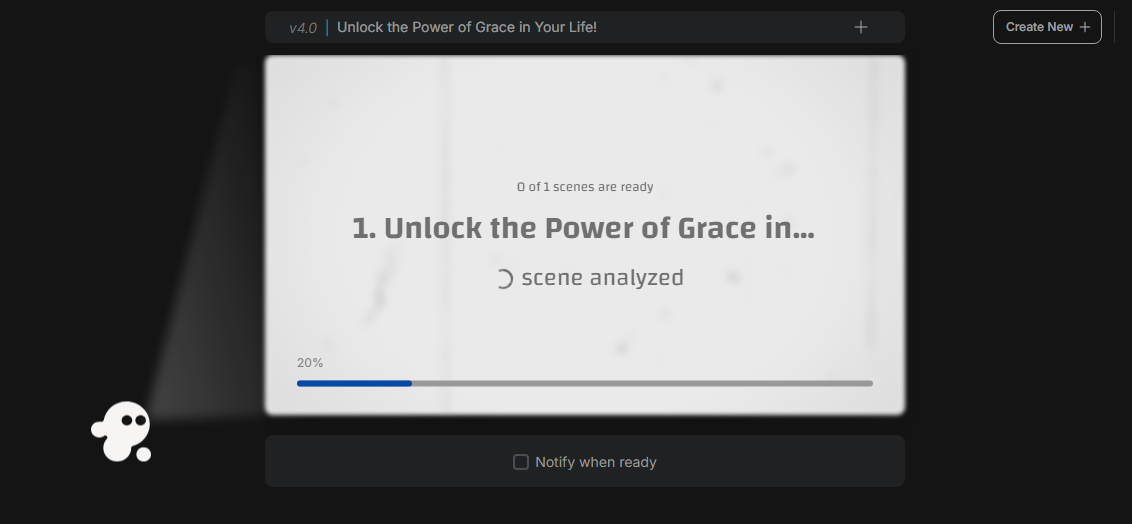
If your blog has multiple scenes, you can check the Notify when ready option and get notified once your video has been generated. However, in most cases, it doesn’t take much time for Invideo to generate the video.
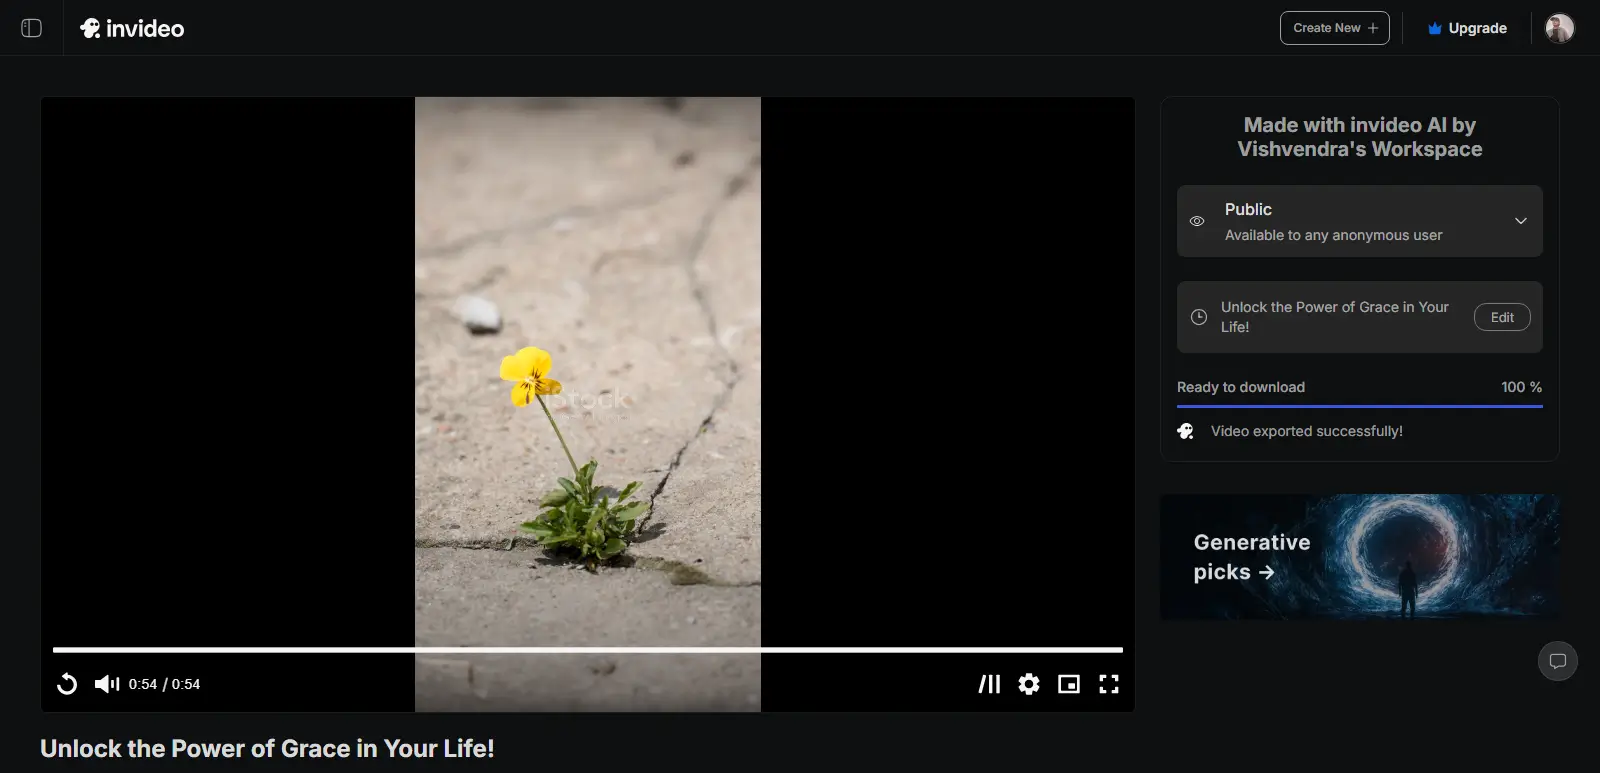
Once the video is generated using your blog, it will be presented to you as follows.
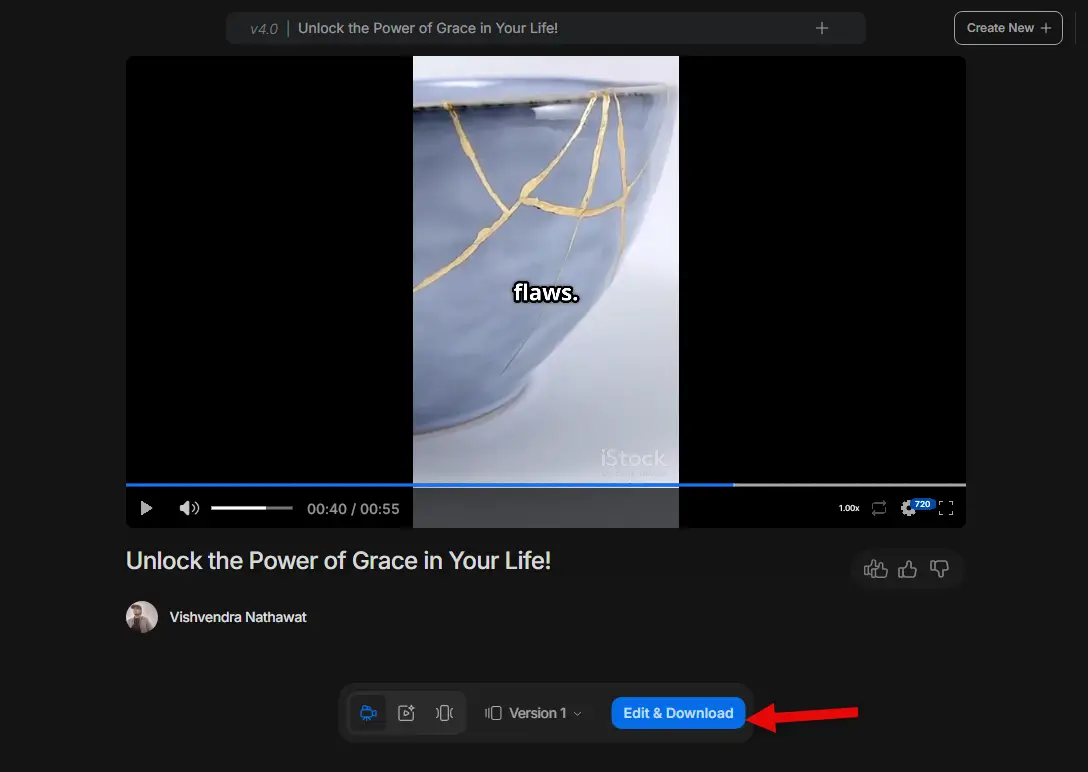
Here, you can preview the video in different dimensions such as 720p and 1080p. You can also choose to view the video in the Magic box or Gallery mode.
To download it, click Edit & Download.
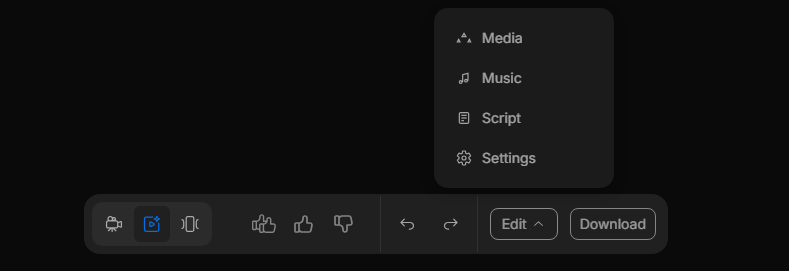
The edit options let you make changes to the Media, Music, and Script.
After making the appropriate changes, simply click the Download button. It will further provide you with the download options. Select the ones that fit best to your requirement and click Continue.
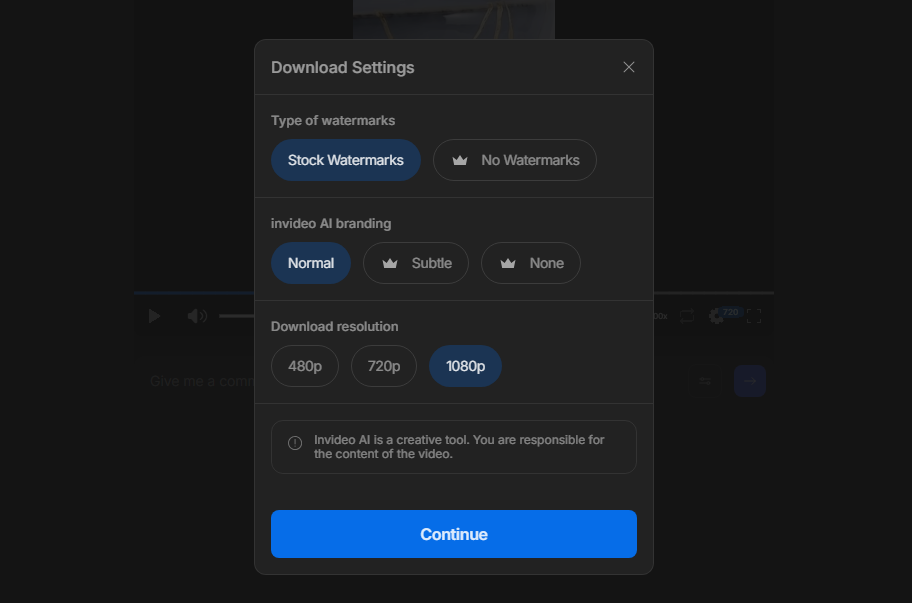
This will take a few more moments to render the video, and once it’s complete, you can download it.
That’s it, you have successfully turned your blog post into a video.
Turn Blogs Into Videos Using Fliki AI to
Fliki AI is an incredible AI-powered media creation suite that helps to create high-quality audio and video content.
It uses innovative generative AI techniques to transform plain text into engaging voiceovers and videos in minutes. The same can be used to turn blog posts into engaging videos.
It is super easy to create stunning videos from text with Fliki’s text-to-video generator. You just need to enter the blog URL, and it will transform it into an engaging video. It also includes editing tools to customize your video however you want.
Moreover, Fliki provides AI voiceover in more than 75 languages, allowing you to give your videos a personal touch and make them shareable with a wider audience.
Fliki’s user-friendly interface and media assets help increase your video’s visual appeal efficiently.
Let’s guide you step by step on how to turn a blog post into a video using Fliki AI video generator.
Step 1: Create a Video File from the Blog URL
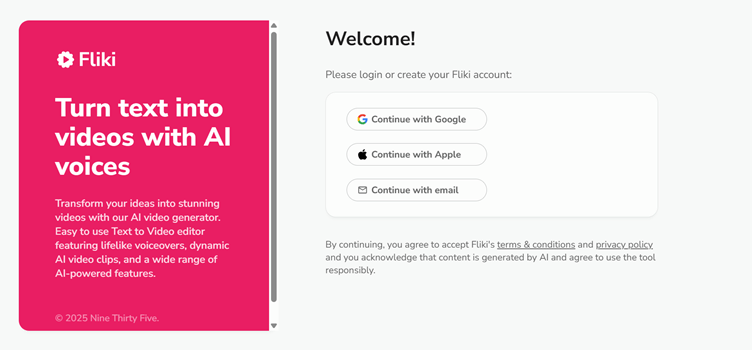
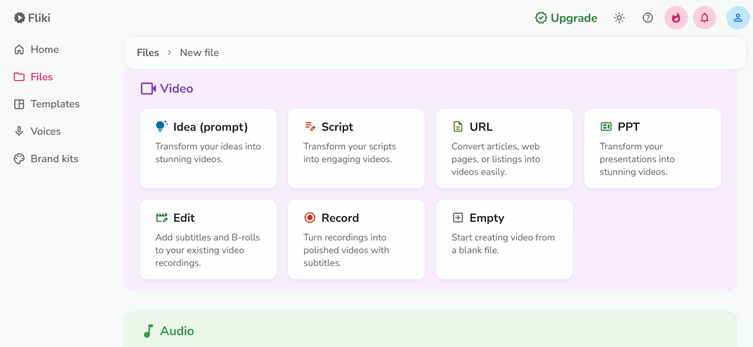
Go and sign up for Fliki AI to get started. Once you have signed in, you need to create a new file from the top menu.
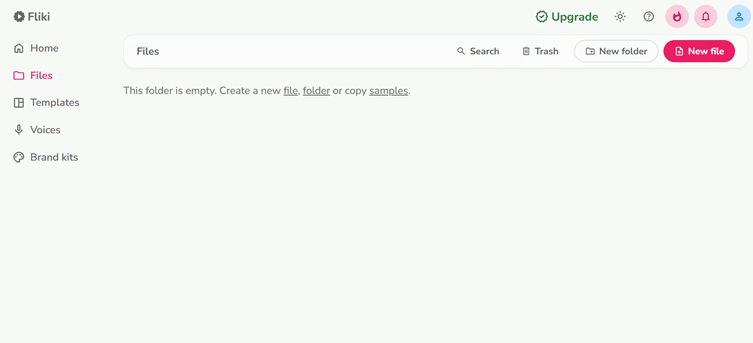
Then you will be asked to select how you want to create your video. Since we want to turn our blog into a video, you should select the URL option.
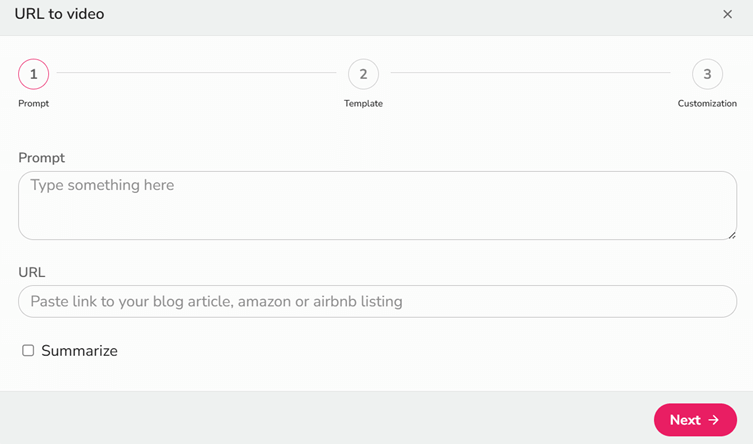
After that, add a short prompt ( usually the title of your blog) into the Prompt section and paste the URL of your blog. Don’t forget to tick the “Summarize” checkbox to summarize your blog, then hit the “Next” button.
Next, you will be asked to set the duration of your video using a duration slider.
After that, you need to select the media assets you want to include in your video, such as Stock media videos, AI media, AI Avatar, Sound effects, Headings, and Stickers. Once you have included all the necessary media in your video, click on the Submit button.
Step 2: Templates in Fliki
In case you feel like creating a video from scratch is taking up your time, or it doesn’t interest you, Fliki offers a wide variety of ready-made templates for your videos. These templates come with diverse customization options, advanced layering, animations, time control, and much more to help you create impressive videos.

You can also set your brand’s logo, color, theme, and font that reflect your business easily here.
Step 3: Editing Your Video
Once you have created your video file, either manually or using the template, you should edit it.
You can add voices (from 2000+ voices in 80+ languages), change the background audio by selecting audio from the background audio library, add layers (containing elements like Avatars, Picture-in-Picture, etc), and customize other elements.
Step 4: Preview and Download Your Video
When you are satisfied with the editing and formatting of the new video, preview it carefully. Adjust anything that feels out of place, then download your video.
Fliki offers several options for exporting your video, including resolution (1080p, 720p, or 360p) and format (MP4 or MOV).
That’s all. Congratulations, you have successfully converted your blog into a Video.
Method 2 – Without Using AI Tools
Although there are many AI tools that can convert text or audio into video, they sometimes lack the human touch.
So, if you have creative skills and know about video editing and formatting, you can do this task manually without buying these AI tools subscriptions. This manual approach will help you save money and give you more space to add a personal touch.
To manually create a video out of the blog, you need the script, your voice-over, and stock videos:
Step 01: Create the Script
The very first thing you are going to do is create the script from your blog. You are not going to simply add every word of the blog, but summarize the content. Make it conversational by adding a different intro and CTAs.
Step 02: Find Stoic Media
The next step is to look for stock media videos. You can get free stock videos and images from websites like Pixabay, Pexels, Unsplash, etc.
Step 03: Create Slides
Then, create the slides using any video editing software, or use Canva or PowerPoint to create engaging slides with stock images and videos, following your script.
Step 04: Add Voice Over
Once your slides are ready, you need a voice-over for them.
For that, use a high-quality microphone and record your voice. After recording, edit your audio to remove any noise or disturbances using online audio editing tools like Audacity.
Step 05: Edit the Video
The most crucial step is video editing, which you can use professional video editing tools like Adobe Premiere Pro, DaVinci Resolve, etc.
Import your media slide file and your audio file into the video editing software. Then sync the voiceover to all the slides and add other media assets, such as animations, transitions, layers, and background music.
Step 06: Preview and Upload the Video
Upon editing, preview your video to look for any improvements. If you feel everything is up to mark, export and download the video in MP4 or MOV format.
Benefits of Turning Blogs Into Videos
Before diving into how you can turn your blogs into videos, you should first know why you really should be doing this. Repurposing your content seems easy, but obviously, it will require your time and energy.
Here are some reasons and benefits that prove turning blogs into videos is worth trying:
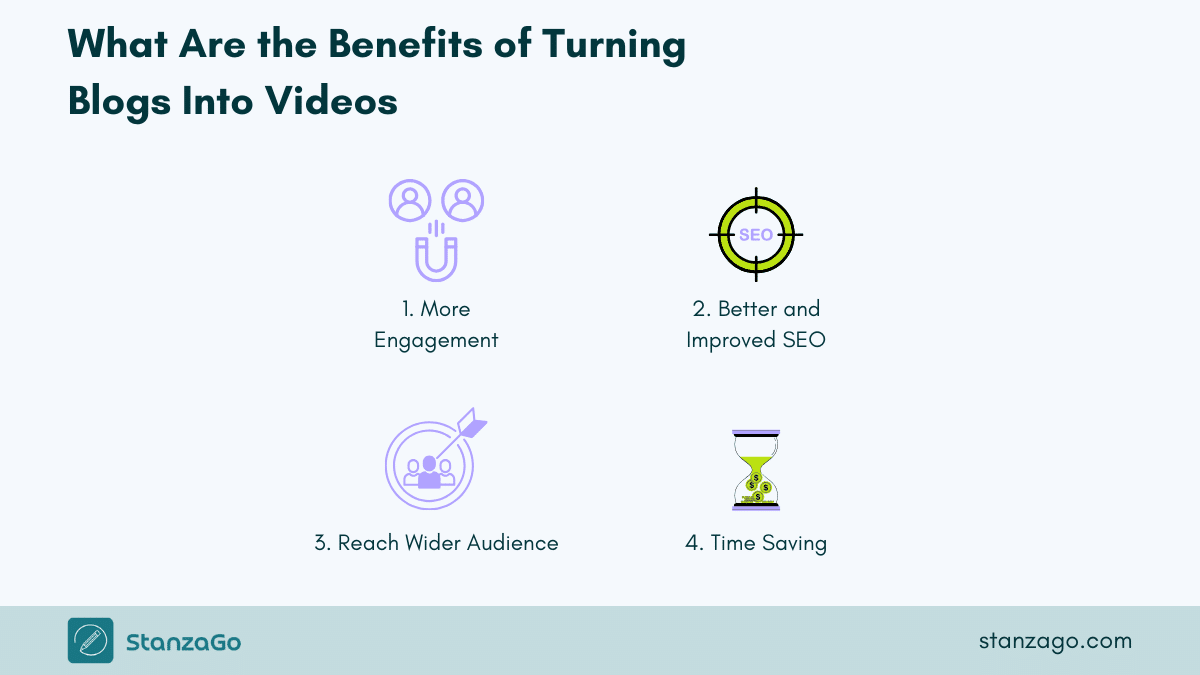
1. More Engagement
Video content is booming these days; it is not only visually appealing but also time-saving. The videos that you generate from your blogs engage the user’s eyes in a way that your text can’t do.
Reading an article requires more cognitive effort than watching videos. While reading an article, your brain plays images and videos of the text in your head, which can trigger additional cognitive strain.

But when you play videos, it’s not the case; watching videos engages different parts of the brain and isn’t stressful.
Moreover, video content is a more engaging way to consume content, and your users will be more likely to remember it than text. If your video content is fresh and unique, they will also share it, which means more backlinks and more engagement.
2. Better SAccording to
According to a survey, 90% of marketers believe video content increases their ROI (Return On Investment).
Creating video content is one of the best ways to improve your website’s SEO. As discussed above, video content on your website keeps visitors on your site longer and reduces bounce rate compared to non-visual blogs.

Research shows that the bounce rate for video content is 34% lower than for other website content areas. Your website needs to follow SEO best practices to improve its rankings with Google’s algorithm.
Google’s algorithms are constantly evolving, and the SEO community believes Google cares about video content. You can clearly see this thing in Google’s search results. When you type any query, you will see that Google displays video carousels as a short-form of videos in the results.
To improve your website’s SEO and visibility, turn your well-performing blog posts into interactive videos.
3. Reach the Wider Audience
Different people like different kinds of content; some prefer reading, while others prefer watching videos. Research suggests that people retain 95% of the content when they watch it in video form, compared to 10% when they read it in text form.
Upon turning your blogs into videos, you are creating a whole new marketing asset.

You can post this video content as an individual YouTube video. Also, adding this YouTube thumbnail to your website will increase your visibility in SERPs.
Moreover, the video content is easily shareable across different social media platforms. Not only that, but you can also post the short parts of your video content to these platforms. This will expose your content and website to a broader audience in multiple forms.
Other than this, if you include subtitles in your video, it even reaches an audience demographically different from you.
4. Time Saving
Making a video out of a blog is not a very heinous job; all you need is a reliable AI tool that will convert your blogs into videos within minutes. This is really fascinating; you do not need to edit it or format it.
This will definitely save a lot of your time, which you can utilize to work on other demanding tasks.
These videos not only save your time but also your readers’ time.
When you make well-made videos, they convey information in a more effective and quick way than text.
FAQs
1. What are the best AI tools for converting blog posts to videos?
In addition to Invideo AI and Fliki AI, the other best AI tools you can use to convert blogs to visuals are Pictory AI, DeepBrain AI, Sora AI, and Lumen5. All of these tools provide the best options to turn blogs into engaging videos in no time.
2. How do I turn a blog post into a video?
You can use the blog to video option in Fliki AI to create a video out of a blog post. Simply enter the video URL and it will generate a video based on the text in the blog.
3. What is the free AI video generator?
If you’re looking for a free AI video generator that can help you generate high-quality videos, you can try Fliki AI for sure. It has all the options you need to generate good AI videos.
Conclusion
Changing your top-performing blog posts into video content is an effective way to extend the life of your already-existing website content. Video content is more engaging and visually appealing compared to plain text.
Videos are not only good for the SEO of your website, but they also improve engagement, increase retention time, and have a wider audience reach. So, if you want to make the best use of your content, make videos out of your blog, and this article will help you create them easily.
Either use the AI tools or manually convert blog posts into videos; it is your choice.