Without visuals, a website won’t make an effect on the visitors as it should.
The more you prioritize text content, the more you should focus on adding images to the website across different areas. By doing so, you can capture visitors’ attention quickly and for long, which facilitates better user sessions.
Thus, improved rankings and a possible sales boost.
If you’re using WordPress and the Divi theme, then one of the best ways to add images is by creating a Divi image gallery with filters, pagination, lightbox, and more. In this tutorial, I’ll show you how you can do it by using the premium Divi Gallery Extended plugin.
Let’s dive directly into it.
Step by Step to Create an Image Gallery in Divi 5 With Filters and Pagination
Divi 5 is the new version of the Divi theme. It will be out soon with more features, a better framework, and unique options. Therefore, it’s essential that you learn how to use it to create an image gallery in Divi.
The following steps provide you with a clear approach on how to do it efficiently.
No complex processes or overwhelming instructions. Rather direct and goal oriented. Follow them one by one, and by the end of the last, you’ll have your beautiful Divi image gallery.
Step 1: Get the Divi Gallery Extended Plugin, Install, and Activate It
Because the Divi Gallery Extended plugin is a premium Divi plugin, you need to purchase it. It’s available at the official store of Divi Extended as an individual plugin as well as part of the Divi Extended membership.
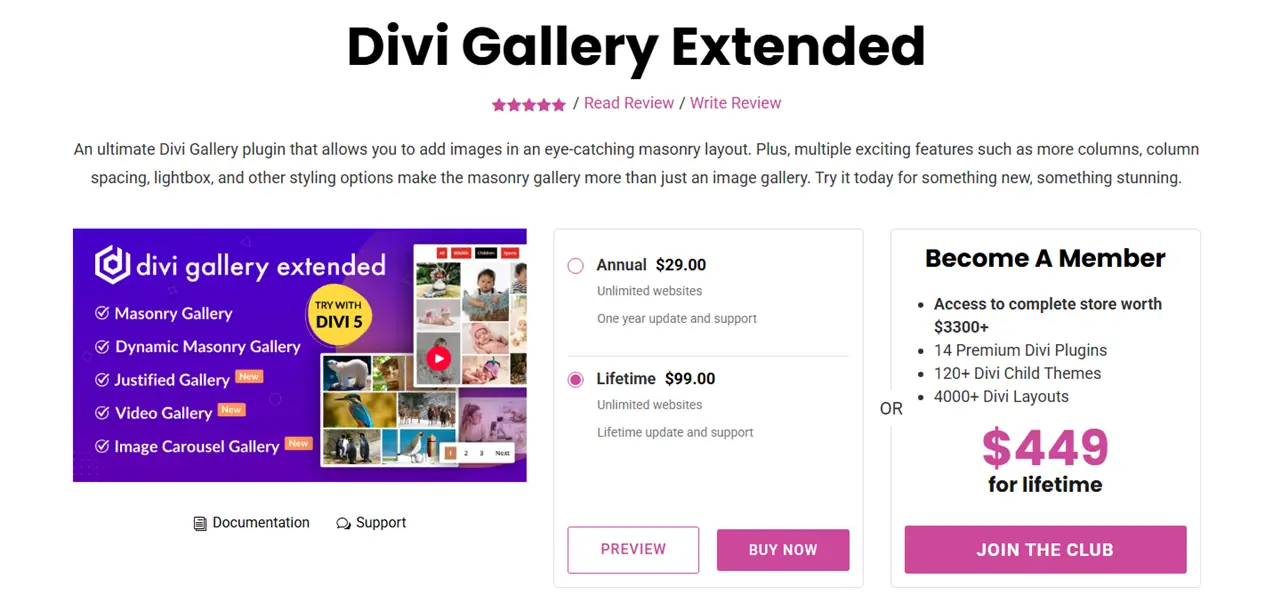
It’s up to you how you want to get it.
Once you’ve purchased it, either follow these instructions, or simply do the following:
- Unzip the downloaded file.
- Then open the folder, select all the files, and create a new archive (zip) file.
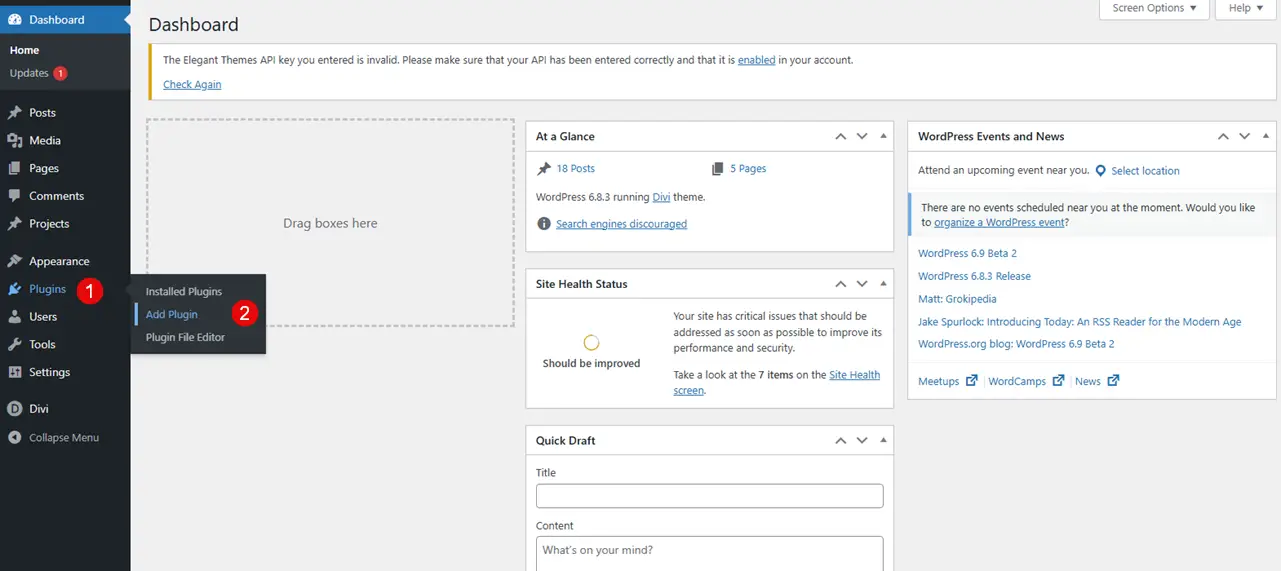
- After that, go to your WordPress website and click Add Plugin.
- There, click on the Upload Plugin option, then click Choose file, browse the folder where you have created the archive.
- Upload it, and click Install Now.
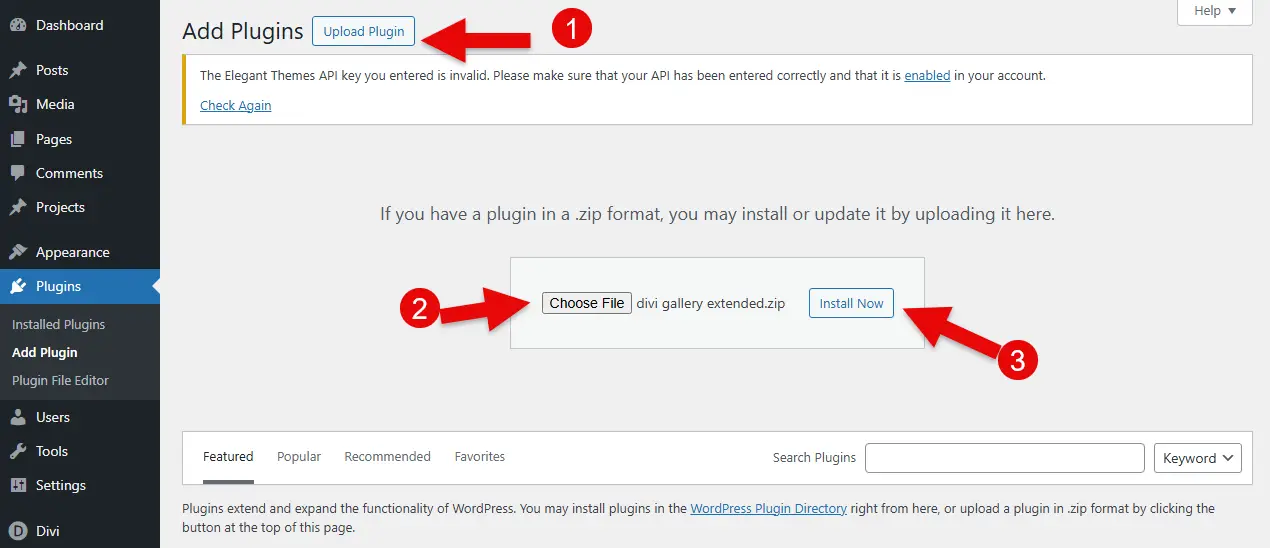
- After the installation, click Activate.
That’s it. You’ve successfully installed your Divi image gallery plugin, Divi Gallery Extended. Now, move to the next step.
Step 2: Add Images to the WordPress Media Library and Assign Categories
You’ve definitely got images already in the WordPress media library.
But if you’re thinking of showing the filter option on your image gallery, then in that case, add images with a category. Moreover, since the plugin supports displaying image titles and captions, you don’t want something generic to appear on the frontend.
So, it’s best if you improve that as well.
a. Create Image Categories
To create image categories for the filter:
Go to Media → Media Categories. (This is a custom post type made by the plugin we’ve installed.)
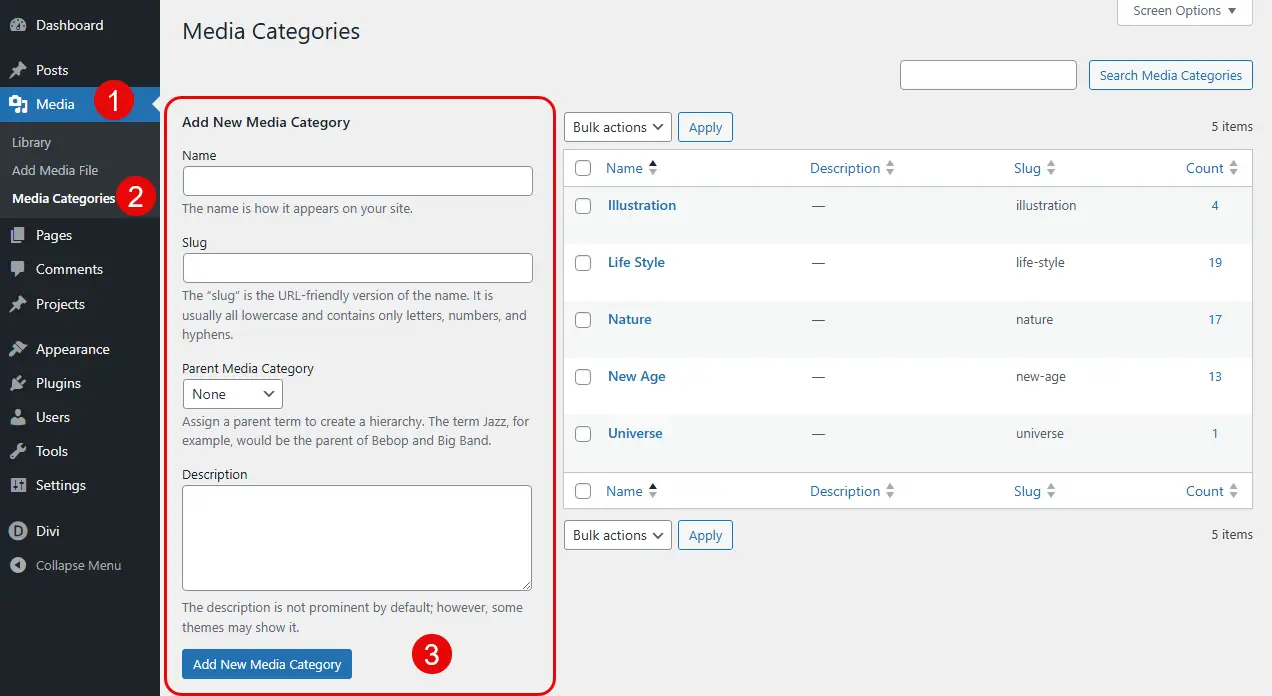
In the new window:
- Enter Image Category Name
- Slug
- Description
Once all the details are added, click Add New Media Category.
One by one, create all the image categories you need. Your image categories have been created.
It’s time for you to assign them to the images already in the WordPress Media Library.
b. Update Image Title and Caption, and Assign Categories
To update the images’ titles and captions and assign them categories, go to Media in your WordPress dashboard, then click Library.
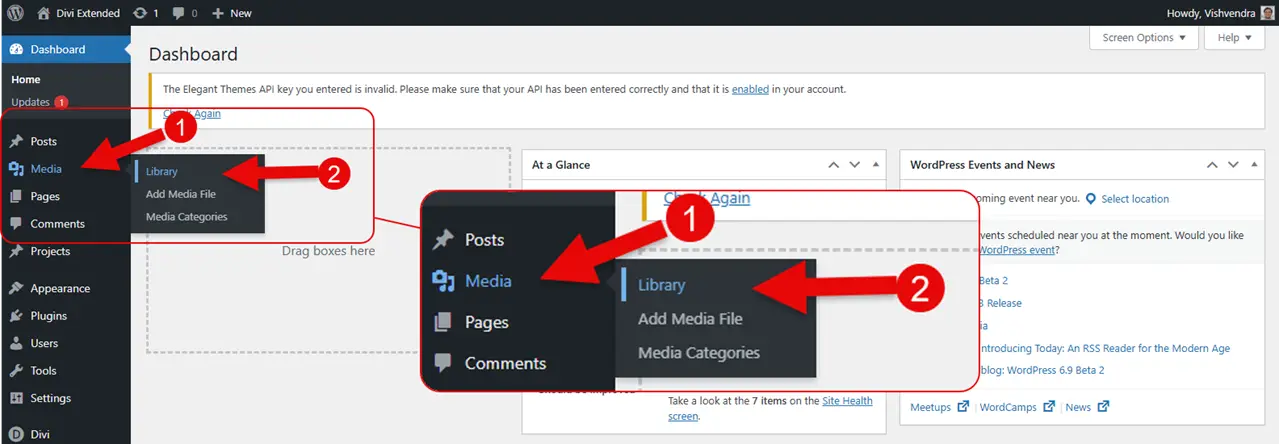
You’ll find all the images you’ve uploaded to the website.
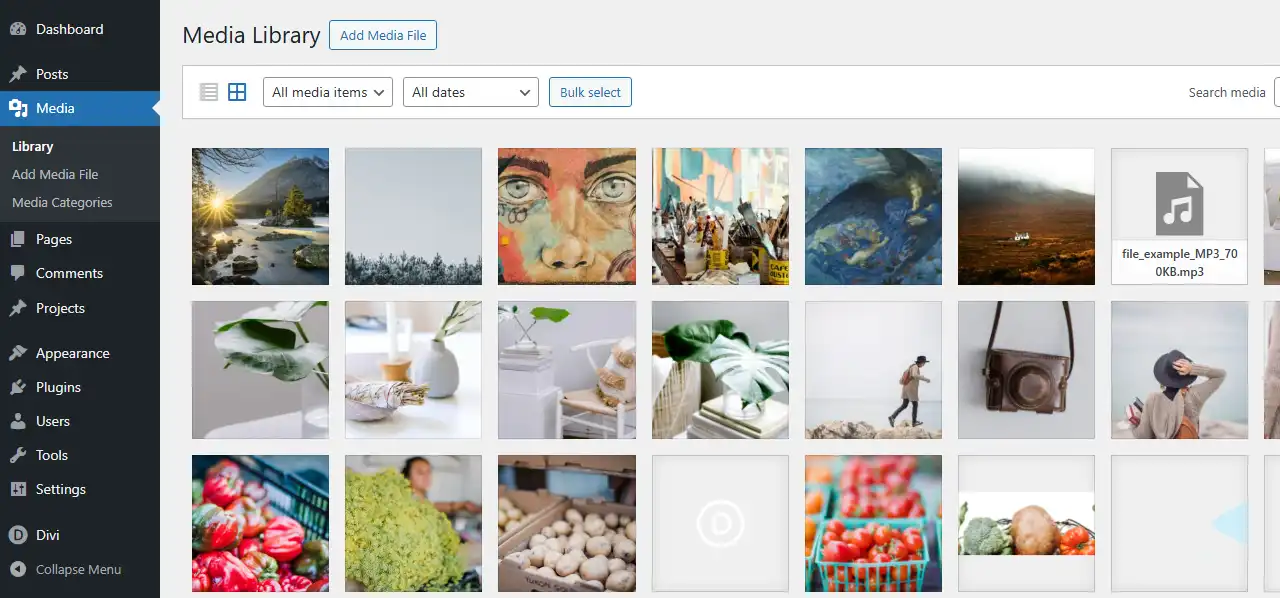
Select the images one by one that you need to display in the gallery and update their title and caption so nothing looks weird when you choose to display their information in the lightbox or directly in the gallery in the normal view.
After adding the titles and captions, click on the images one by one and scroll to the Attachment Category section.
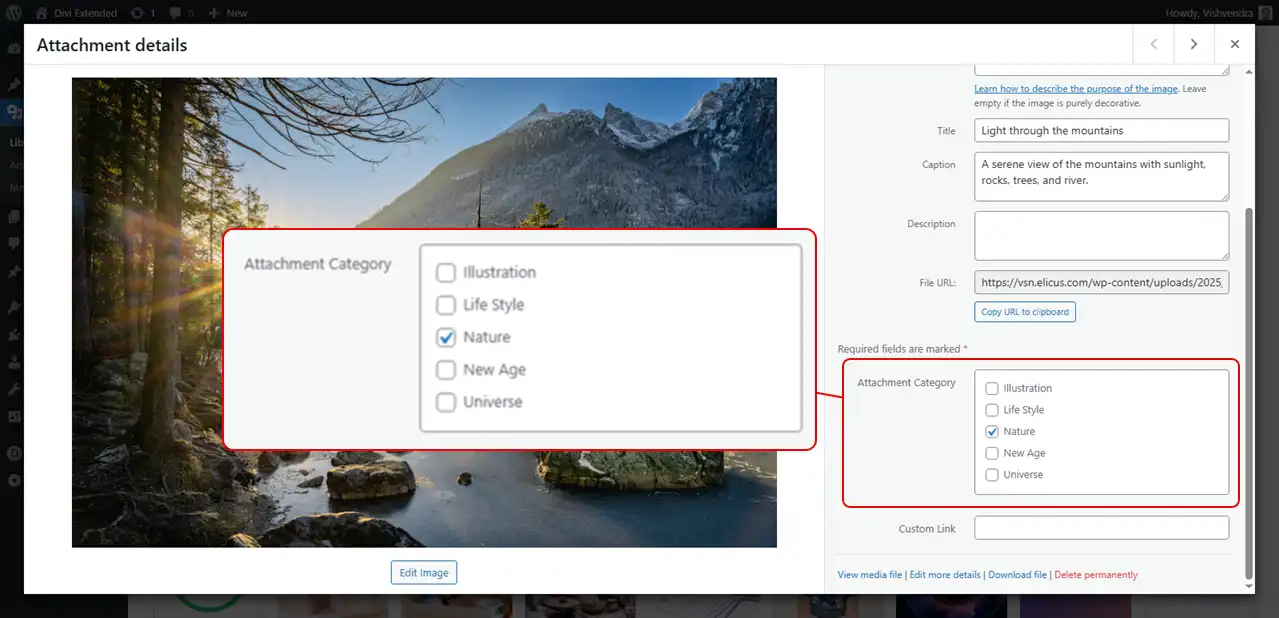
From the available categories, select those that apply the best to your image(s).
Once done, move on to the next step.
c. Add New Media (Images) Files
Need to create Divi image galleries with new images? Then upload them by following the steps below.
Go to Media → Add Media File and click Select Files.
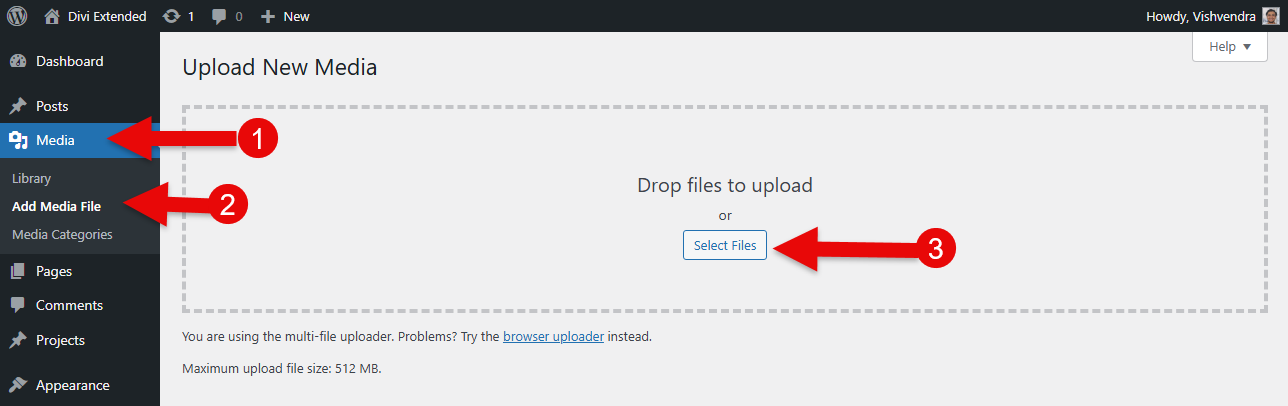
You can upload a single image or multiple.
Once they are uploaded, don’t forget to add their ALT text, Title, Caption, and Categories.
After you’re done with these, move to the next step where we finally create our Divi 5 image gallery with filters, pagination, and more.
Step 3: Create Your Divi 5 Image Gallery
This is where things get exciting for creating image galleries in Divi.
- We have a new Divi 5 builder
- A premium image gallery module
- Lots of images to create beautiful galleries
To start, open the page where you want to display your Divi image gallery. It could be any page, whether home, about us, portfolio, or contact us. The plugin supports every area of a Divi website.
So, when you create a new page or edit an existing one, choose Use Divi Builder.
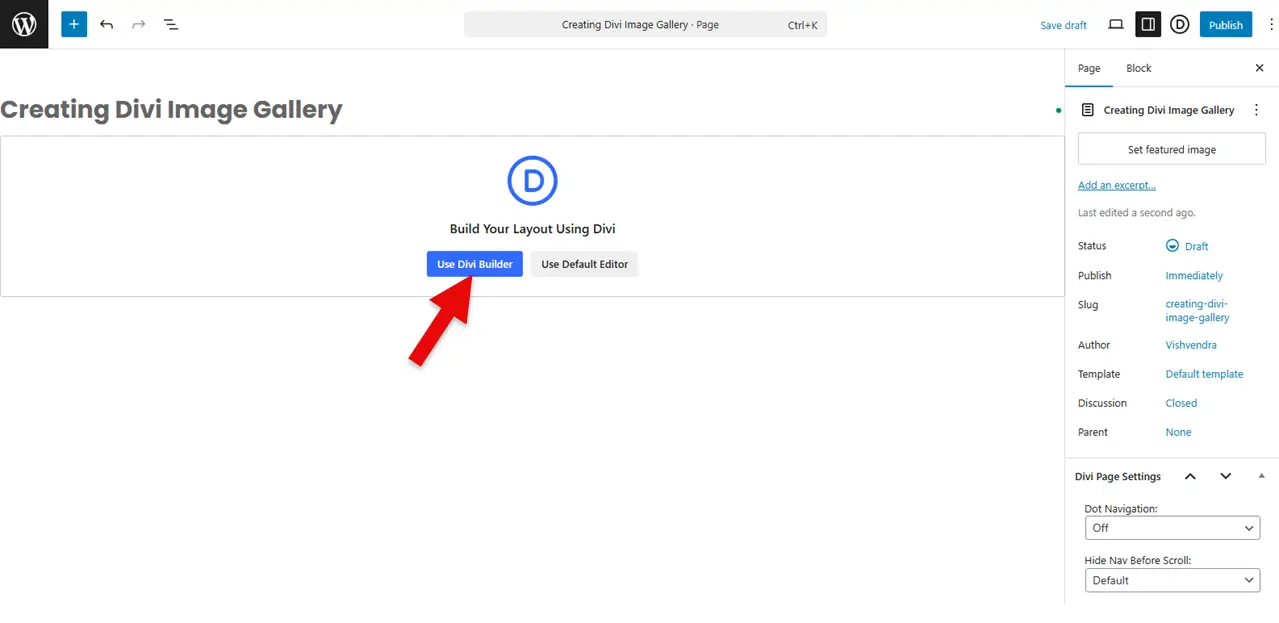
It will take a few moments to load the new Divi 5 builder, but once it opens, you’ll find it similar to the following:
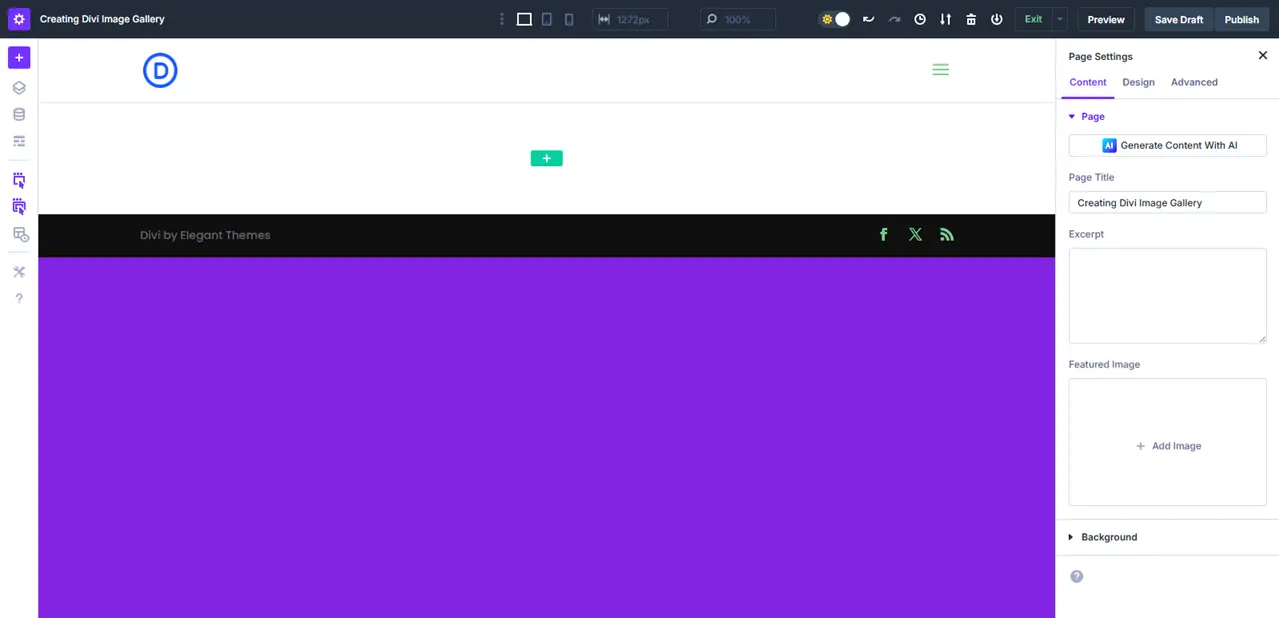
Now, you need to:
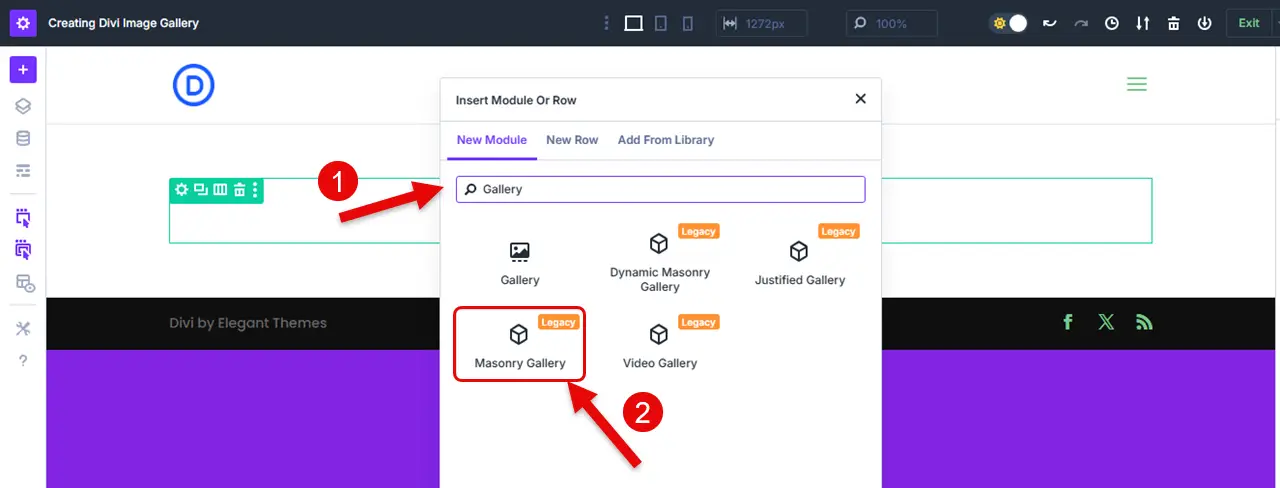
- First, insert columns if you’re creating the image gallery on a new page.
- Once the column is inserted, search for Gallery, and insert the Masonry Gallery module.
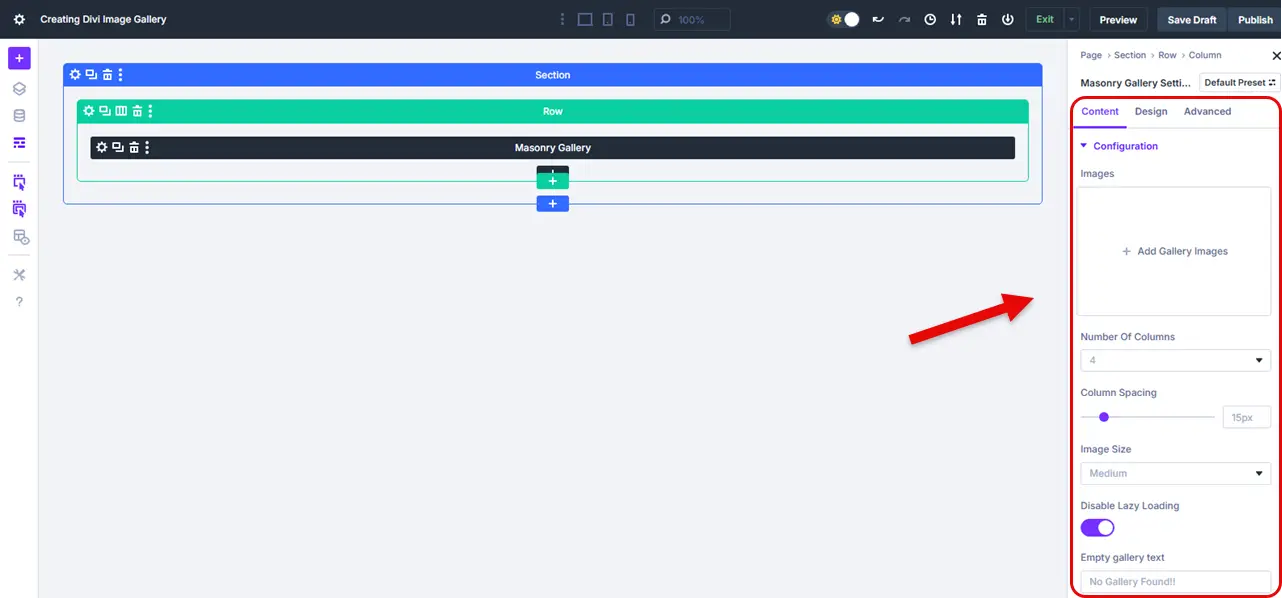
As the module is inserted on the page, you can access its options in the right sidebar. Previously, the Divi builder used to show the options in a floating pop-up like the following:
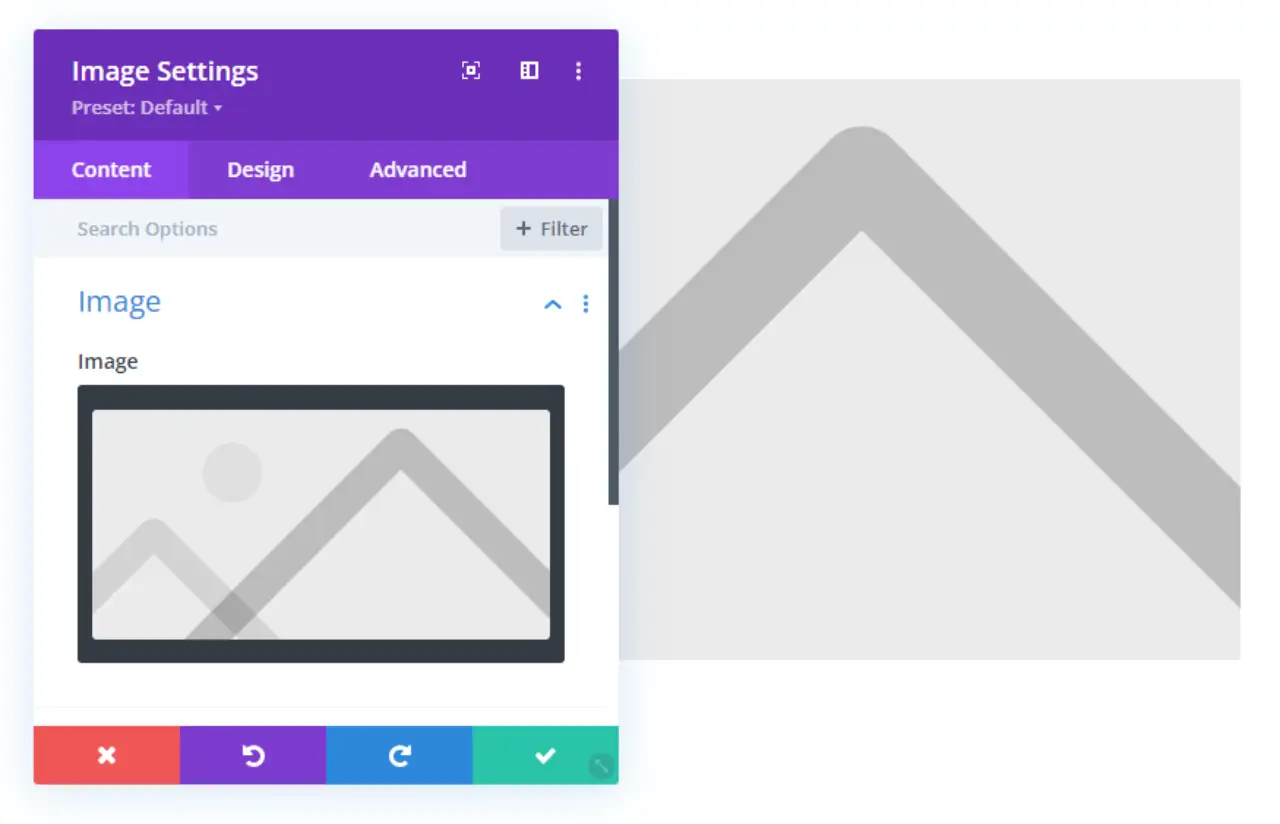
But now, you have everything in front of you; no need to follow a pop-up or dialog box.
Follow the steps below to utilize the module for creating beautiful image galleries with filters and other essential elements.
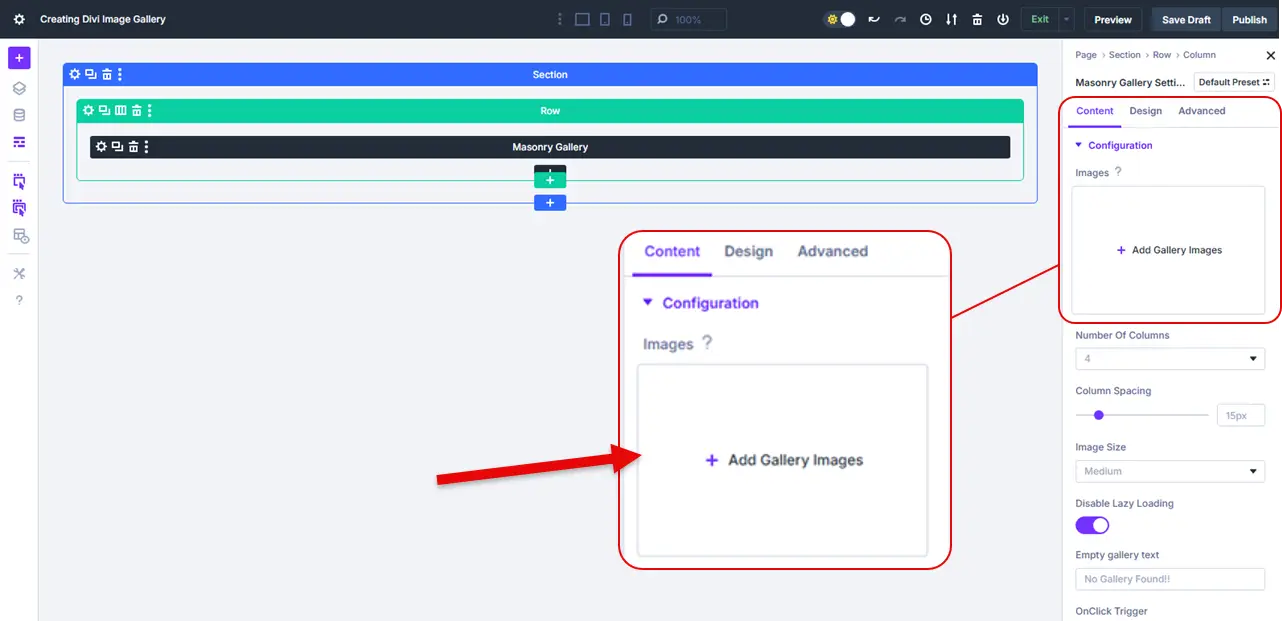
i. Add Images to the Gallery
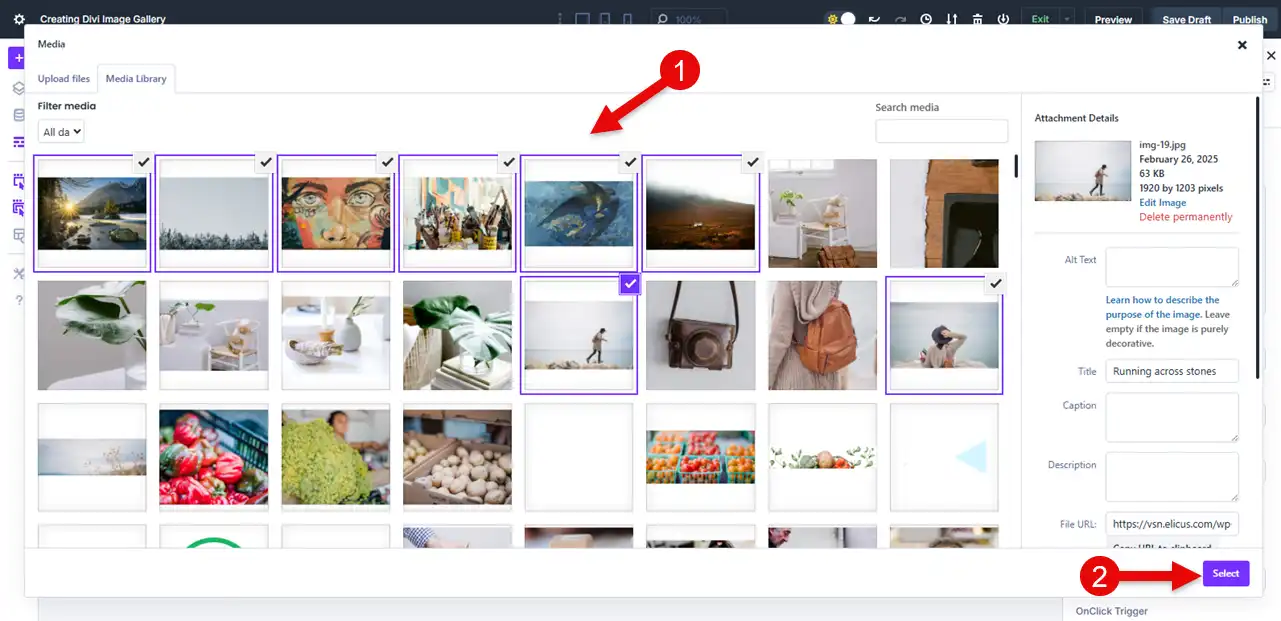
In the right sidebar, click the Add Gallery Images. This will open the media library to select the images for the gallery.
Simply select the images, and then click Select.
As you finish selecting your gallery images, the images will appear as follows in the builder.
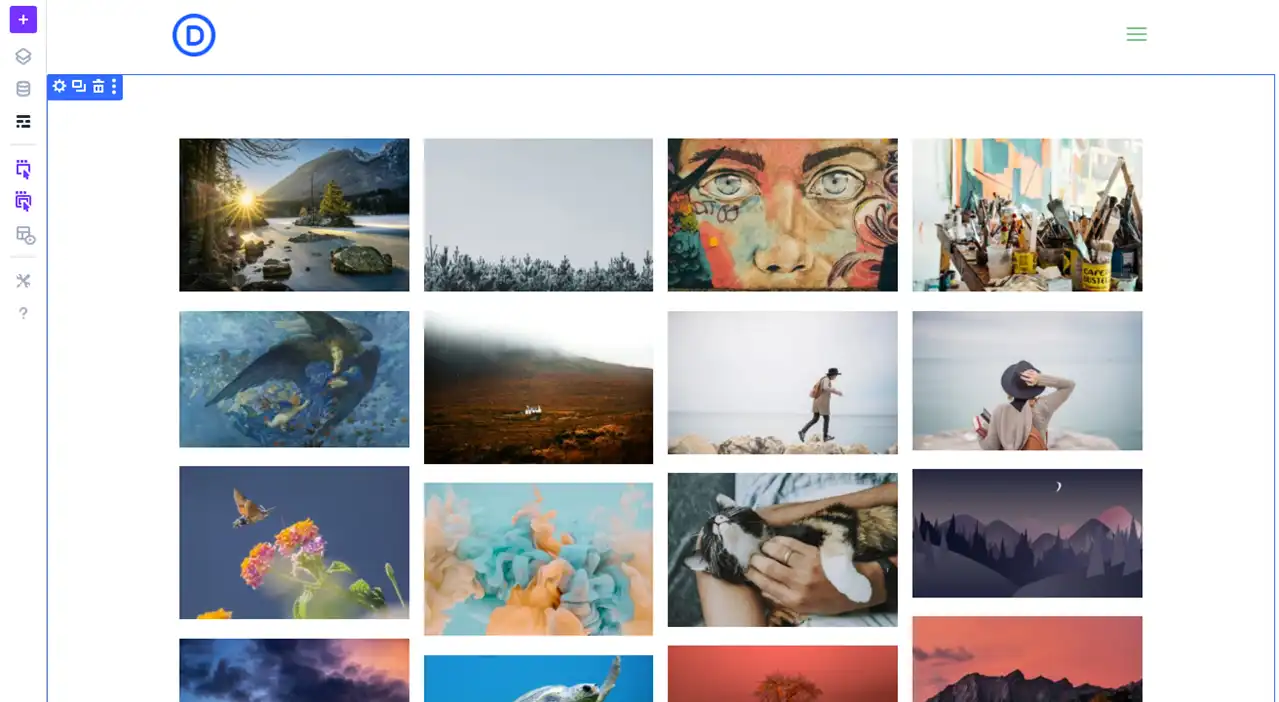
This looks basic, but you’ve more options to make the gallery images stand out.
ii. Customize Gallery’s Column, Spacing, and Trigger Option
When you scroll down a bit in the Configuration field, you find the options like:
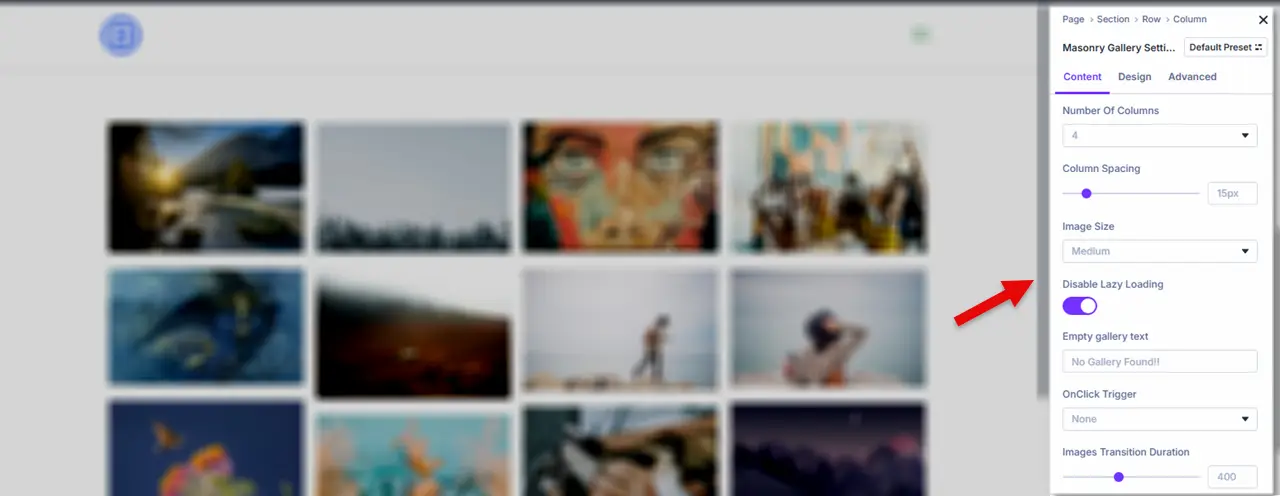
- Number of Columns
- Column Spacing
- Image Size
- Disable Lazy Loading
- Empty Gallery Text
- OnClick Trigger
- Images Transition Duration
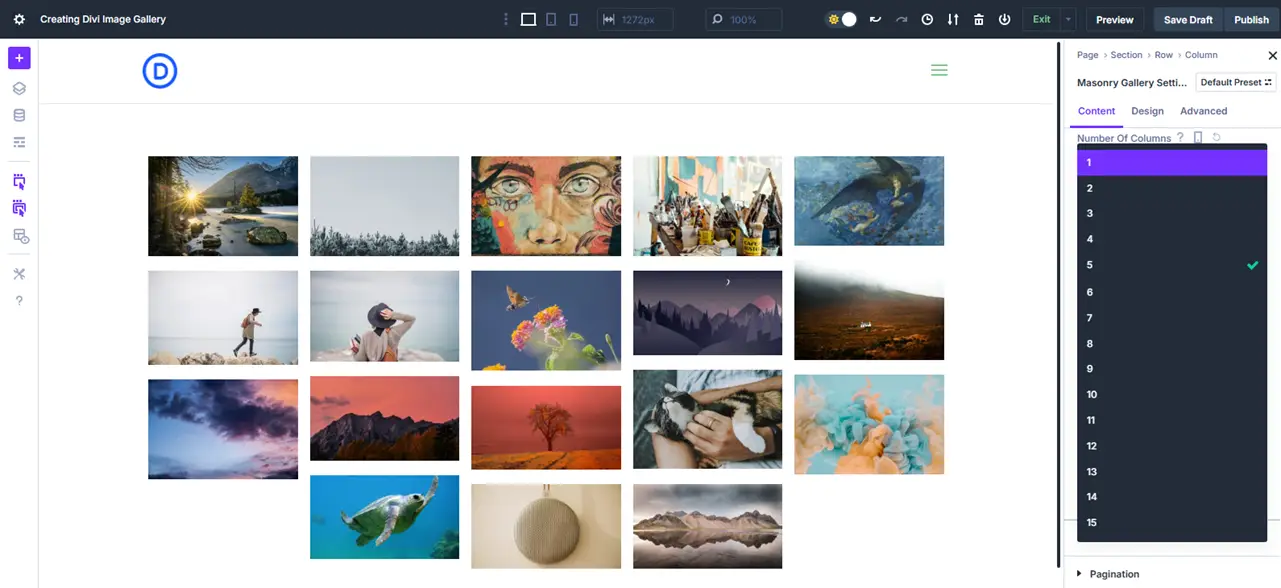
All of these allow you to present your Divi image gallery effectively. By using the number of columns, you can present your gallery in up to 15 columns.
The image size option lets you render images in Thumbnail, Medium, Large, and Full sizes. With the help of the OnClick Trigger, you can select the action to be followed when the user clicks a photo:
- Show the lightbox
- Open a link
- Show both the lightbox and the link on the overlay
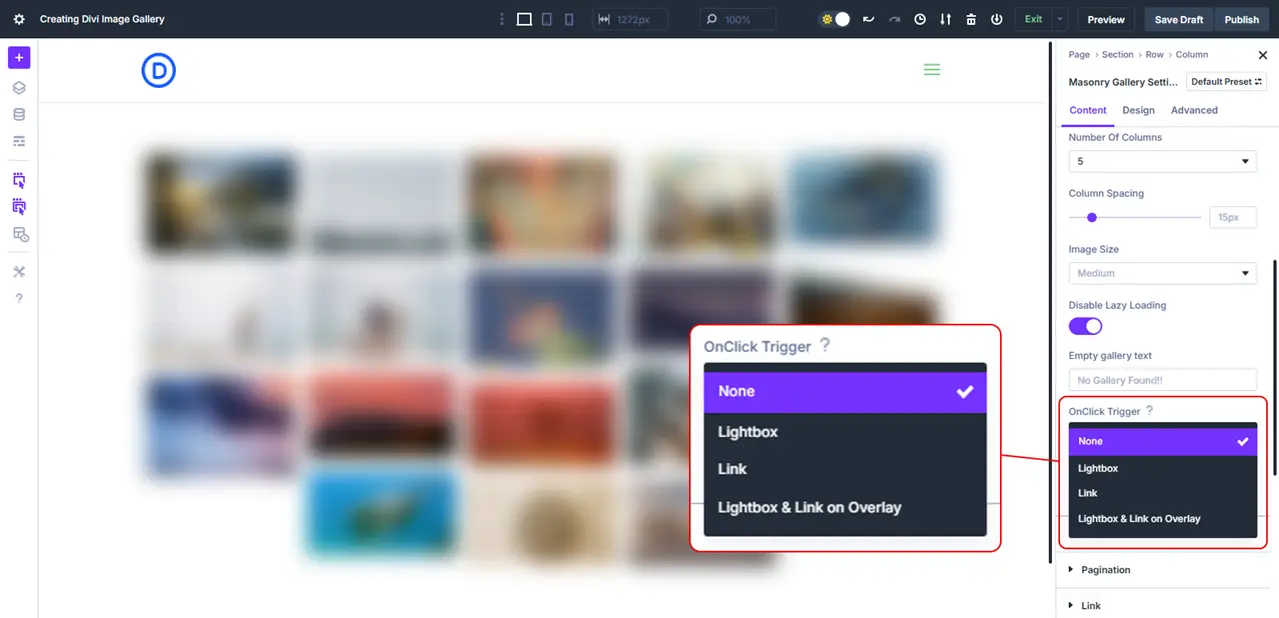
In this way, you can improve the presentation as well as user interaction. But, for improved UI, don’t miss the next step.
iii. Enable Gallery Filter, Pagination, and More
After the Configuration tab, we have the Elements. Here, you can enable the following:
- Filter
- Title
- Caption
- Image Overlay on Hover
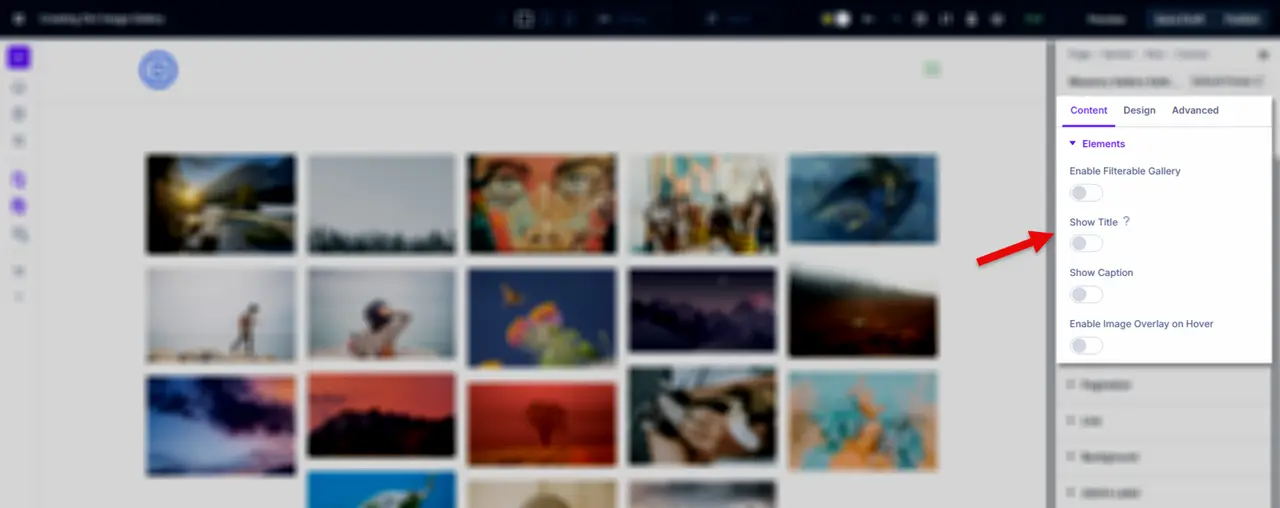
We want filters so that our users can easily explore different kinds of images in the gallery. So, for that, what you need to do is turn Enable Filterable Gallery to yes.
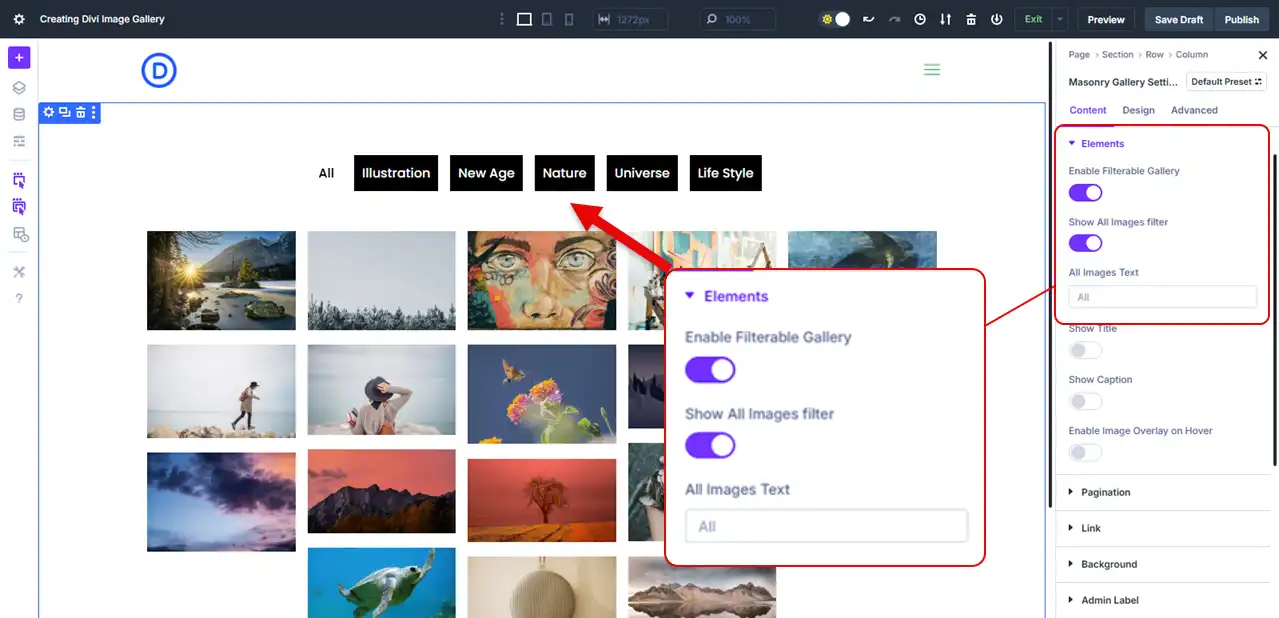
And as you do that, you can see the category names on top of the gallery images.
Now, it provides you with an additional option to show all image filters as well. For example, if someone explores every category and then wants to return to the general category, this is how they can do it.
You can also use custom text for it, other than calling it All.
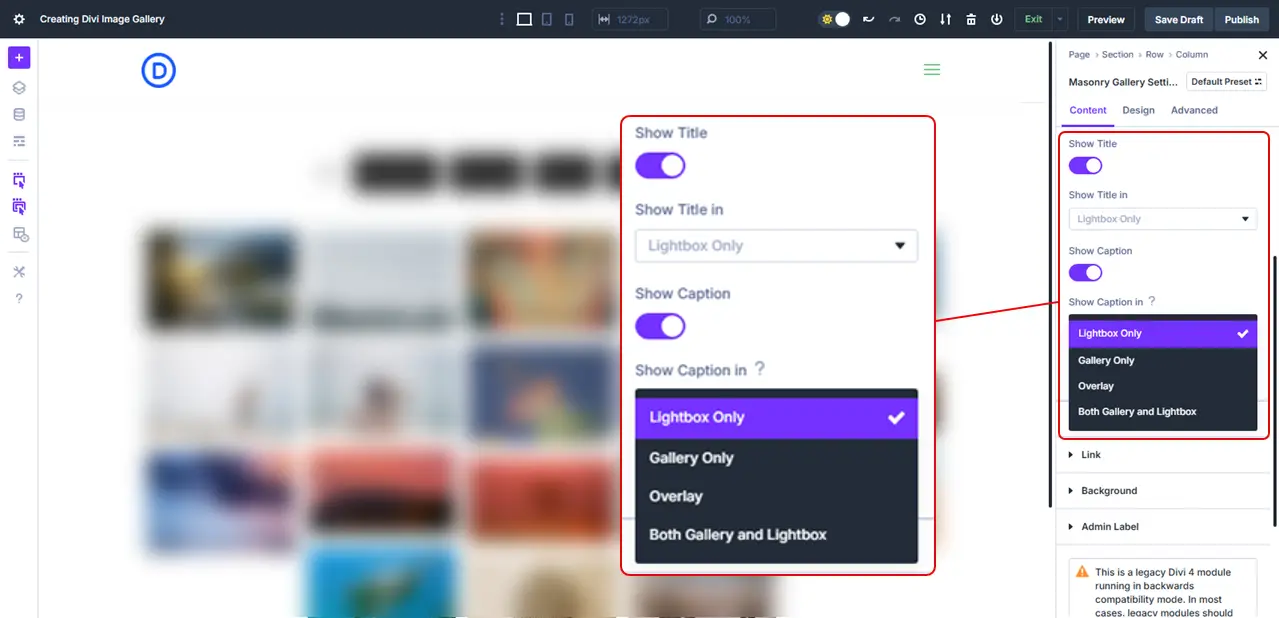
If you opt to show the title and caption, they unlock the option to display them in the Lightbox, Gallery, or Both.
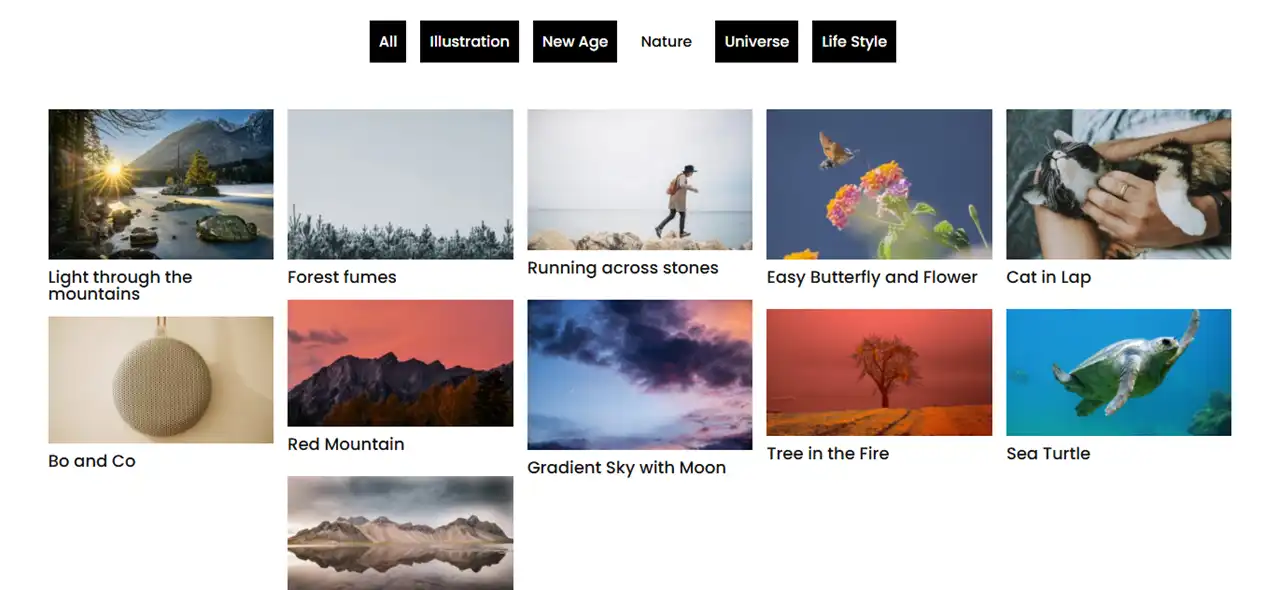
This is how the gallery looks with image titles.
Enable Pagination for Divi Image Gallery
After you’ve enabled the filter, you’ve got the Pagination tab, offering options to display:
- Numbered Pagination
- Or, Load More pagination
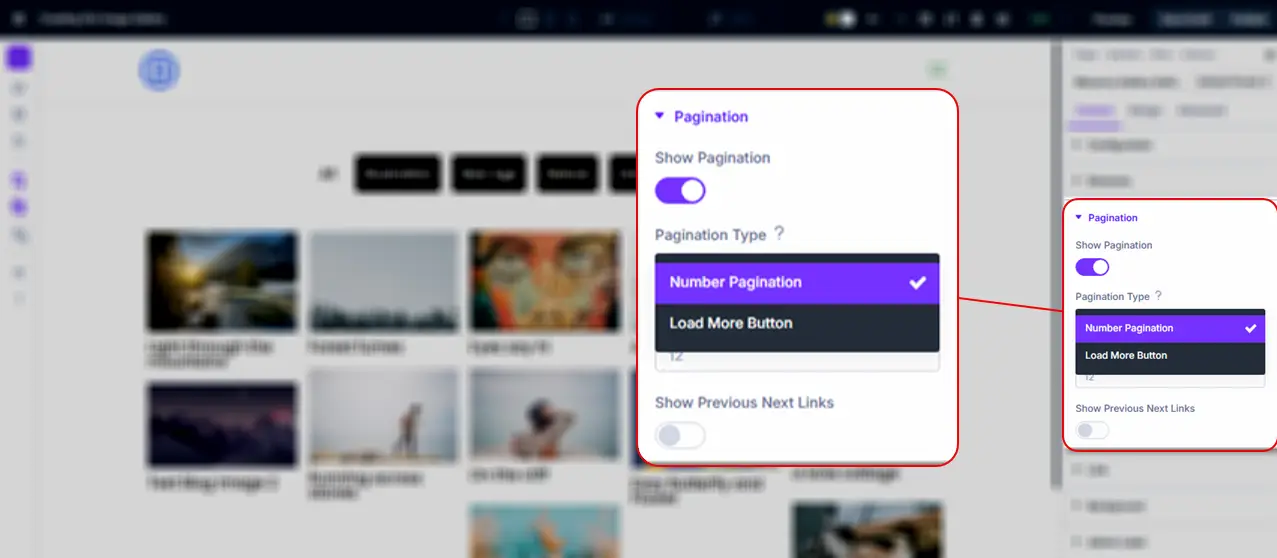
If you choose Number Pagination, you get the option to add custom Previous and Next links.
If you choose Load More pagination, then you use a custom load more button text. Both allow you to set how many images should be displayed in a single view. Thus, optimize the UI for a non-overwhelming showcase.
Enable Lightbox for Divi Image Gallery
After this, you have the Lightbox settings if you choose to display Lightbox.
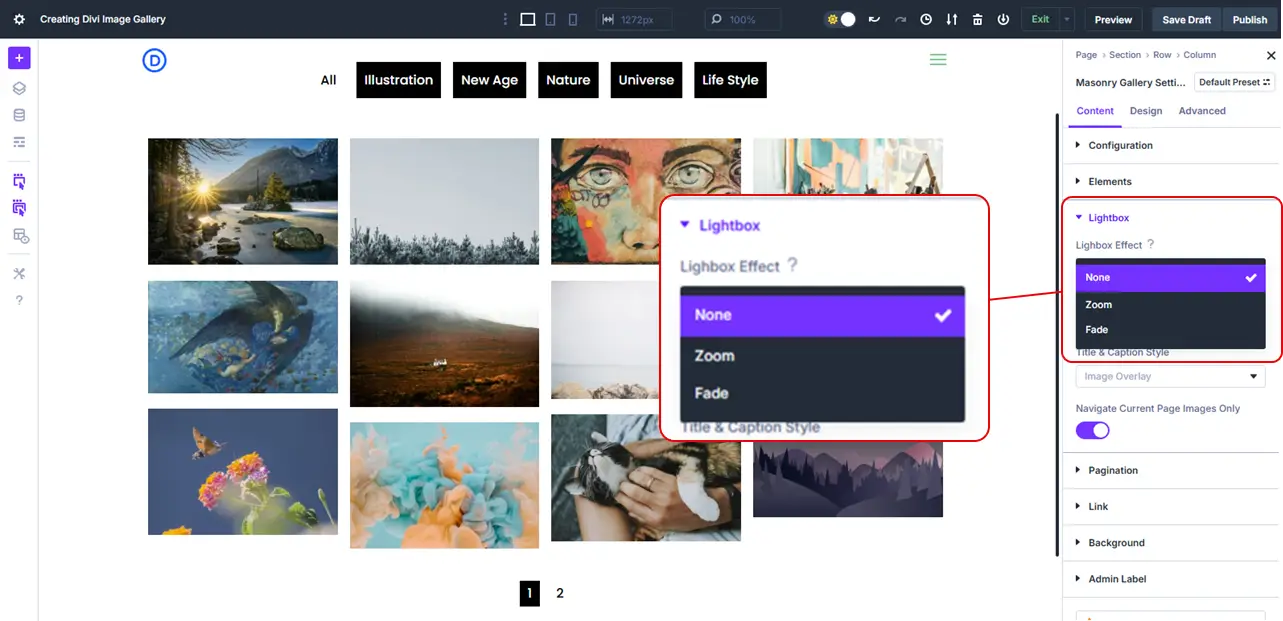
For the lightbox, you have:
- Lightbox effect: Zoom or Fade
- Navigation
- Title and Caption Style
- Option to navigate the current page images
If you’re enabling lightbox, make sure you utilize this tab as well.
Step 4: Optimize the Image Gallery
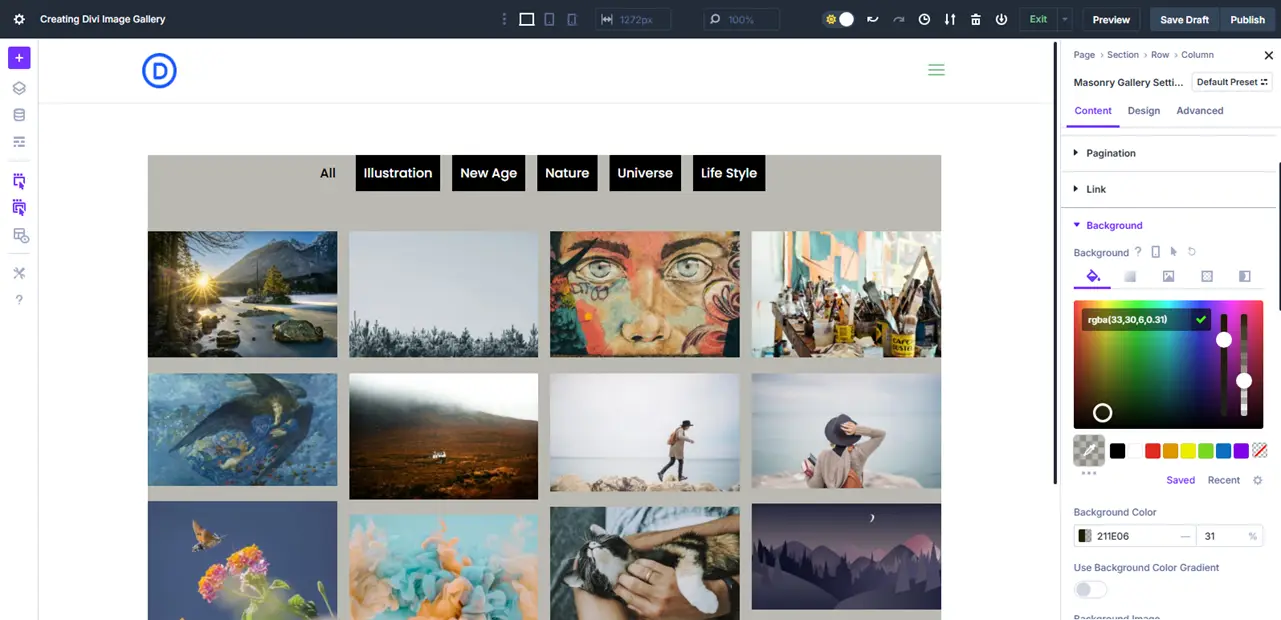
In the content tab of our Divi Gallery Extended plugin’s Masonry Gallery module, the additional settings we have are the Link and Background settings.

If you want your Divi gallery images linked to a single page, this is the setting you need to utilize. If you want to apply some custom background, such as color, gradient, image, video, and more, you can use the options available in the Background settings.
All of these are good to improve interaction as well as presentation. But the module doesn’t stop you there. By utilizing its Design tab, you can take the look and feel of your image gallery even further.
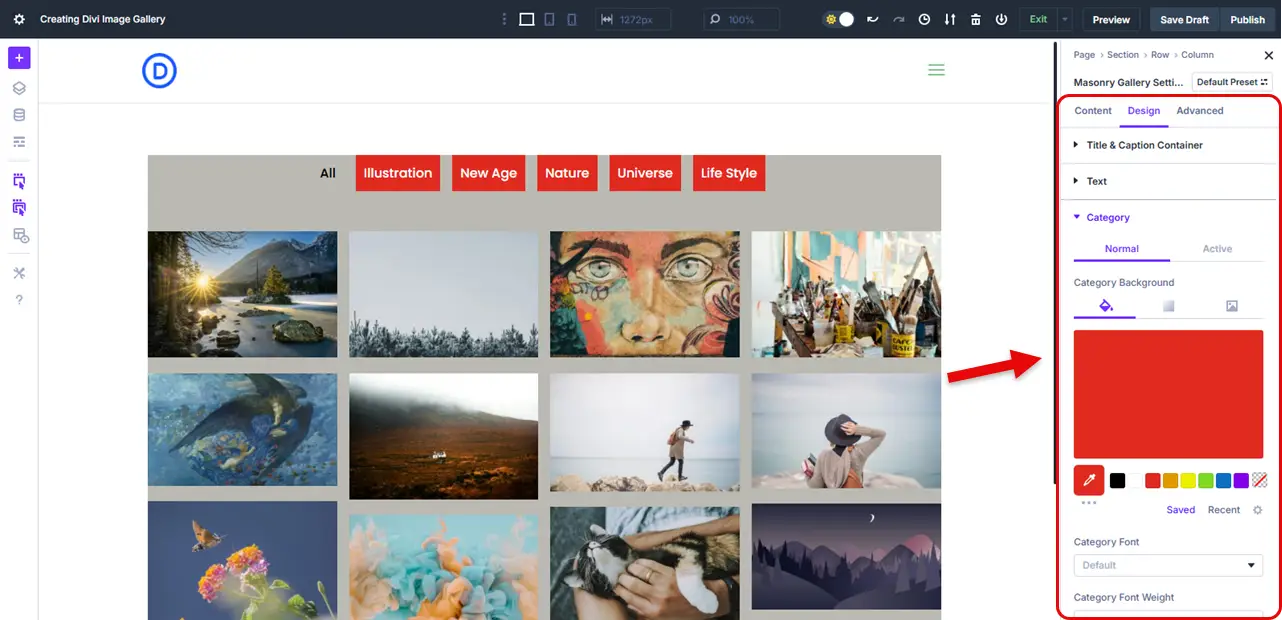
In the Design tab, you get options to:
- Customize title and caption
- Improve filter categories for both Normal and Active state
- Utilize a different background color for the lightbox
- Apply custom styling to the load more button
- Change gallery sizing
Likewise, there are tons of options available that you can utilize to make your Divi image gallery look highly professional and worth a thousand visits.
Explore each option at your convenience and use them as they fit right into your project requirements. Every option is intuitive, and you won’t find any trouble using them. That’s the promise of this module as well as Divi 5.
Step 5: Publish the Image Gallery
Review your gallery, its images, and every area or element you have customized. Check it for different devices, and if you find everything is all right, simply publish it.
Just click on the Publish button next to Save Draft, and the image gallery in Divi 5 will be live, serving visitors from different locations.
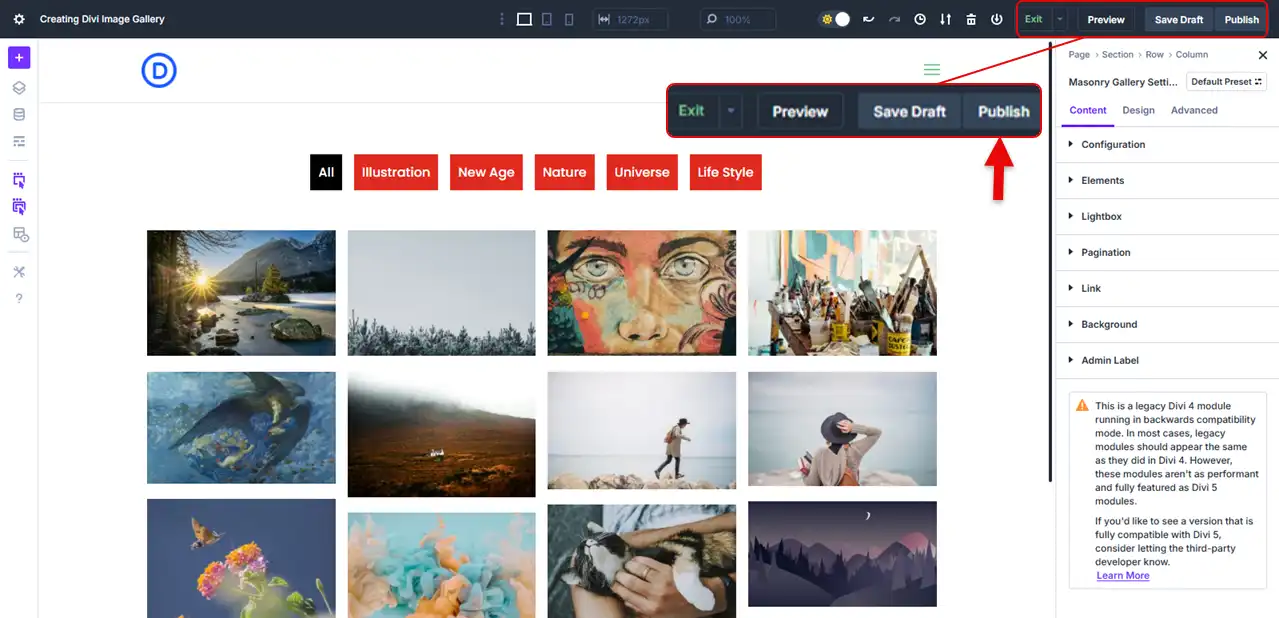
That’s it; our Divi image gallery has been created.
Now, if you want to check out some examples for inspiration, here are 10 Divi photo gallery examples you can try creating with the Divi Gallery Extended plugin.
10 Divi Photo Gallery Examples
Not all of the following Divi photo gallery examples were created using the plugin mentioned in this article. Some have used other plugins and tools; I have shared these just for having design ideas.
I hope you’ll love these.
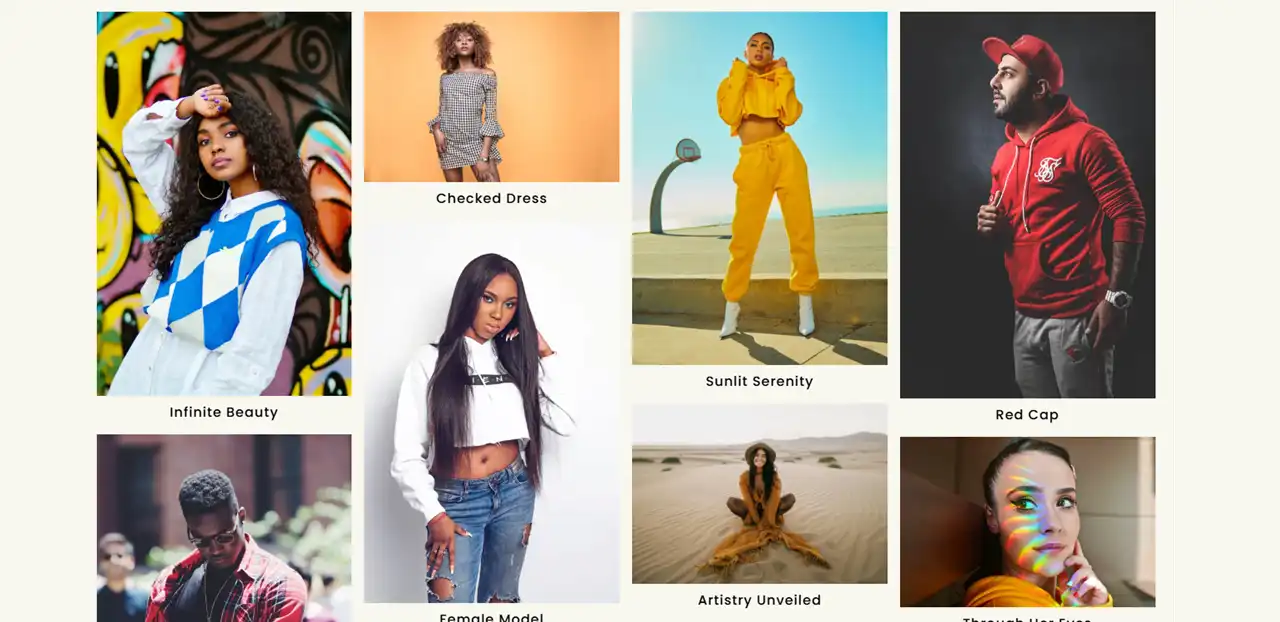
Image Gallery Example 1
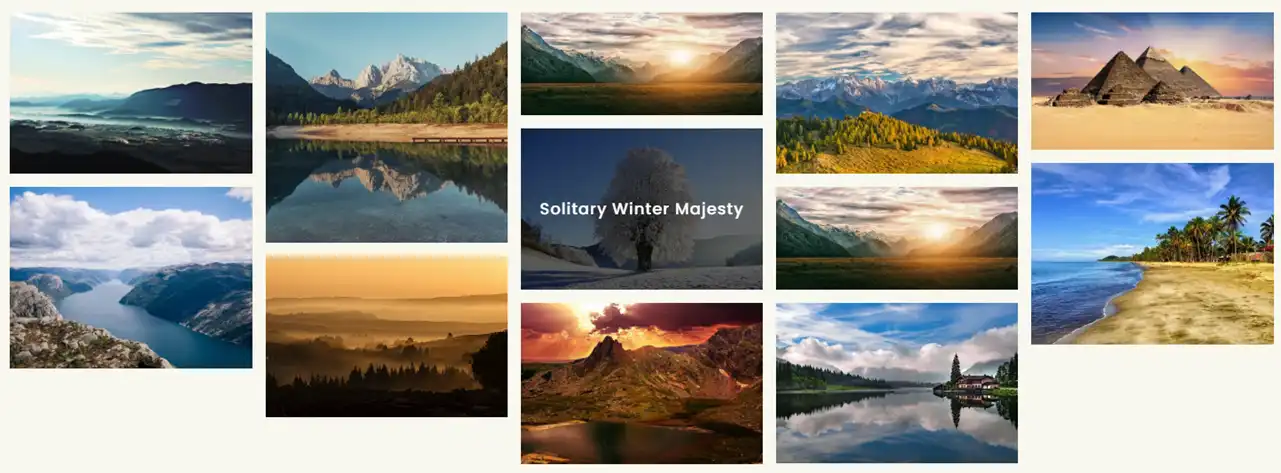
Image Gallery Example 2
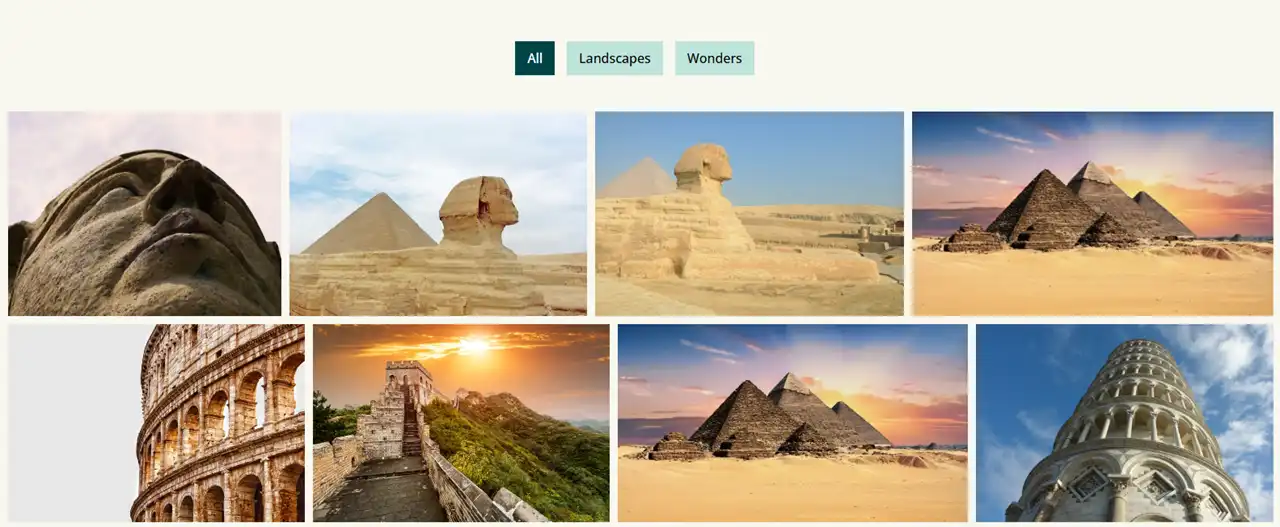
Image Gallery Example 3

Image Gallery Example 4

Image Gallery Example 5
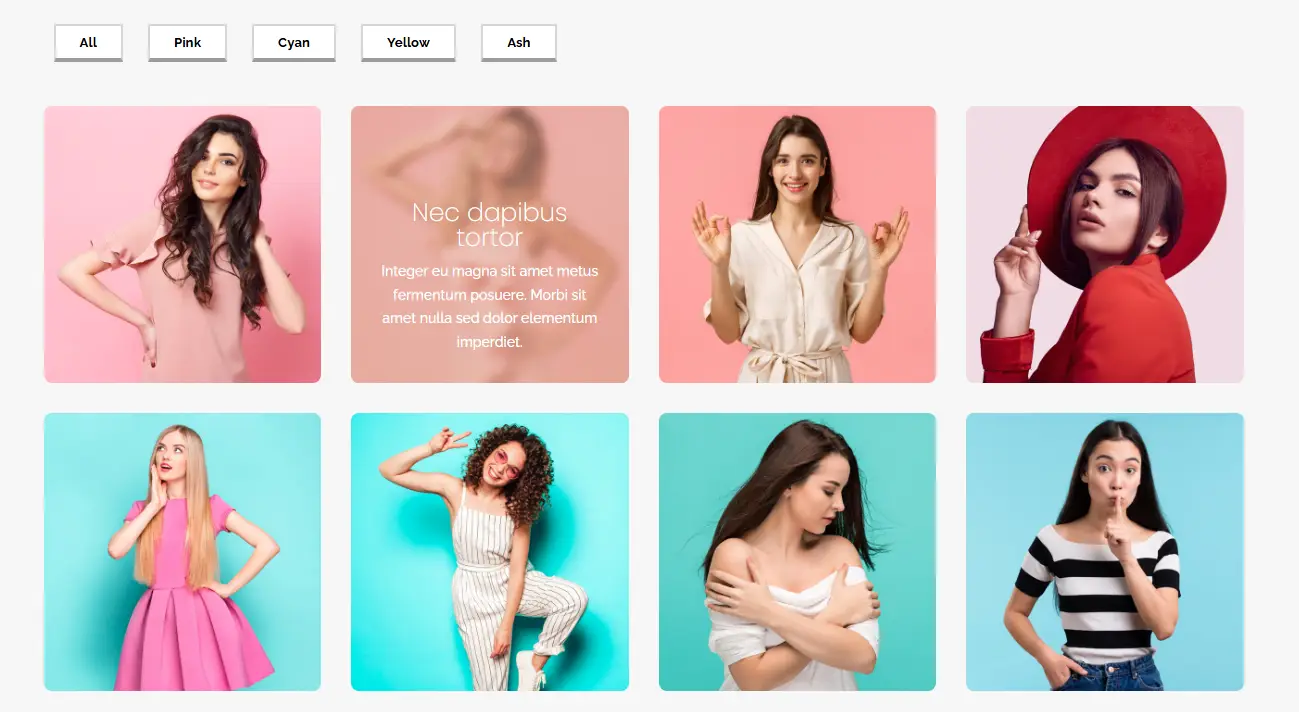
Image Gallery Example 6
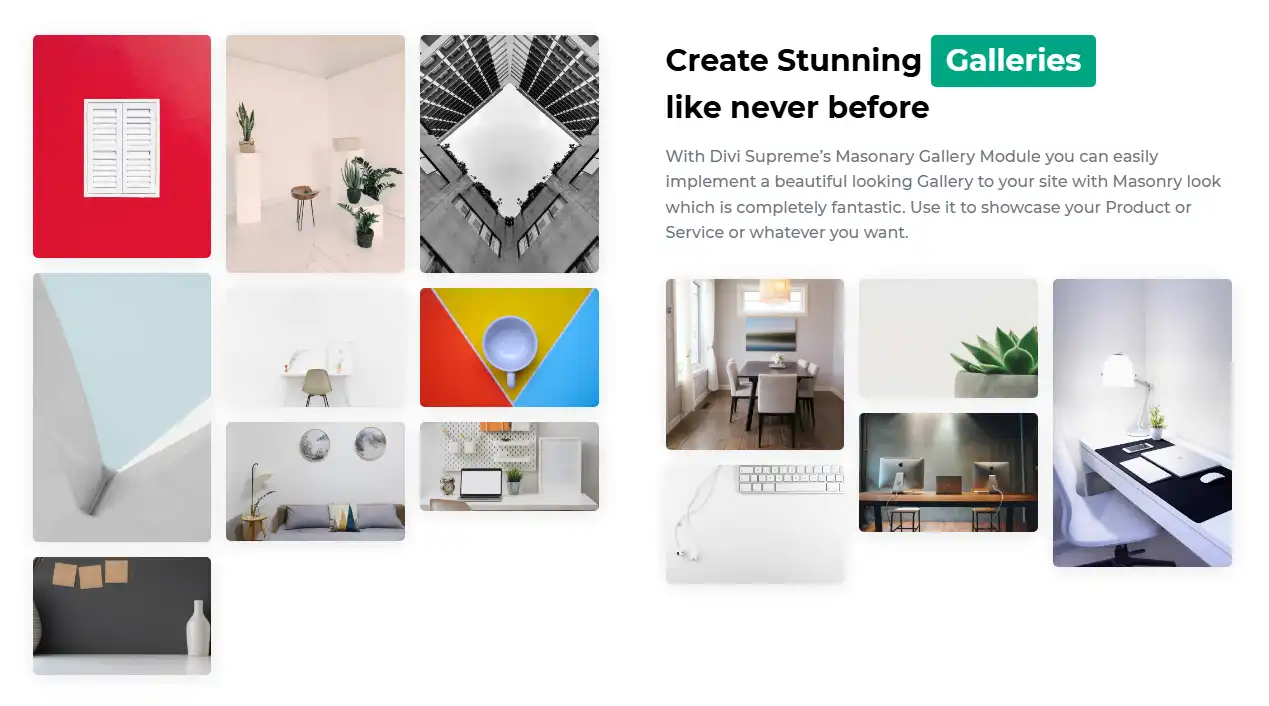
Image Gallery Example 7
Why Use the Divi Gallery Extended Plugin
Why should you use the Divi Gallery Extended plugin?
The first reason is that it is one of the best gallery plugins for Divi. Second, it’s developed by the #1 Divi Developer at the official Elegant Themes Marketplace.
Hence, you can expect quality product, service, and commitment.
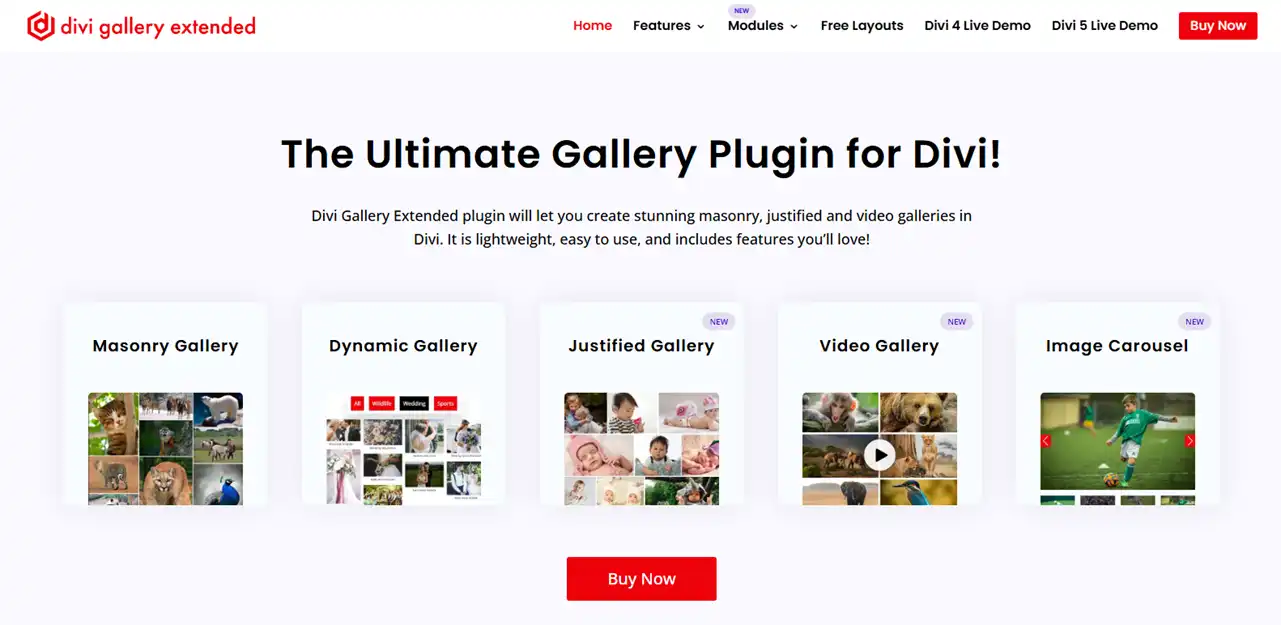
In addition, the plugin doesn’t only offer a single module. Instead, it comes with:
- Video gallery
- Dynamic gallery
- Justified gallery
- Divi image gallery carousel
All of these modules provide you with more possibilities to add visuals on your website and make your visitors visit interesting.
Furthermore, you get frequent updates, dedicated support, and free layouts to build quickly.
Therefore, when you choose Divi Gallery Extended for your Divi image gallery, you choose the best, whether in terms of features, performance, or user support.
This gallery plugin for Divi won’t disappoint. So get it without thinking twice.
Best Practices of Creating an Image Gallery in Divi
It’s good that you want to add an image gallery to your website; however, be mindful of the following:
- Add images with minimalism in mind; too many visuals overwhelm the users.
- Always check or review the gallery to look good for all device types, especially on mobile phones.
- Never add big-sized images; always compress them.
- If the gallery is on the hero section (above the fold), don’t use Lazy loading.
- The purpose of adding an image gallery is to capture attention, but don’t force it by using manipulative images.
- Don’t add image galleries with lots of filters; instead, provide only 3 to 5. Too many options confuse the users.
- Always add images to the gallery that match your website’s niche; don’t just add anything.
If you follow these practices, you will create image galleries that serve your website visitors in the best possible way. You will win them in the most respectful and ethical manner. And that’s what matters the most.
Conclusion
So above, we discussed how to create a Divi image gallery using the Divi Gallery Extended plugin.
Each step clearly explains what it does and how to perform a specific action.
By following the steps carefully, you can build your image gallery in Divi 5 with handy filters and pagination. In addition, we explored some examples, discussed why you should use the plugin, and outlined best practices for creating galleries.
I hope this article has offered you a sound solution and you’ll achieve your goal using it.
Now, it’s time you go and try the plugin for yourself. And let me know what your experience was. I am excited to hear all of that.
One more thing.
I am an affiliate of this plugin, which means that if you purchase it, I will receive a commission. I hope you don’t mind it.