In the fall of 2020, Google released its latest update to Analytics—called Google Analytics 4 or GA4—which included new features that promise to improve site traffic management and SEO data use.
Adding GA4’s next-gen software to your website will make data usage easier. GA4 also simplifies the process of tracking, marketing, interaction, and social media interactions, as well as other aspects related to SEO.
If you wish to integrate the GA4 software on your WordPress site, this article will discuss easy methods for both familiar and first-time users.
Introduction to Google Analytics 4 (GA4)
GA4 is the latest version of Google Analytics. It has simpler ways to turn on event tracking for specific events, new settings, and a replacement for removed ones.
One notable feature missing in GA4 is site bounce rate information and data.
Users of Universal Analytics that transition to GA4 for their CMS-based websites will not have historical data in it. Instead, it starts recording from the first time you set it up. Setting up GA4 property won’t be easy for anyone to navigate, even seasoned users.
Best advice: while it’s essential to upgrade to GA4, you should keep using Universal Analytics property as well.
Best Ways to Integrate Google Analytics 4
To begin setting up Google Analytics 4, you need to establish a connection with your WordPress site.
The best way of linking your website is by manually integrating GA4 or using plugins like MonsterInsights. Since MonsterInsights is a plugin, it would help diagnose your site and provide accurate solutions to integration problems.
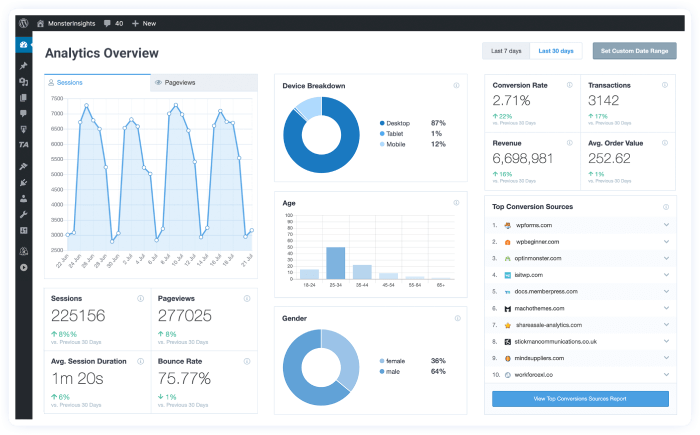
MonsterInsights also supports Universal Analytics and allows users to access analytics reports from their WordPress Dashboard.
Method 1: How to Install Google Analytics 4 on WordPress (Without Plugin)
We recommend this method for those who wish to operate GA4 from the analytics website instead of their WordPress dashboard. Plus, you have a technical understanding of how WordPress works without plugins.
If you’re okay with that, then follow these steps to get started.
Step 1: Create Your Analytics Account
First things first! Create your Google Analytics account by going to the Google Analytics website and clicking on ‘Sign in to Analytics’ or ‘Get Started Today’. You can skip to 2nd step if you already have a Google Analytics account.

Next, log in with your Google account or create a new account for your business.
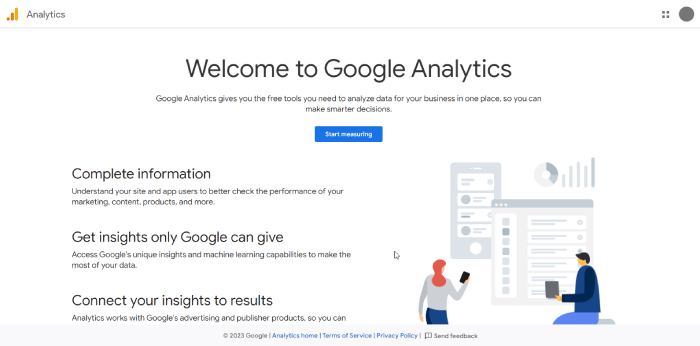
If you’re creating the account, it will open a window like the above. Here, click on Start measuring to complete the Google Analytics account. Once you click on that, it will open a new window where you need to add the details to set up the account.
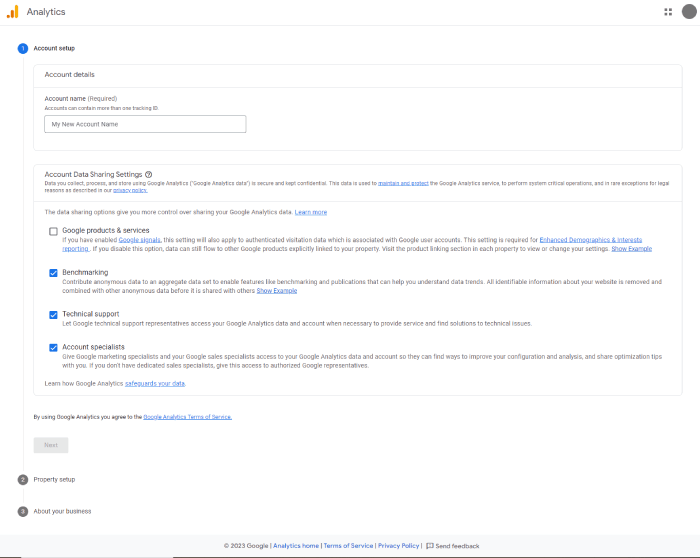
The details you need to define are account name, data sharing settings, property name, business details and more.
Once done, click Create. And it opens a popup in which you need to agree with the Google Analytics Terms of Service Agreement.
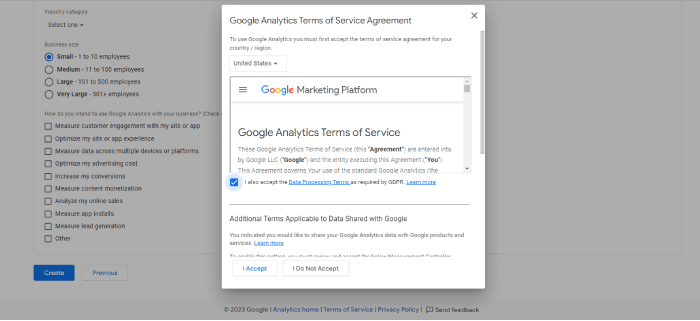
Select the checkbox to agree with the terms and then click I Accept. Ensure you select both terms by scrolling the popup. Once you agree, it will take you to the following Start collecting data page.
The above process is for users who don’t have a Google Analytics account already. If you have a GA account, then the following step is necessary to create a new property. New users can skip steps 2nd and 3rd and move on to the 4th.
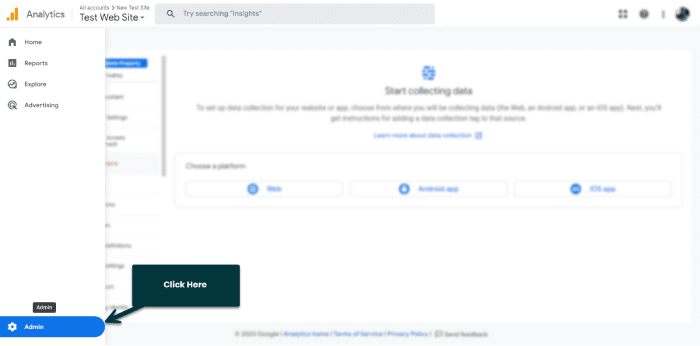
Step 2: Create New Google Analytics 4 Property
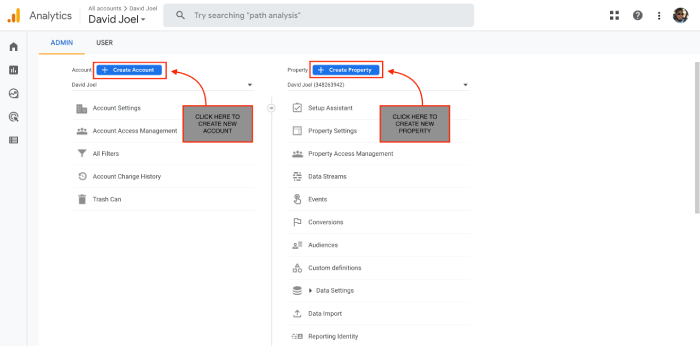
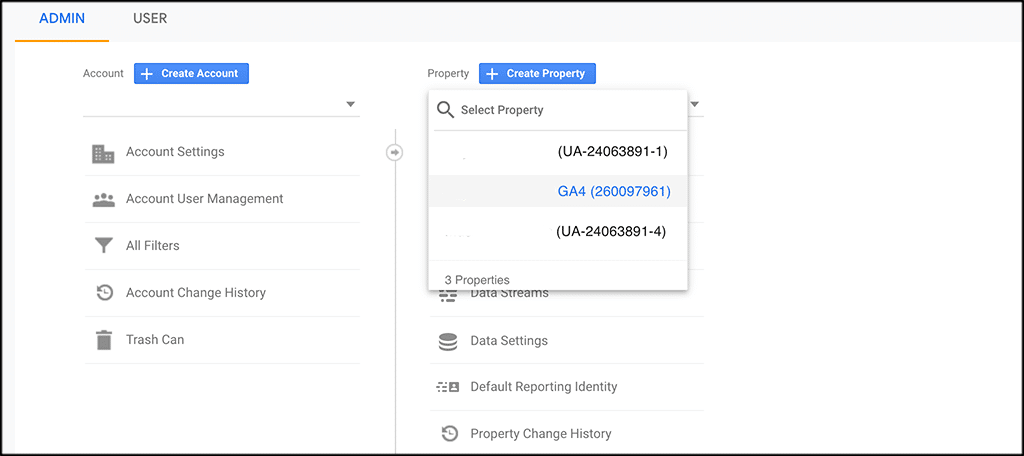
On your Google Analytics dashboard, click on Admin.
Then, select Create Account. Select the existing account connected to your site and click on ‘Create Property.’
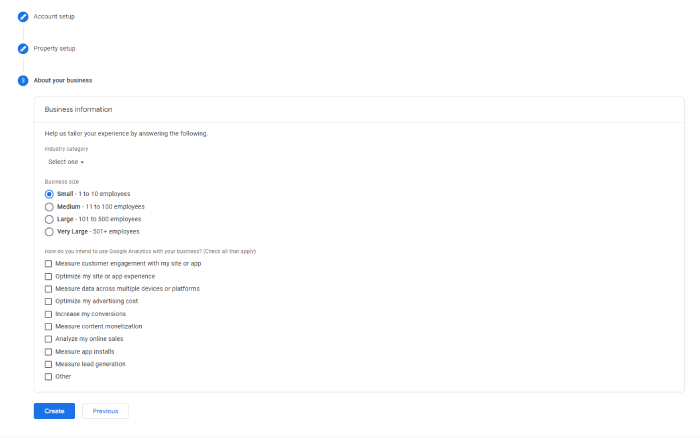
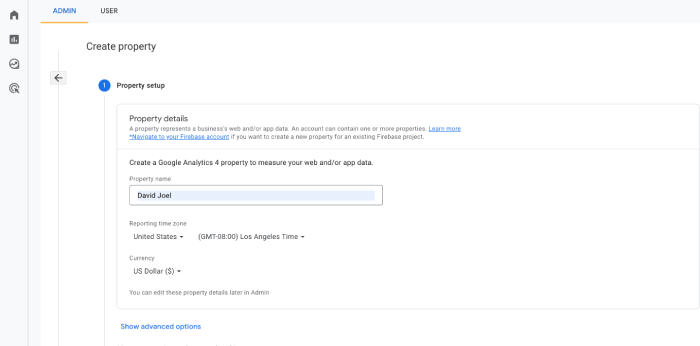
Step 3: Add Property Details
Fill in the required information, such as property name, location, currency, time zone, etc. When you complete this, click next to go forward.
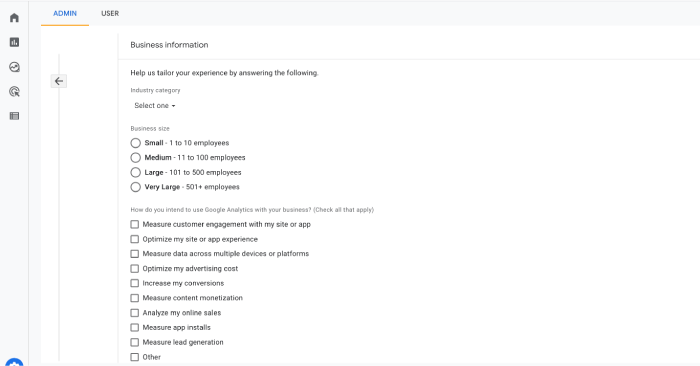
Here you will provide additional business information. Complete them and agree to analytics terms and conditions.
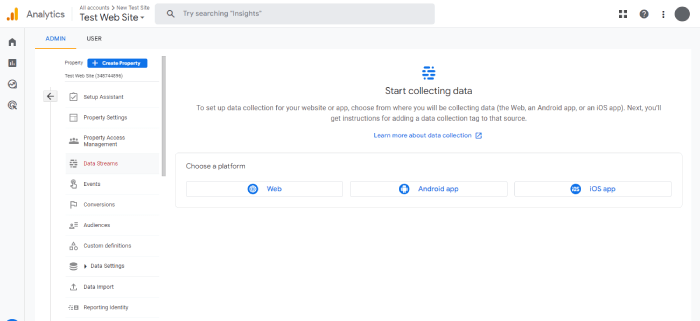
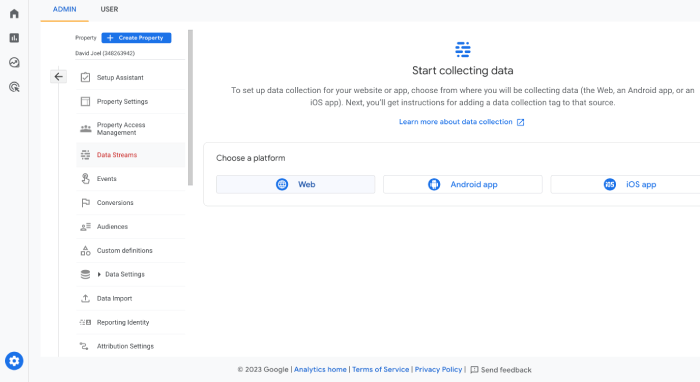
Step 4: Set Up With Web Option
On the next page of your installation, you will arrive at a page with three options: IOS App, Android App, and Web. Select ‘Web’. Since you wish to generate analytics for websites.
Step 5: Set Up Web Stream
Clicking on the web option will open a page to allow you to set up a web stream. Fill out the required information to create the web stream.
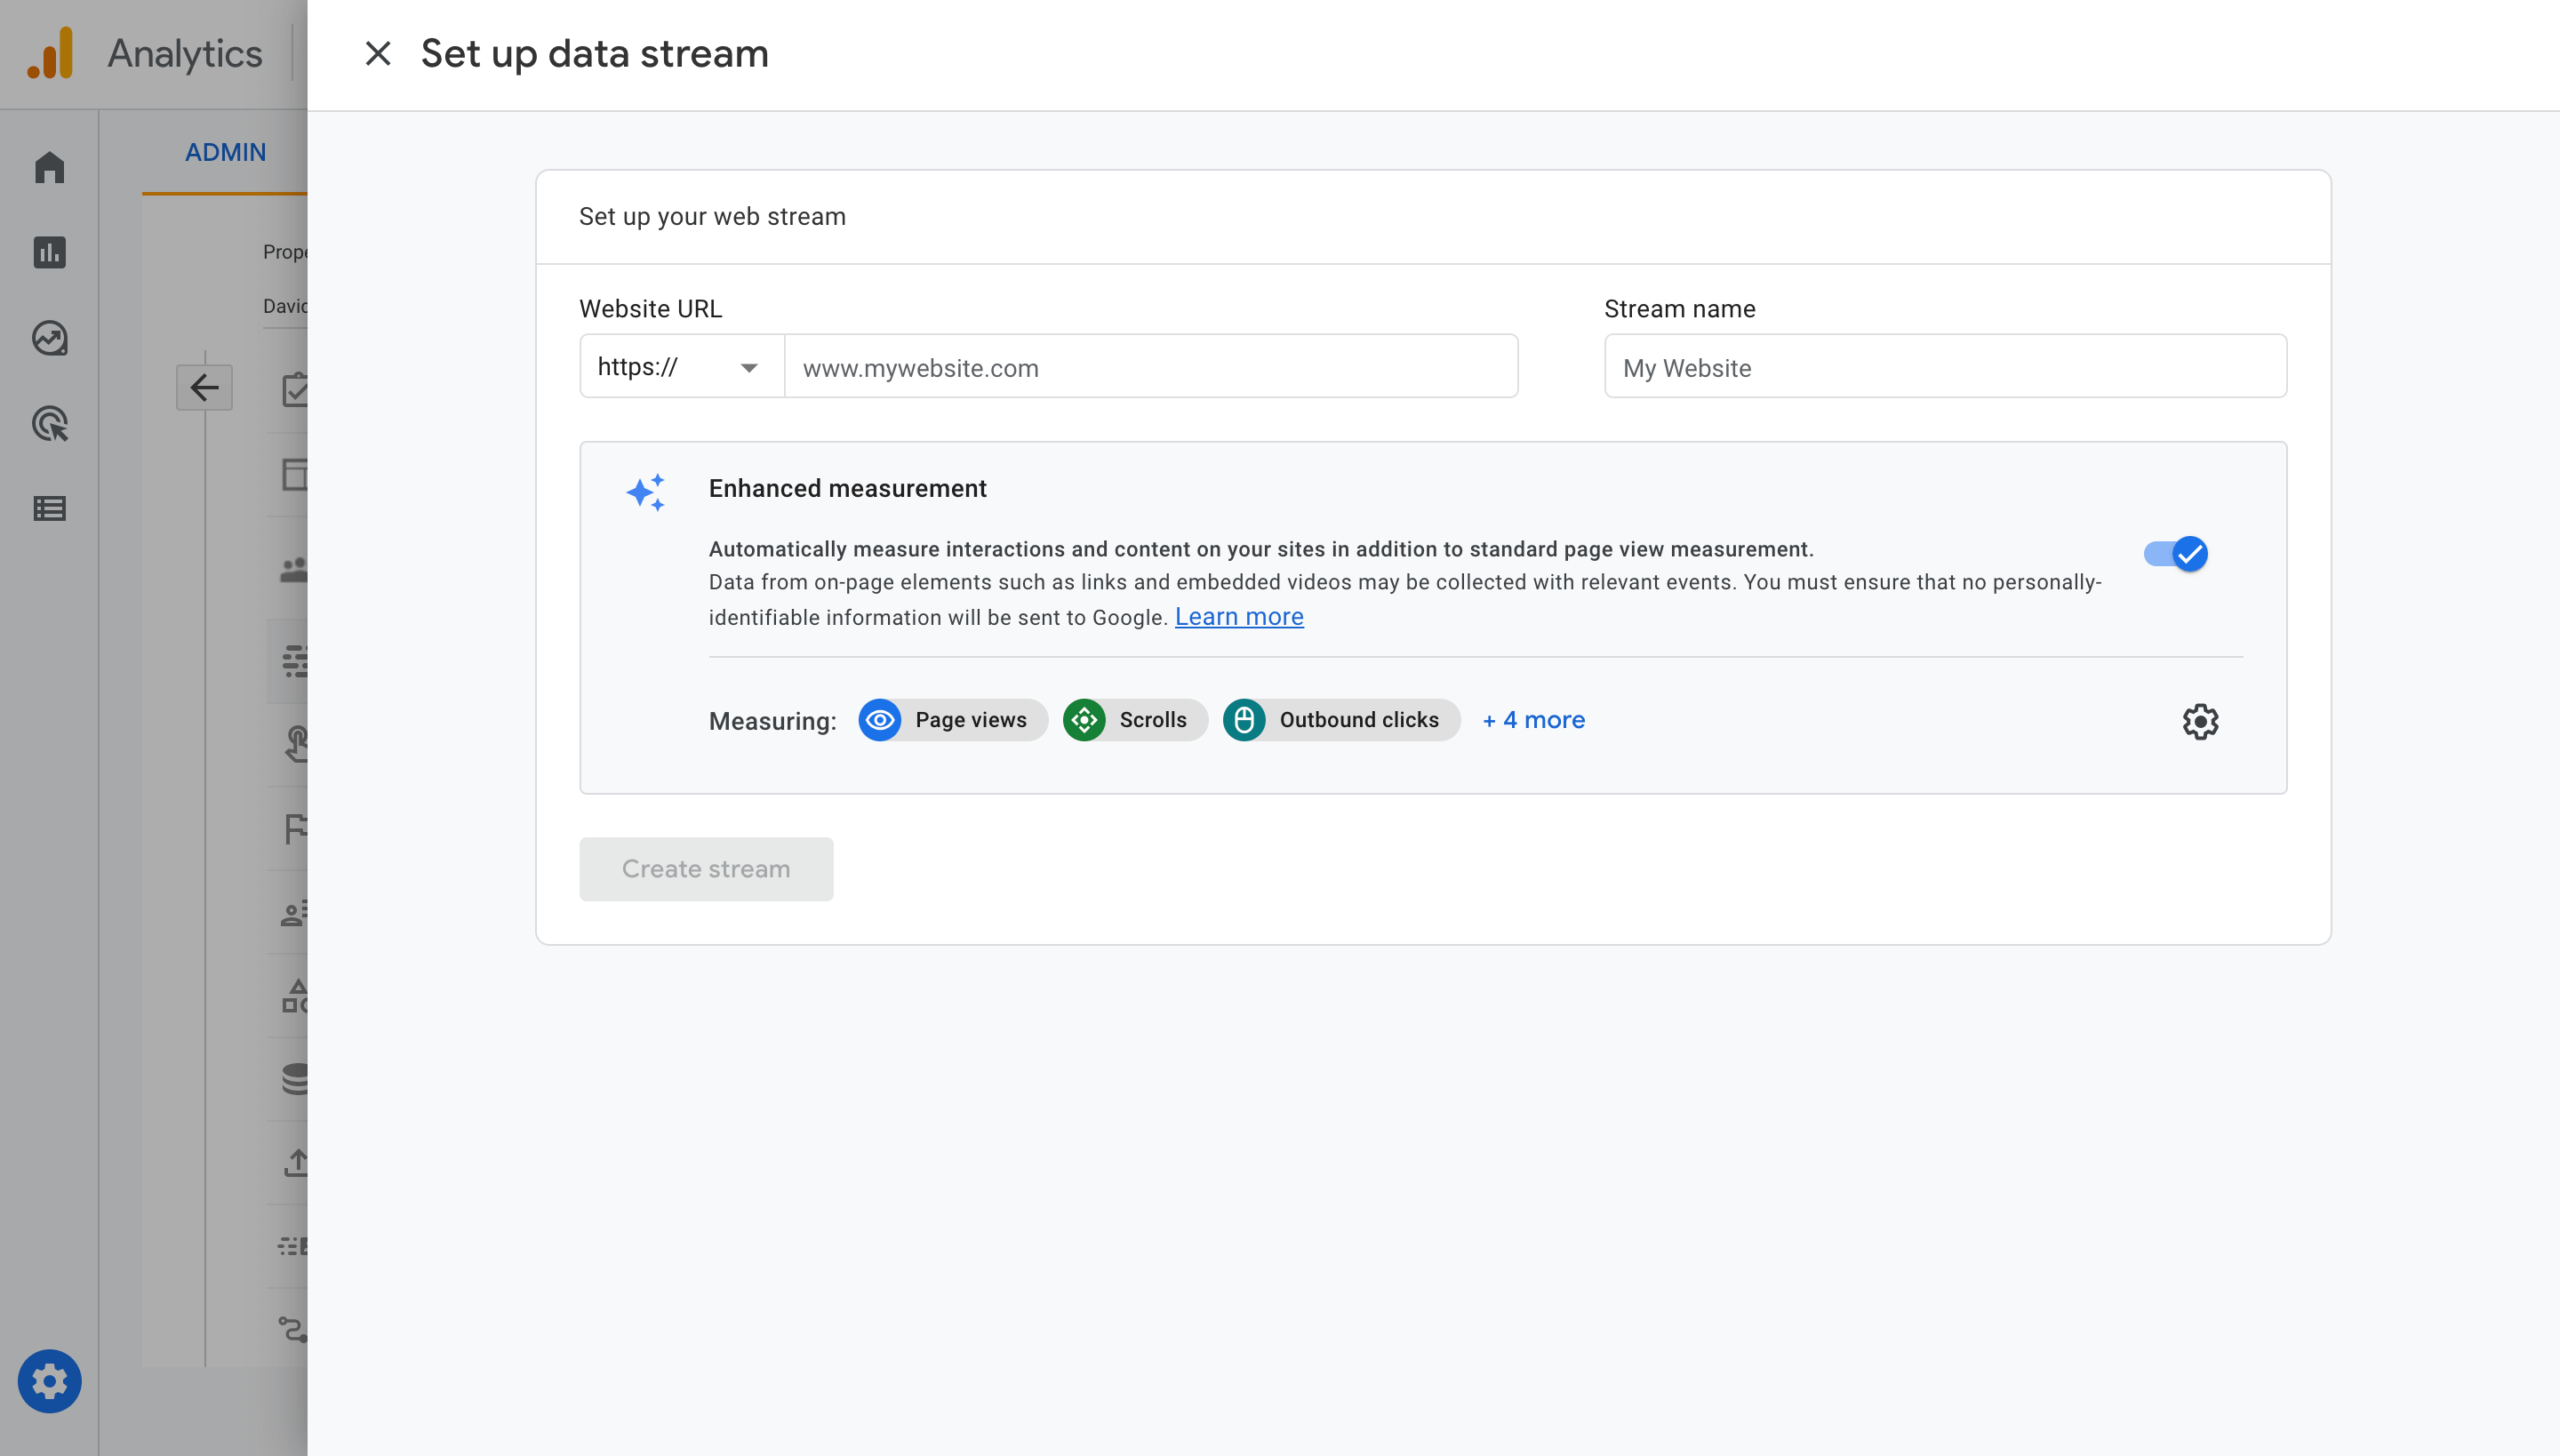
Click on the ‘Create Stream’ Button when finished.
Step 6: Connect Your Existing Analytics to GA4
As soon as you create the stream, a new popup will open, providing you with all the Google Analytics data.
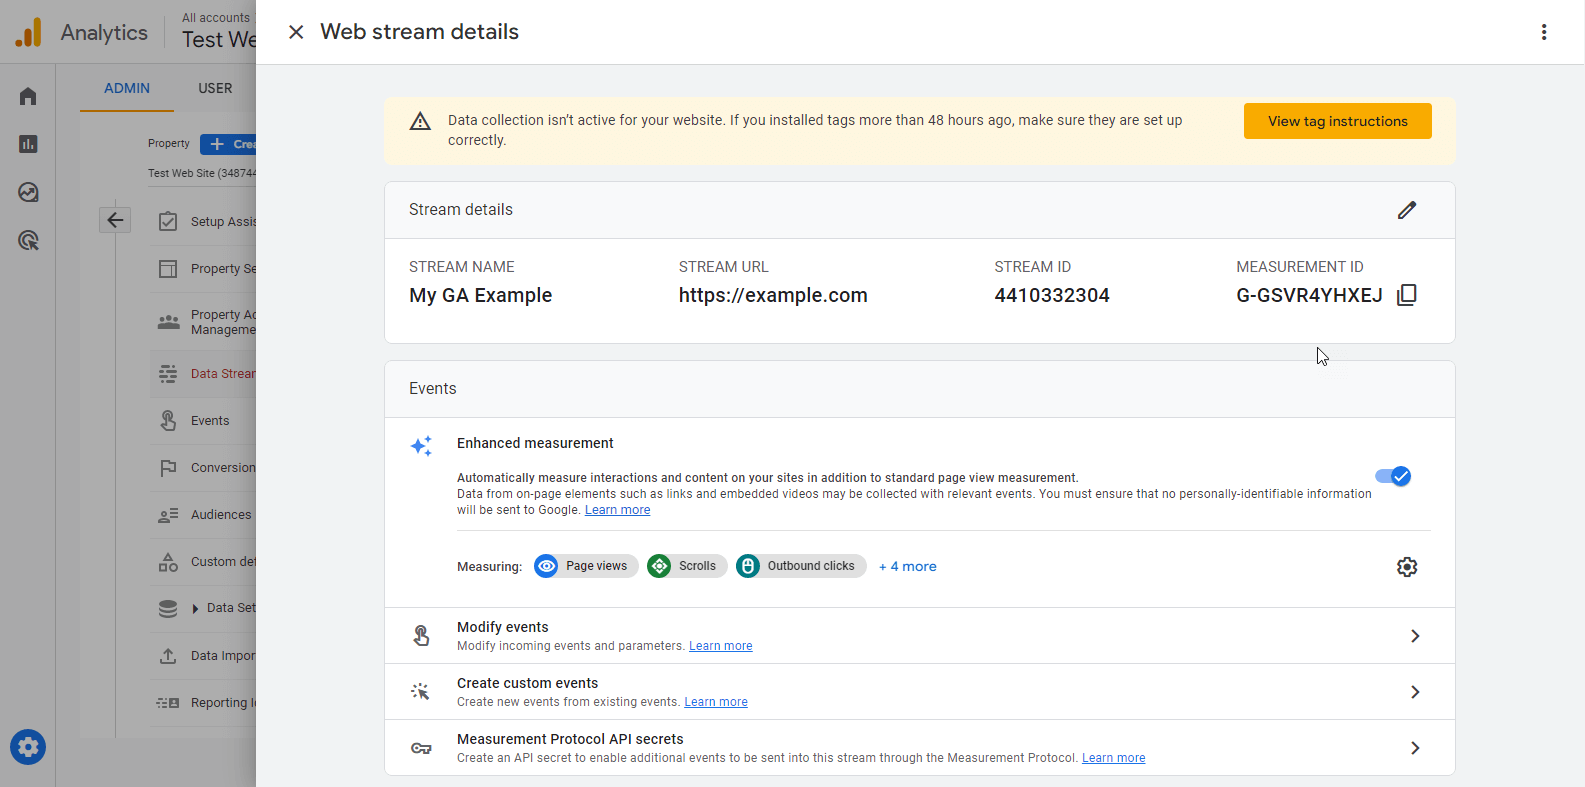
Here, click on View tag instructions, which will open the options for adding Google Analytics to your WordPress website.
Select the second one, Install Manually, because this tutorial will later explore how you can add Google Analytics using a plugin. On that, copy the code, and you’re halfway through integrating GA into WordPress.
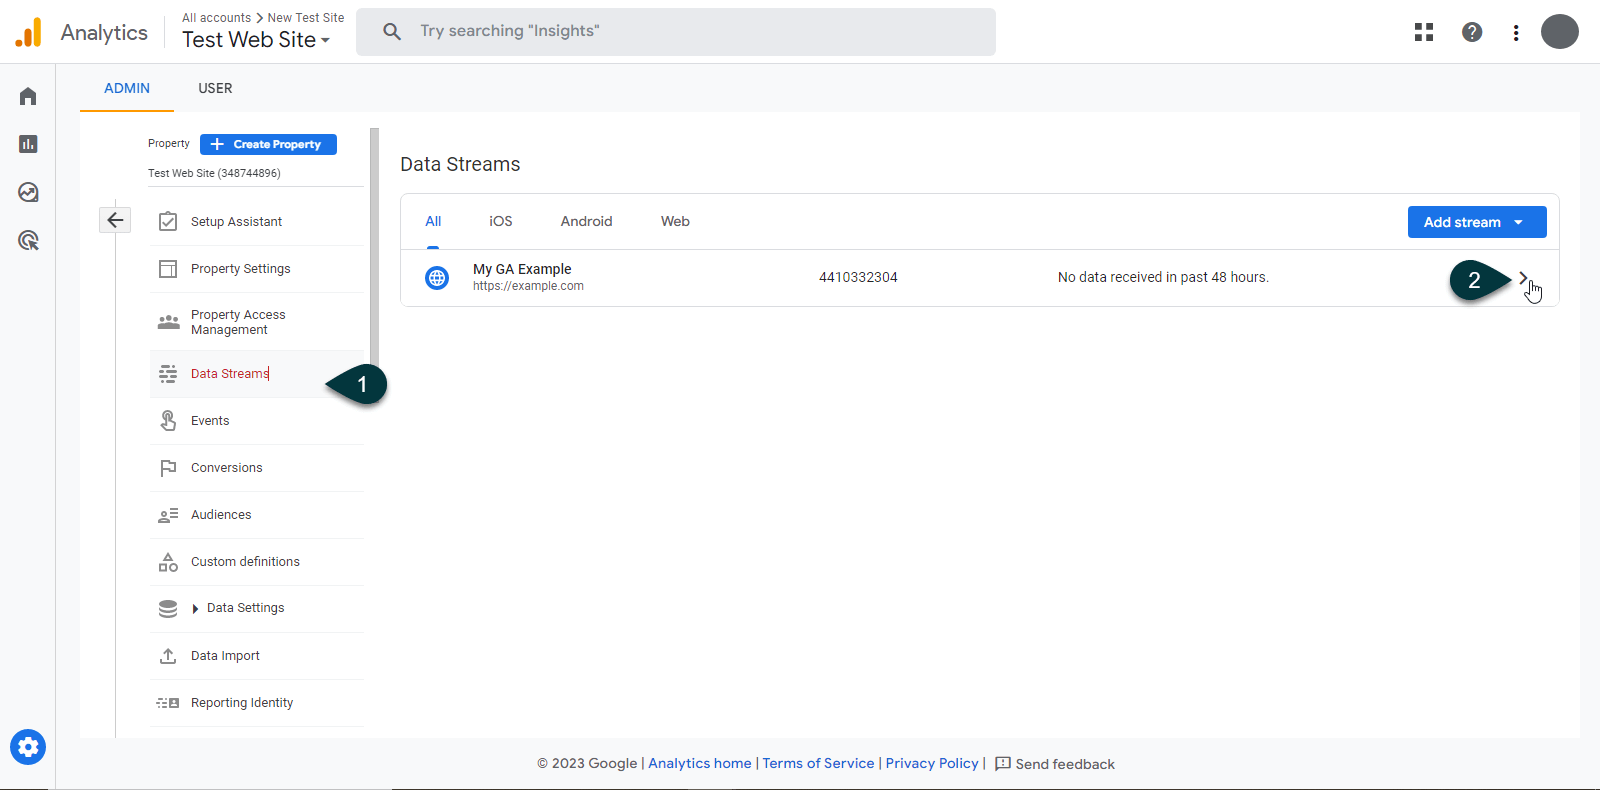
There’s another method to find the tracking code, which only applies to users who haven’t switched to the new Google Analytics 4 Dashboard. In the new GA4 dashboard, you can only find the tracking code by clicking the Data Stream option.
But for Universal Analytics users, this is how you can find the code. Simply go to your existing analytics property by clicking Admin → UA Property.
Click on Tracking info → Tracking code (from the drop-down option).
Copy your tracking code ID from the provided details. Switch back your new GA4 property by clicking on the newly created GA4 property from the drop-down menu. Now click on your web stream.
Under ‘Additional Options,’ click on ‘Connect Site Tag’. Paste the tracking ID, enter a nickname, and click on Connect.
Step 7: Install the Tracking Code
Here is the final step: Installing the tracking code on your WordPress site.
We have already copied the code, now log in to the WordPress admin dashboard and go to Appearance → Theme File Editor.
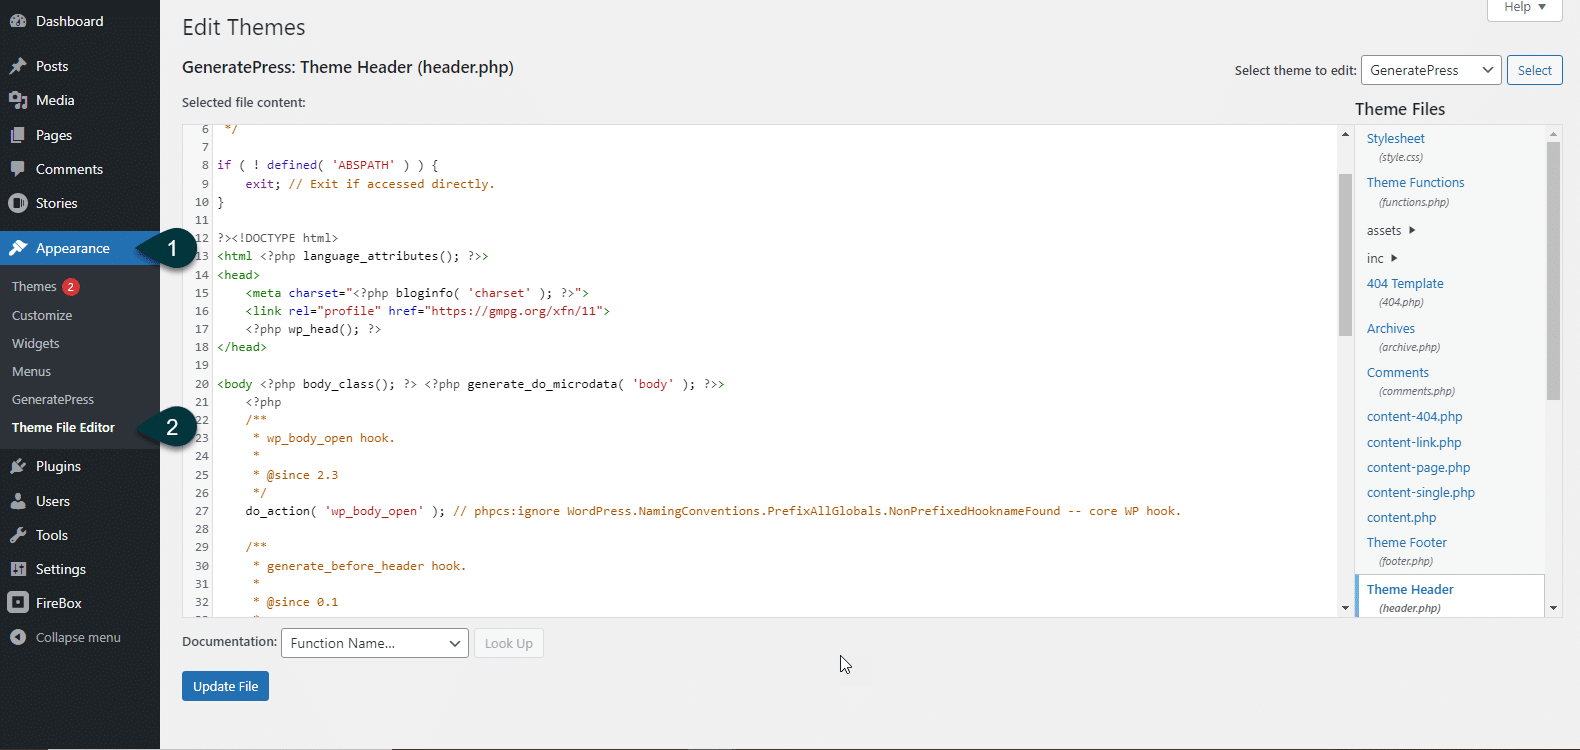
Caution: Before making any changes, we recommend using a child theme or a plugin such as Code Snippets or Header Footer for WordPress.
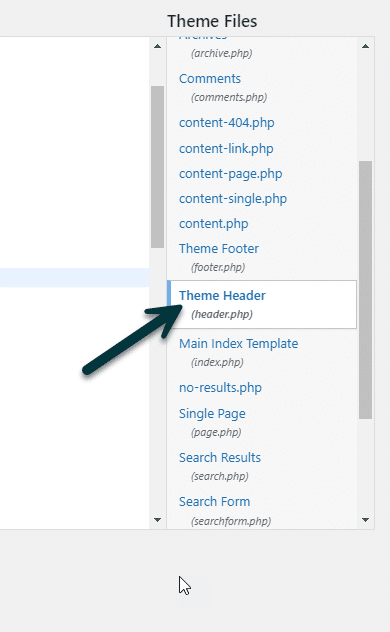
Now, inside the Theme File Editor, find the header.php file and paste the code into the head of your site.
Note: The head section usually starts with an HTML <head> and is enclosed with </head> past your code right after the last line of code before the enclosing HTML tag.
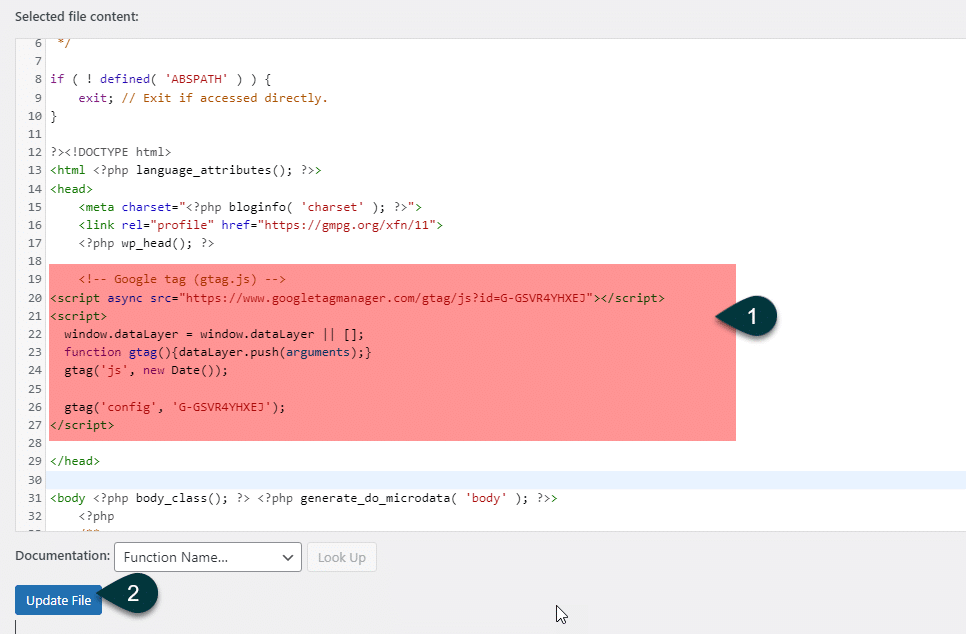
Once added, click on Update File. And that’s it; you successfully integrated GA4 into WordPress without a plugin. Now you can start receiving analytics reports from Google Analytics 4.
Method 2: Installing Google Analytics 4 (With Plugin)
Plugins are recommended for those who aren’t used to the technicalities of software integration.
Plugins save time and let you get ahead of technical issues related to your Google Analytics integration. But each plugin comes with different installation settings. You can use plugins like
- Google Site Kit
- RankMath
- Beehive Analytics
- And more.
For this guide, we will be using MonsterInsights.
Steps to Installing Google Analytics with MonsterInsights 👇👇👇
Follow these steps to install GA4 using MonsterInsights Plugin.
Step 1: Download and Unzip the MonsterInsights Plugin
Start by obtaining a license from the official MonsterInsights landing page. Select your preferred subscription and download the plugin zip file.

Note: There’s a free version of MonsterInsights also available. If you don’t want to invest in analytics, you can also opt for that.
Once your download is complete. Login to the site where you want to install MonsterInsights (at the site’s admin dashboard).
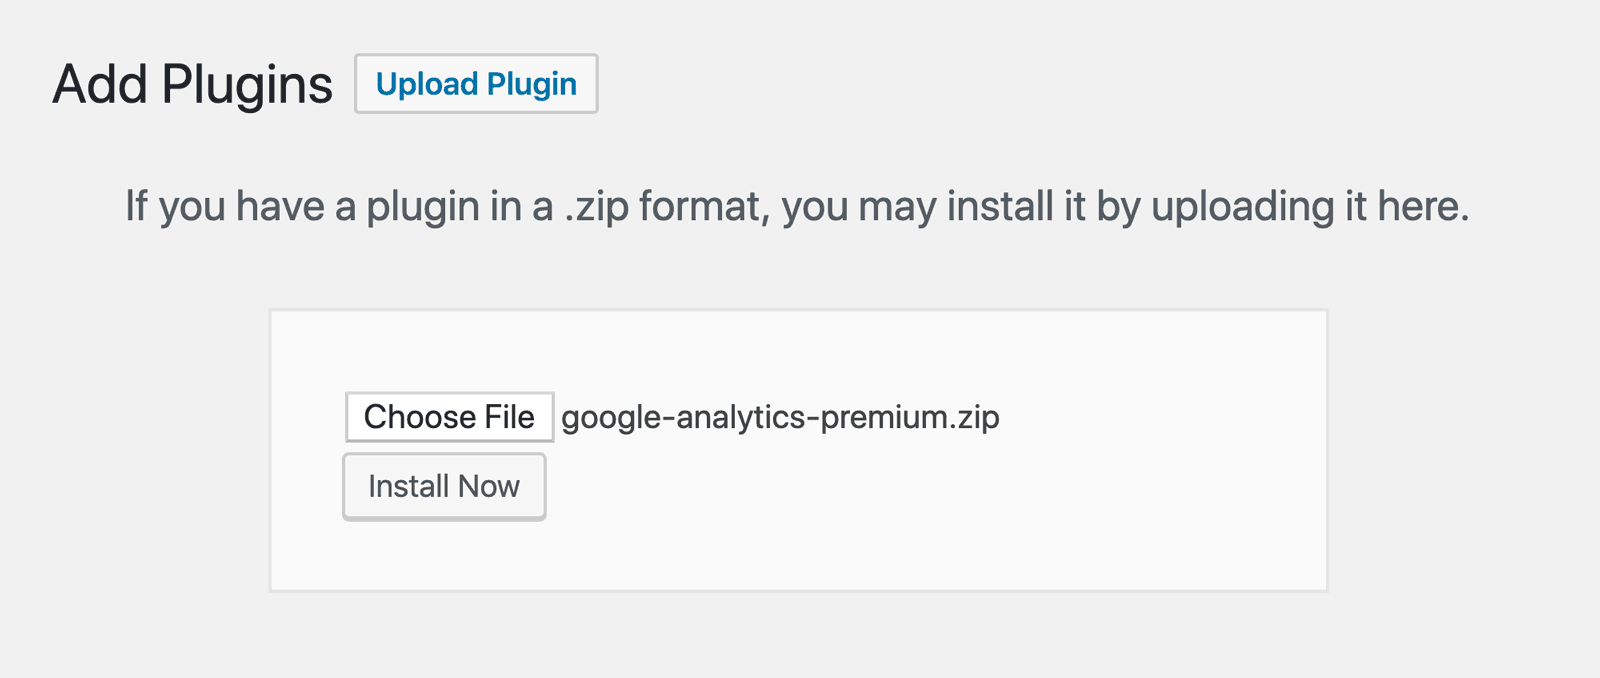
On your dashboard, navigate to plugin → Add New and click the upload button at the top corner. Choose the file button and select the downloaded zip file.
Step 2: Activate MonsterInsights Plugin
Once the upload is complete, click on Activate Plugin.
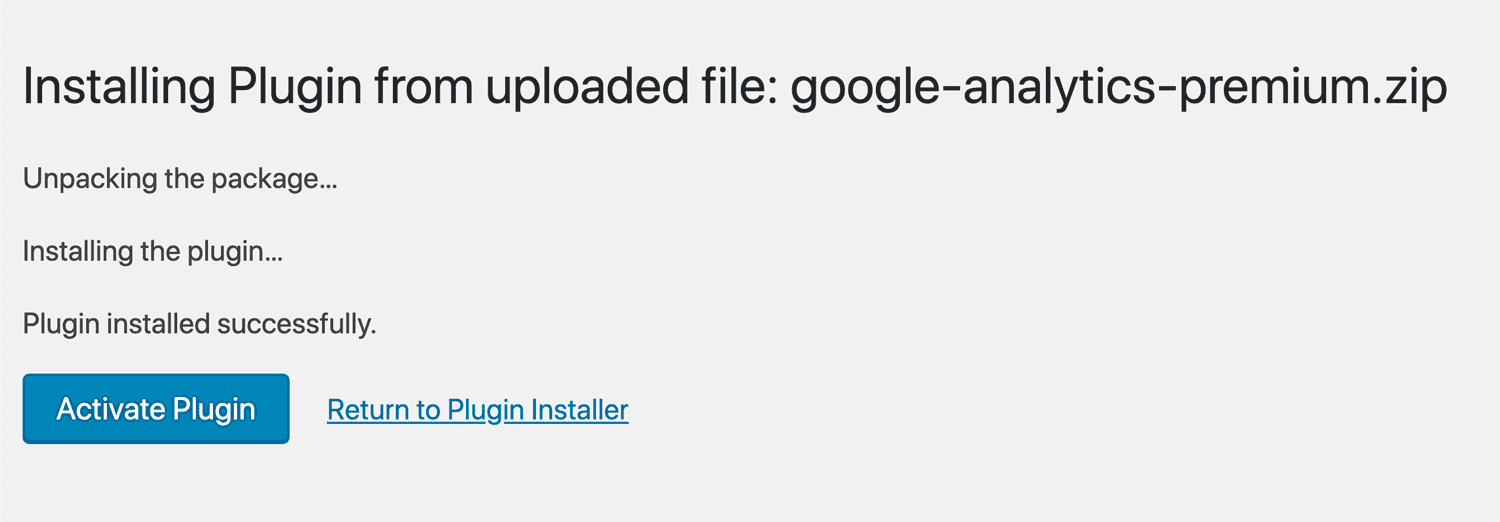
After the plugin is uploaded, the Set Up Wizard appears.

Select your site category and insert the license code provided to you after paying for the subscription.
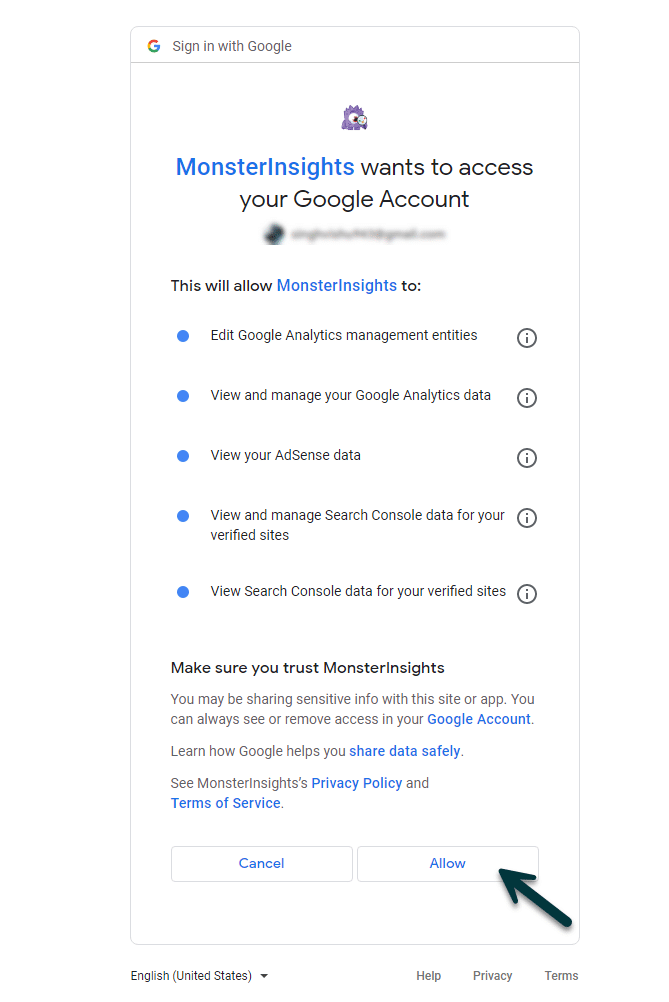
Step 3: Connect MonsterInsights with the Google Analytics Account
Log in with your Google Analytics account and allow access to your Google account.
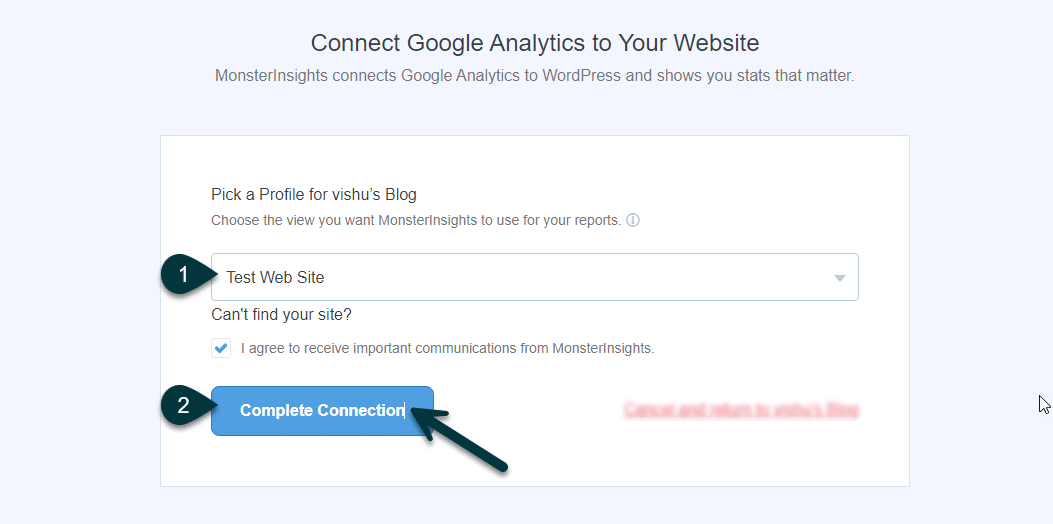
Choose your profile connected to the Analytics account and click “Complete connection.”
After that, you will continue to the MonsterInsights setup page. Use the recommended settings, then proceed.
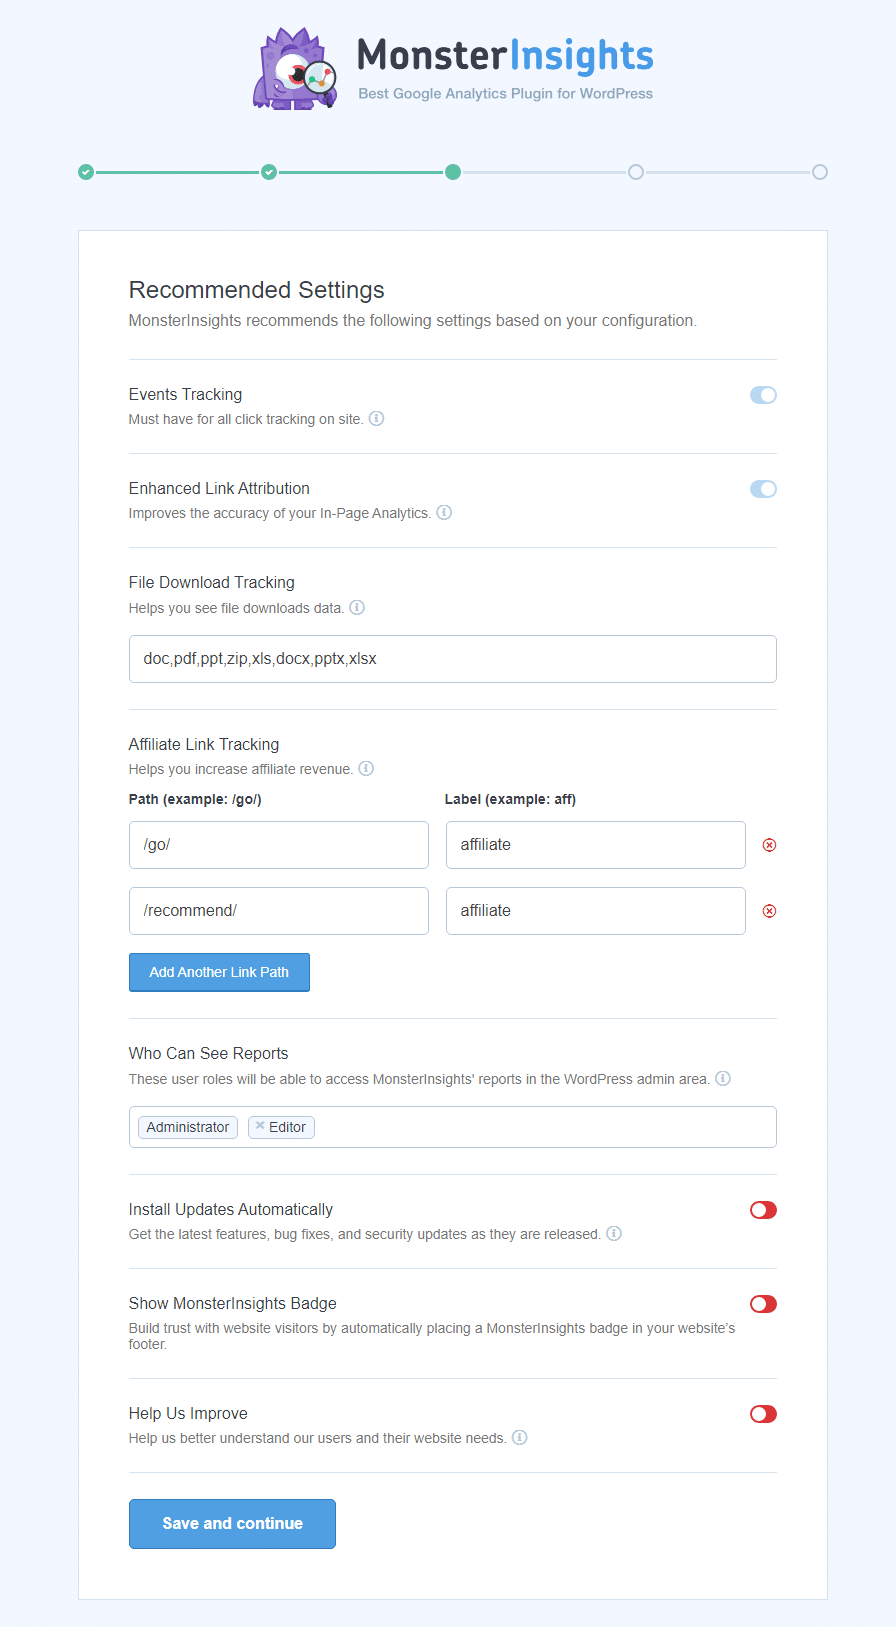
Click “Save and Continue” until you reach the “Awesome! Tracking and Analytics are All Setup.”
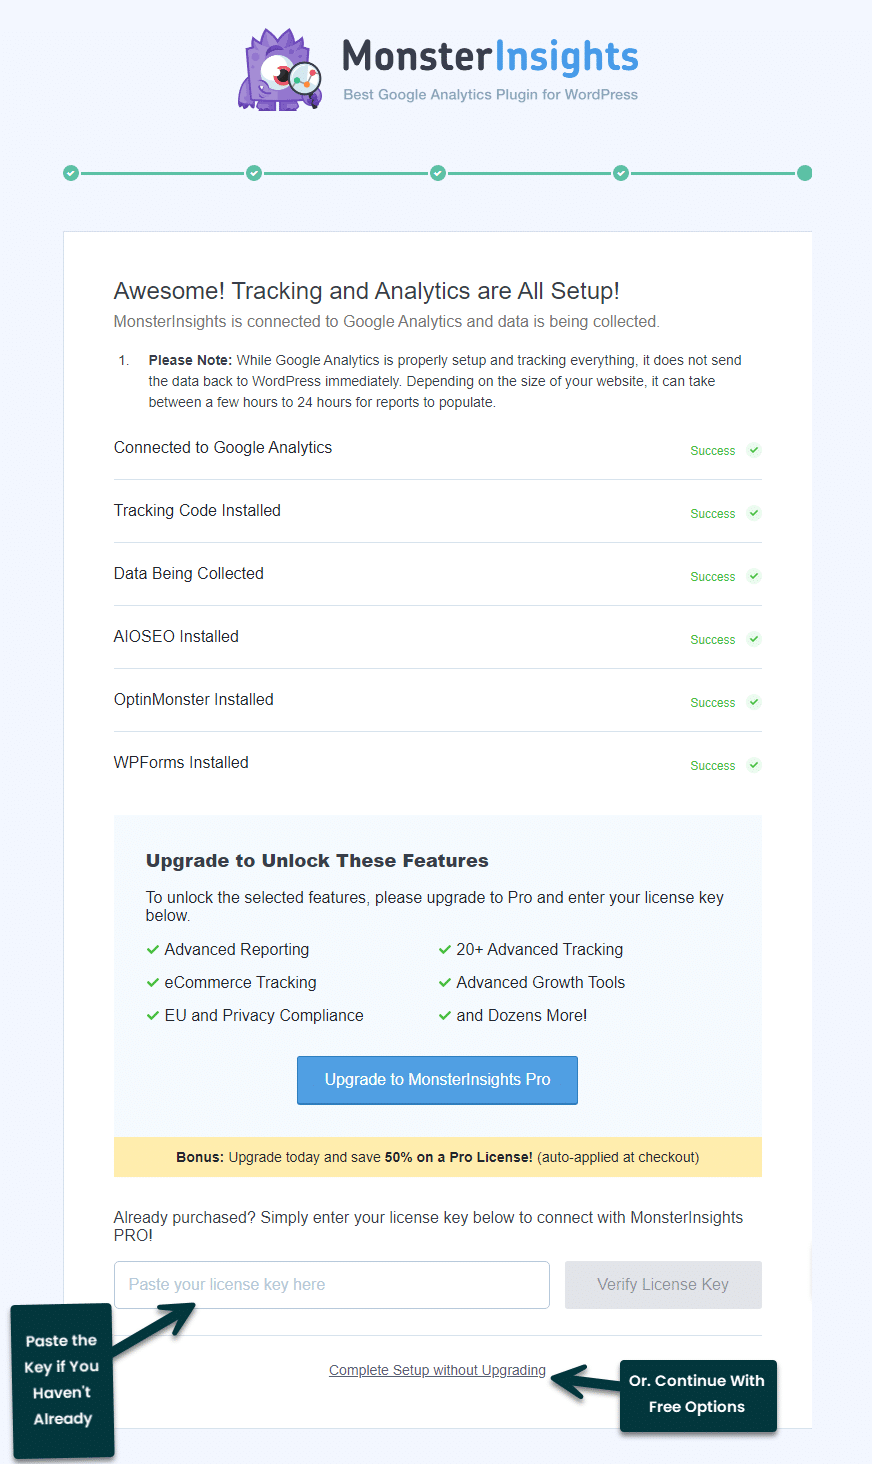
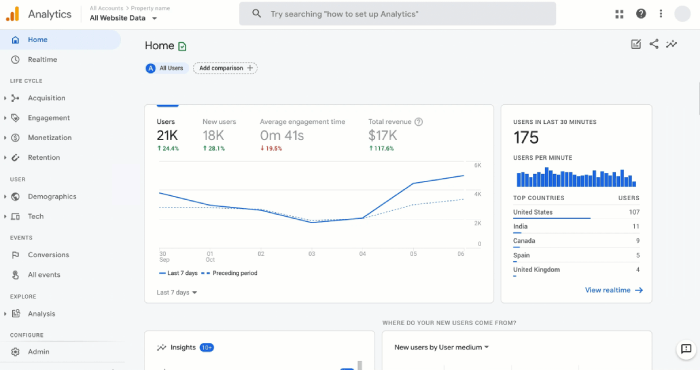
That’s it! You can now view analytics from your WordPress dashboard.
Conclusion
Google Analytics 4 is a significant update that will help businesses and marketers make better use of SEO data and optimize ads.
In the hands of a skilled individual, this upgrade can improve products and marketing strategies and build better connections between customers, products, and the company.
We hope this guide led you to the promised land and allowed you to install GA4. Feel free to reach out to us if you need any help.