Instagram is one of the most popular social media networks.
Many people use it to socialize, promote their businesses, and keep up with the latest trends. While on Instagram, you can send messages, like photos & videos, comment on a post, post your photos & videos, add stories, create reels, and much more.
If you haven't joined yet, you are missing out on a lot.
The Instagram Reels are like videos but a bit shorter, like YouTube Shorts. Reels can be used to engage with your followers and simply build your brand.
However, as much as they are short, they can take up a considerable amount of time to record and edit. Therefore, to keep your followers engaged, you can opt to be recording and then schedule the Reels for a later date.
In this article, we will cover top strategies for scheduling Reels, how to schedule an Instagram Reel using various tools, and the importance of scheduling Reels.
Is It Possible to Schedule Reels on Instagram?
To answer this question, we need to first understand what it means. Does it mean you want to use Instagram only to post your reels? Or you need to schedule reels on Instagram.
For the earlier, the answer is No. You cannot use Instagram itself to schedule reels.
However, for the latter, you can use some of the best tools for Instagram scheduling that allow reels as well.
Below, we will explore those tools one by one.
How to Schedule an Instagram Reel (Best Tools for Instagram Reels)
Can you schedule reels on Instagram? We have highlighted some of the best ways to schedule Instagram reels that you can use.
1. How to Schedule Reels Using the Later Tool
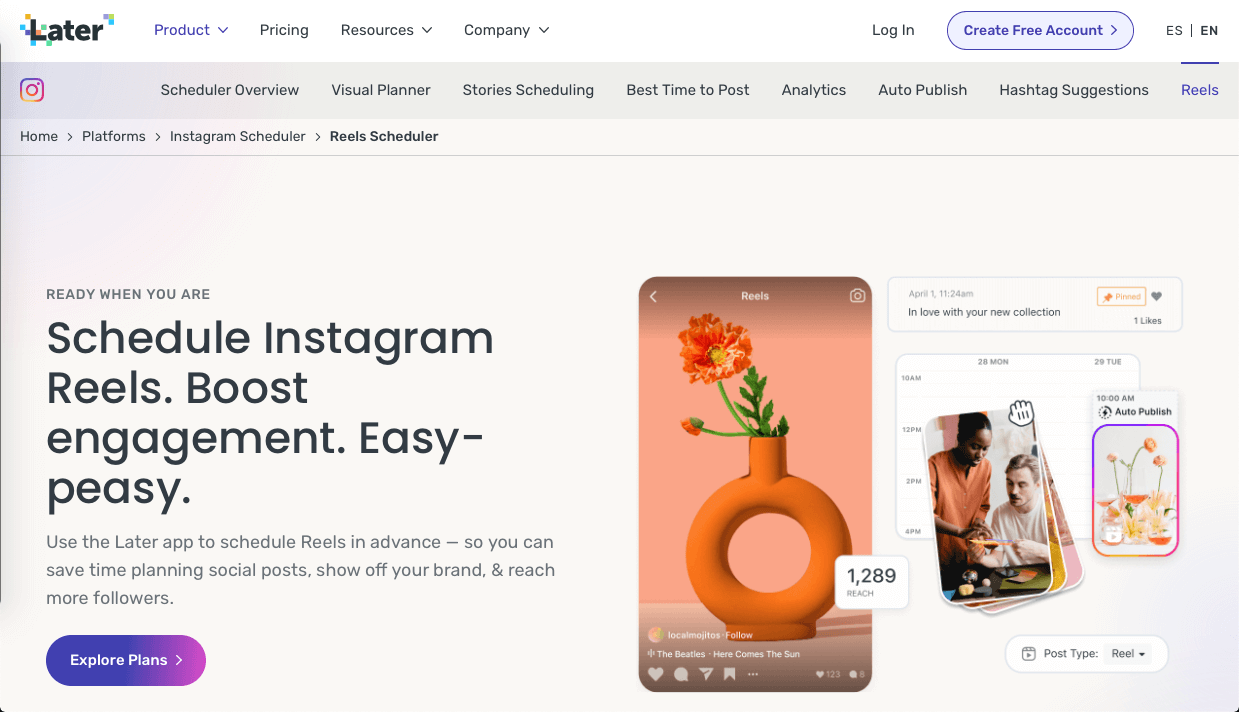
If you want to schedule reels to be posted after a while, you can use the Later tool. It is trusted by many brands, creators, influencers, and social media managers. Therefore, you shouldn't be left out.
Not only can you use it on Instagram, but also on other social media networks.
Step 1: Connect Your Instagram Account With Later
To schedule reels, the Later tool can either be used on the web or downloaded as an app on a mobile phone. Depending on your device, access Later. You need to create your account first. It's a premium Social media management tool, hence, you need to opt a plan to use its services.
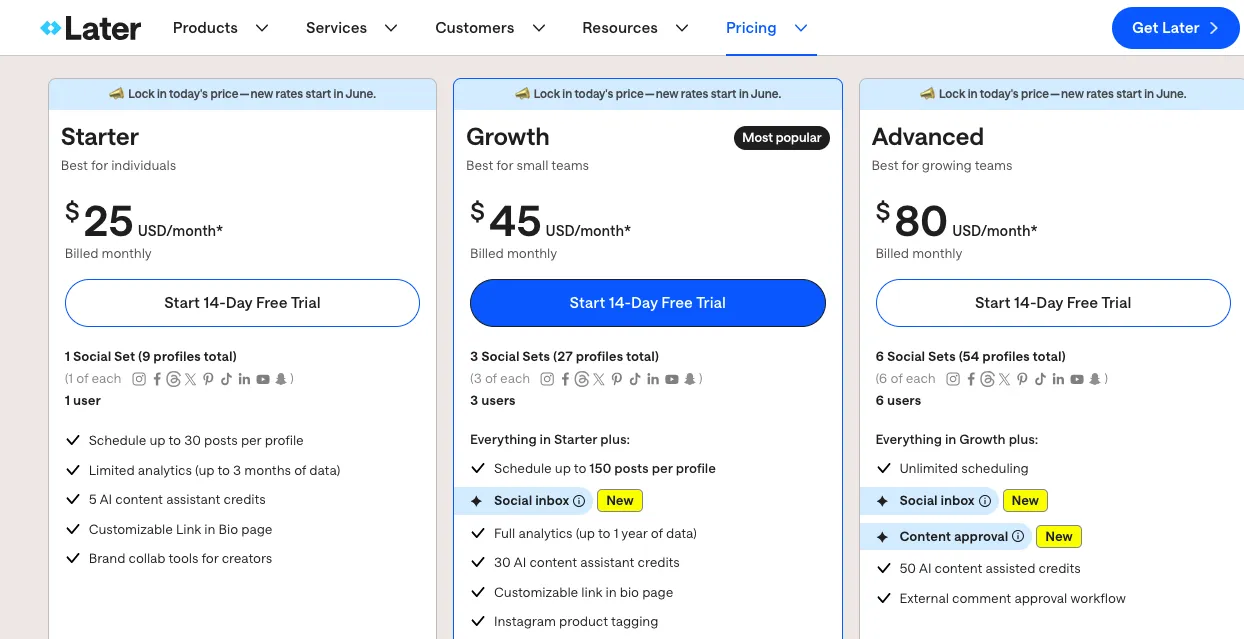
It's pricing plans starts from $25/month. If you're an individual, you should opt the Starter plan.
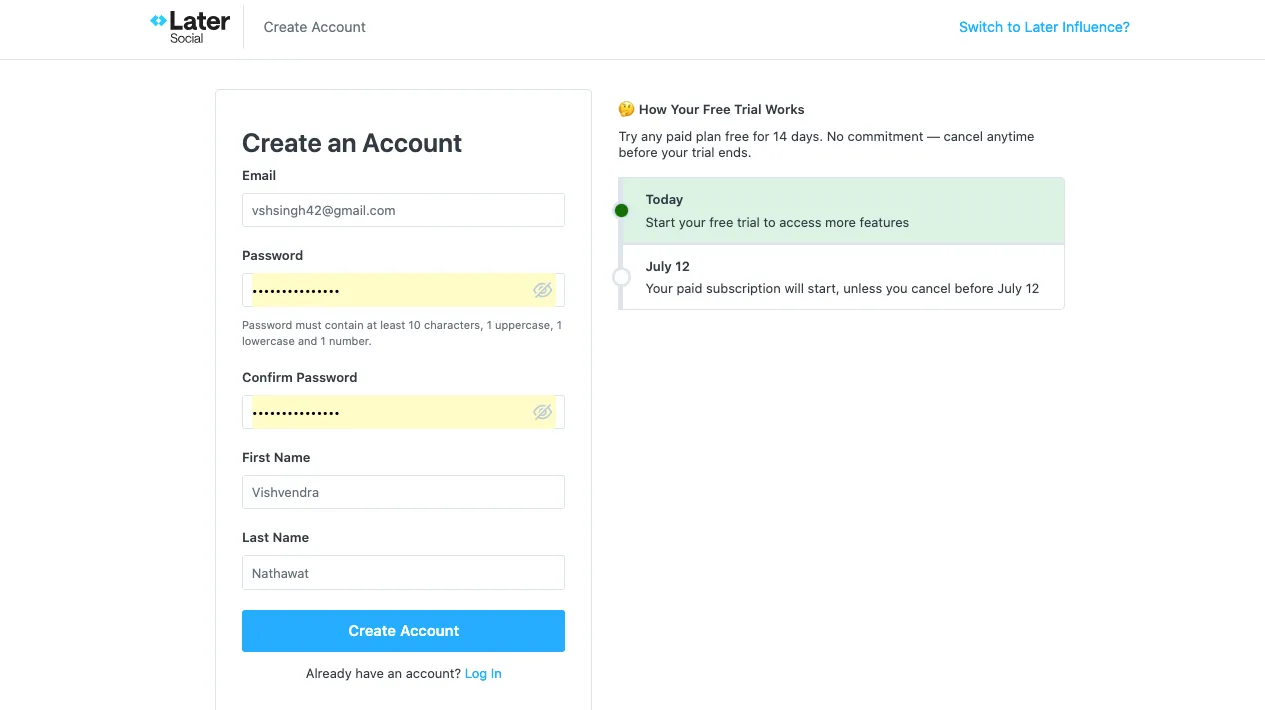
After the selecting the plan, you will be redirected to a page asking for details to create account. Simply enter your details and create a Later account.
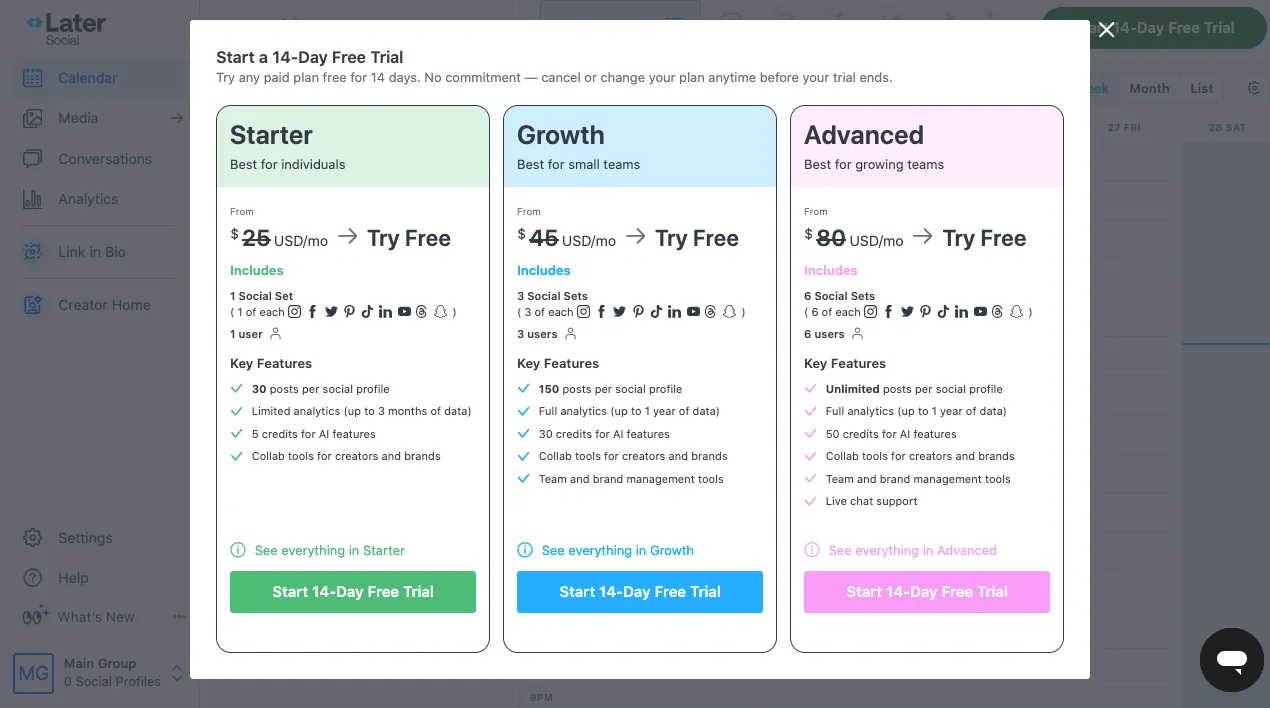
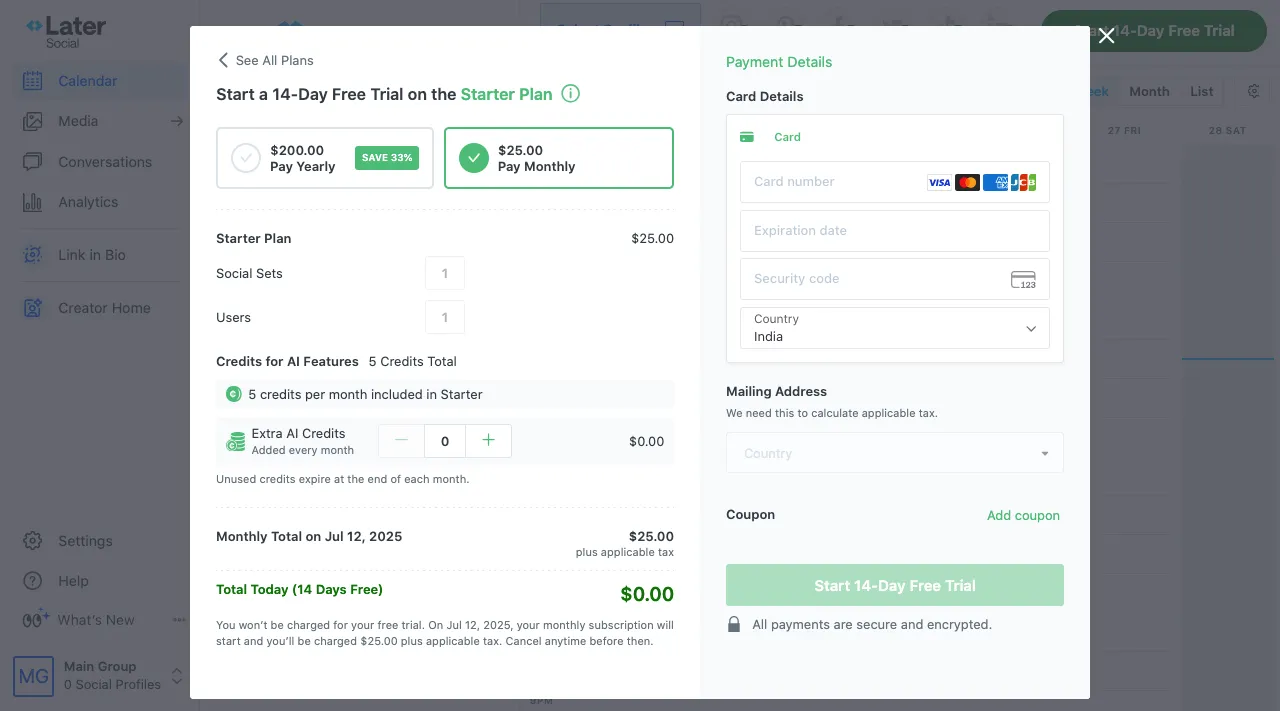
Once your account is created, you need to again choose which plan you want to use. Select, Starter, and click on Start 14-Day Free Trial. As you do so, you need to enter your card details to activate the account.
After entering your details, you need to select the platform you want to manage using Later. Click on the Instagram profile option.
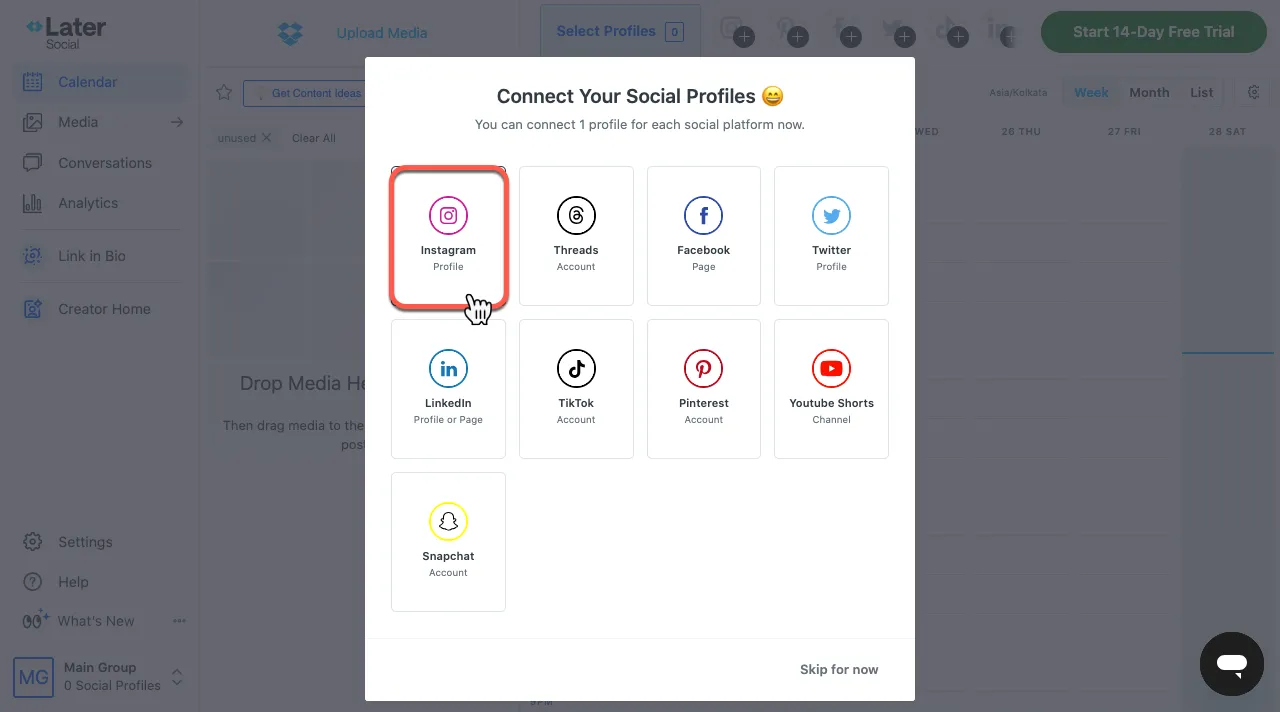
As you do so, you will be redirected to Instagram. There, you need allow access permissions to Later-IG. Simply click Allow.
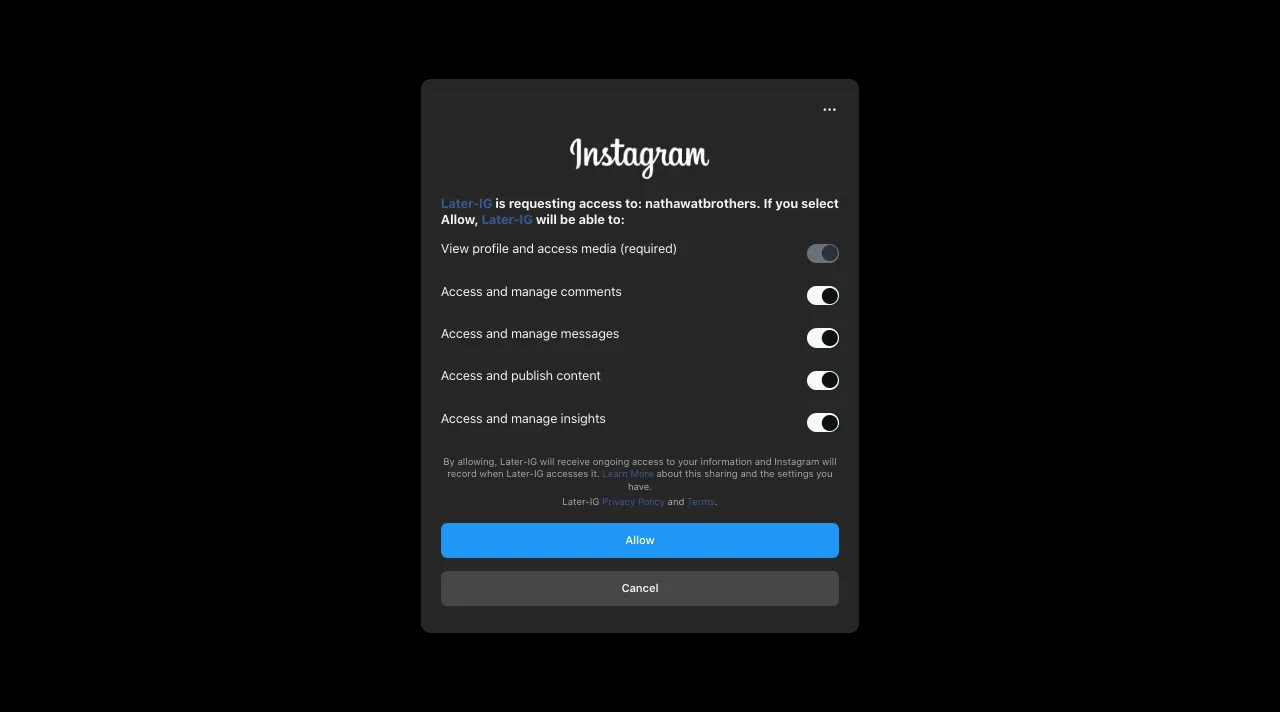
Once done, you can access your Later dashboard like the following connected to your Instagram account.
Now, move to the next step to learn how to schedule reels on Instagram using Later.
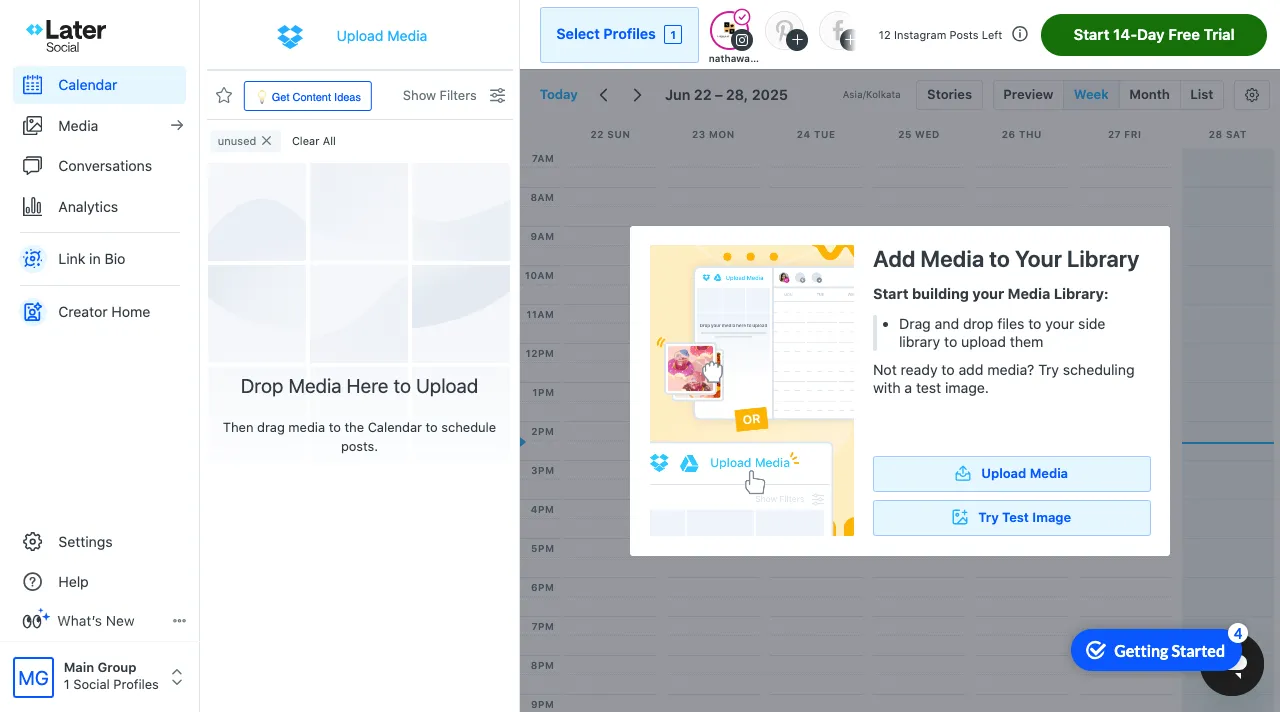
Step 2: Upload Your Reel to the Media Library
Once you have successfully connected your Instagram account with Later, to schedule reels, you will need to upload your edited reel video to the media library. However, ensure you have already recorded and edited the reel before posting it in the media library.
To upload your media files, click on the Upload Media button.
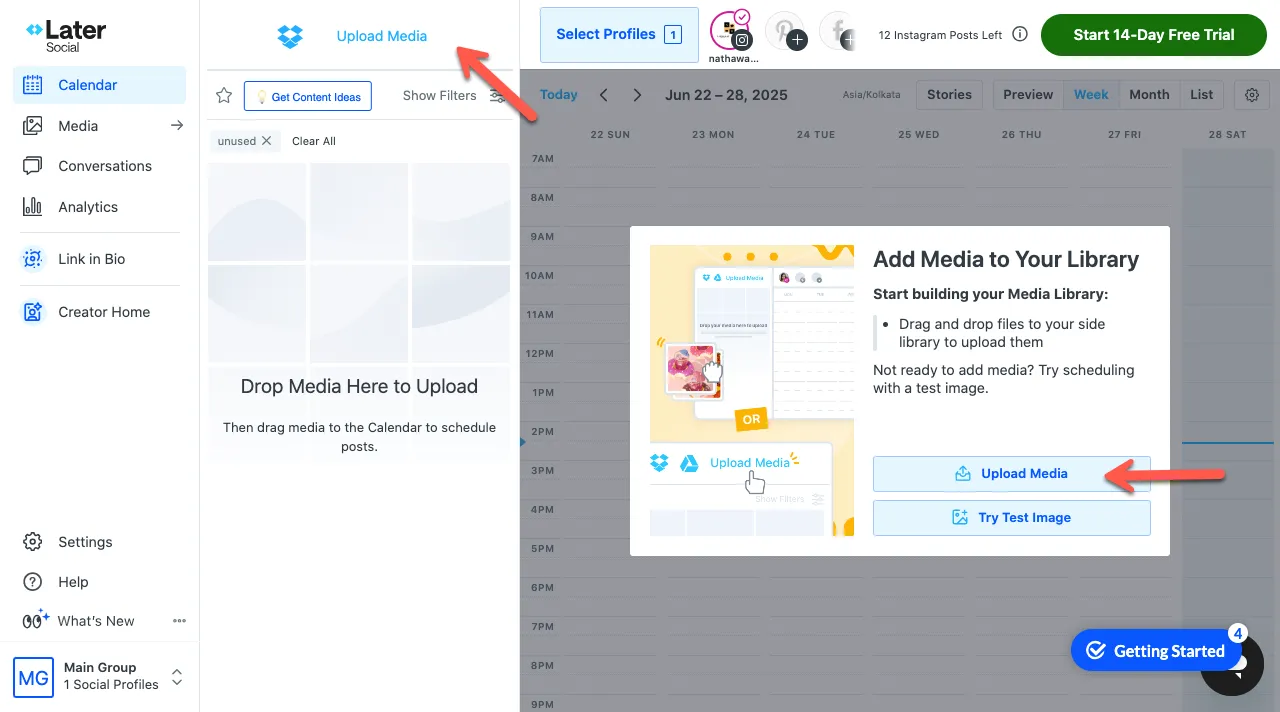
You can also drag and drop files directly into Later dashboard.
Step 3: Add Captions, Hashtags, and Other Details
Once you have uploaded the video to Later's media library, drag the video to the calendar to open the post builder.
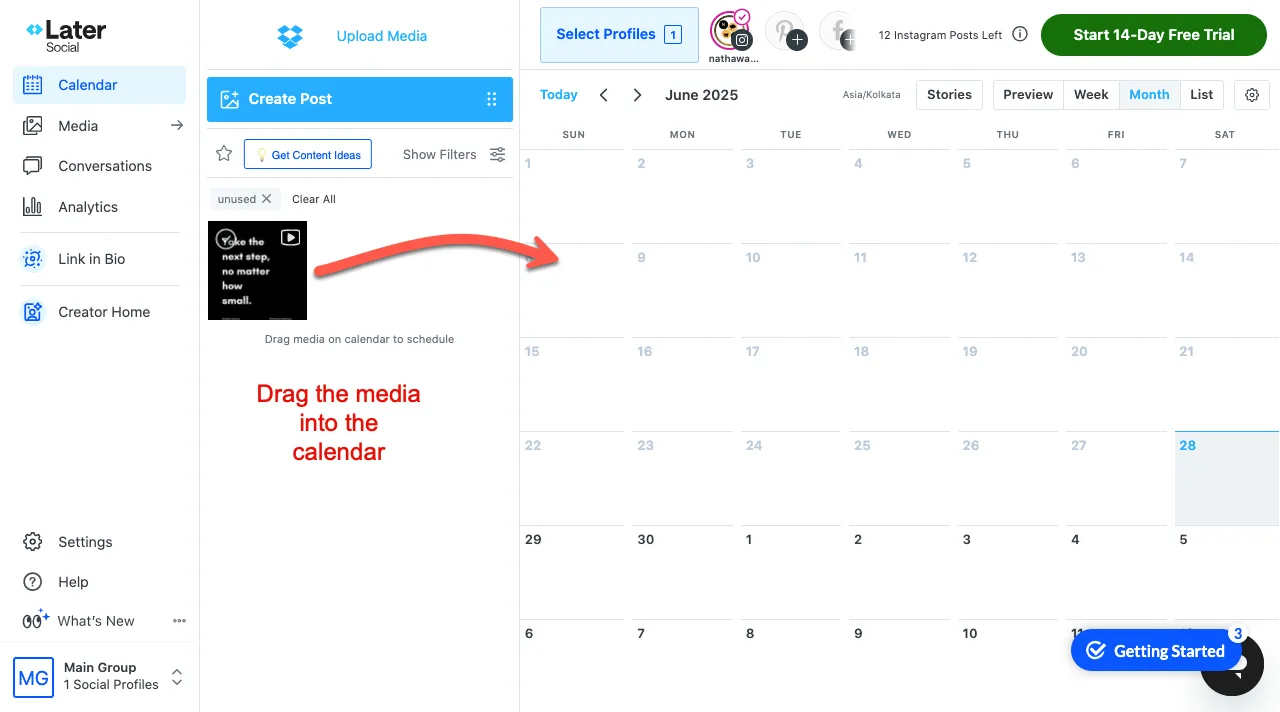
As you drop the reel into the Later's calendar, a popup will open with fields to enter the reel's:
- Caption
- Hastags
- First comment
- Location
- Tag people
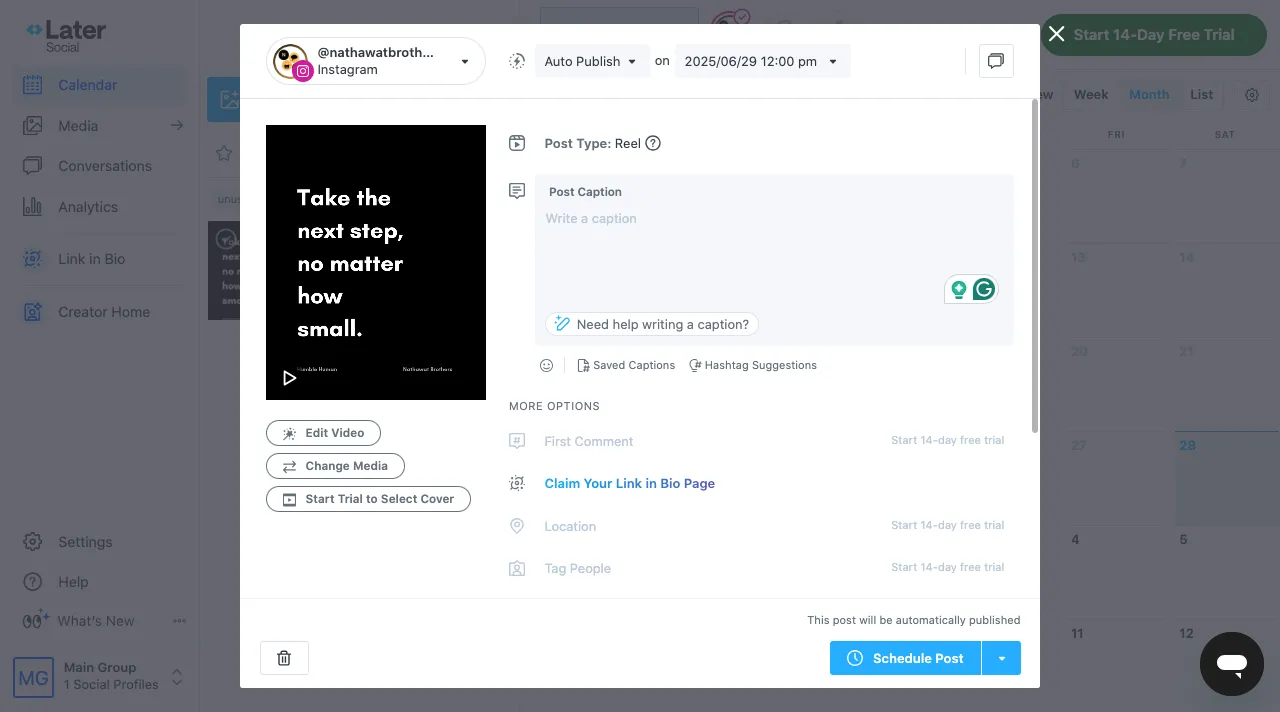
Enter the details respectively, and once done, click on the Schedule Post button. This will schedule your reel on Instagram for the date and time you have selected.
Step 4: Edit Your Reel
If you feel you need to modify the Reel, do so. You can edit the video to change it or select a new cover. For that, you simply have to click on the Edit Video button.
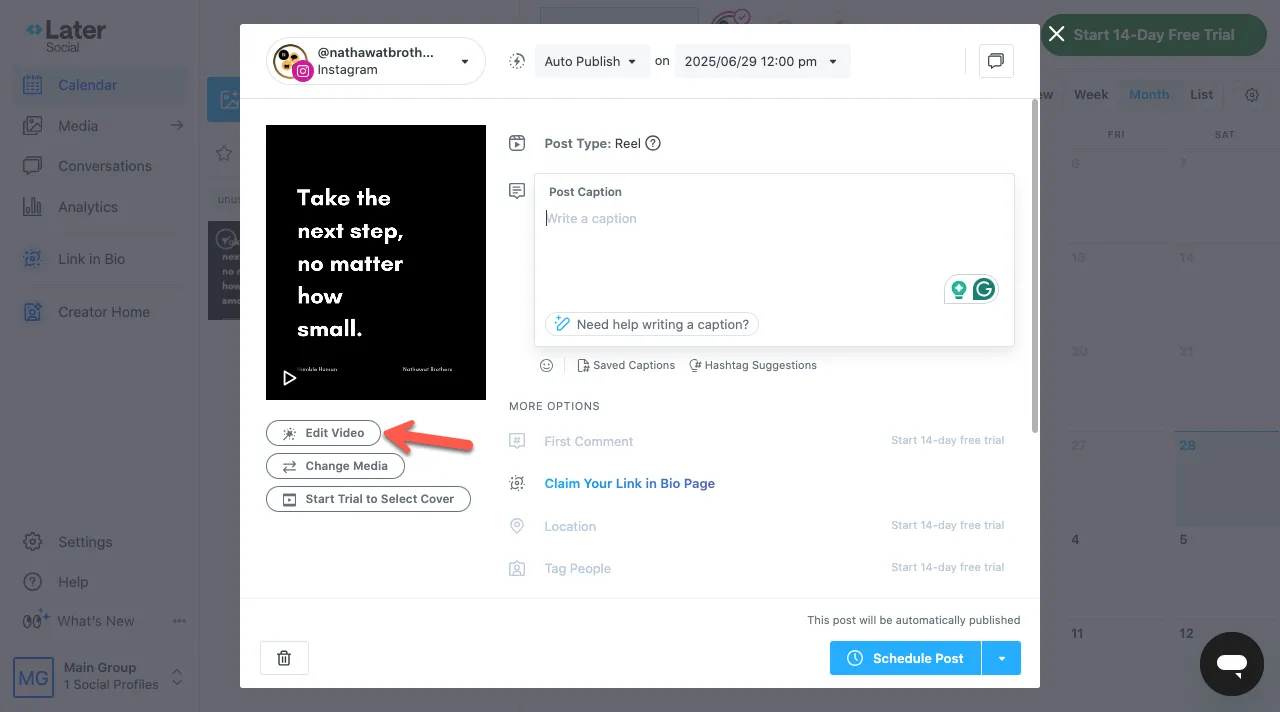
This will open the video editor in the Later app just like the following:
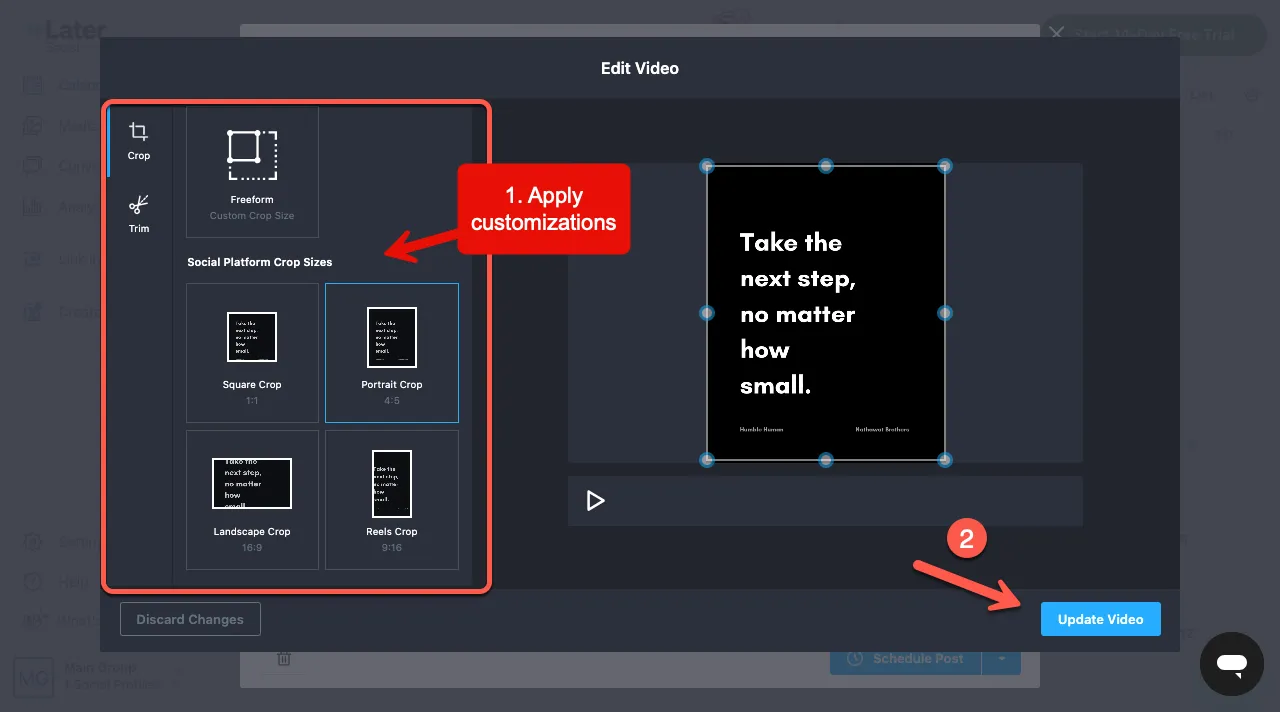
Make appropriate changes to your reel, and you are done, click Update Video.
Good reels, or you can say reels that have better engagement, are only 90 seconds long. Therefore, try to record a video of a good length for optimal viewing. Click the crop option and use the trim tool to edit it as you wish.
Unfortunately, it is not possible to upload custom cover images for scheduled reels.
Step 5: Choose the Perfect Time and Date to Schedule the Reel
Once you are done editing the post, select the appropriate time and date the Reel should be posted on Instagram.
You can schedule the time and date at the top of the page. Next, proceed to settings and under the "Share to Feed" toggle, decide whether the Reel should appear on your Instagram account profile or not.
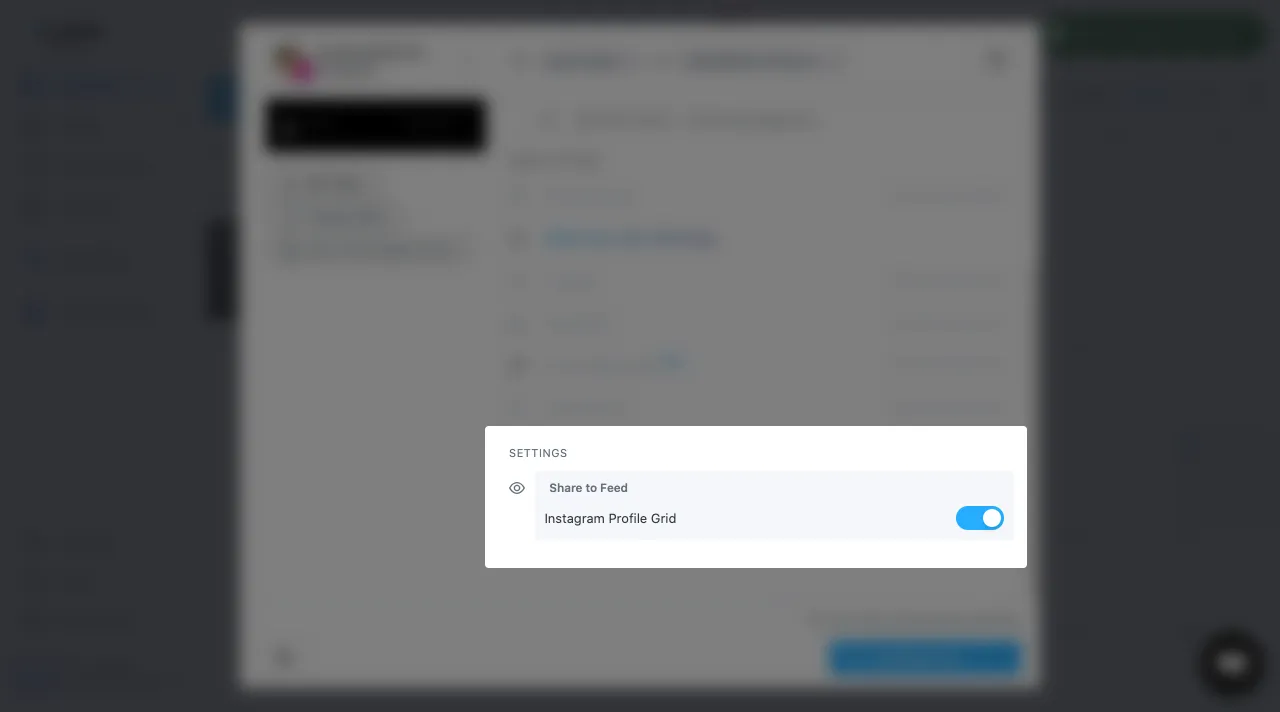
To display the reel on the Profile Grid, keep the toggle enabled; otherwise, turn it off.
The Reel will be posted at the scheduled time without you having to do anything. That’s how you can schedule later reels.
2. How to Schedule Reels on Instagram Using Hootsuite
Hootsuite is another social media management app for scheduling reels.
Step 1: Record and Edit Your Video
The first step is to record your reel or video as per your preference. Make the reel more appealing by using graphics, audio, and sound effects through Instagram.
Once done, save it to Instagram and your phone/device.
Step 2: Log In to Hootsuite
Sign in to your Hootsuite account, if you don't have an account, then create the free 30-day trial one.
2.1 - Creating Hootsuite Account
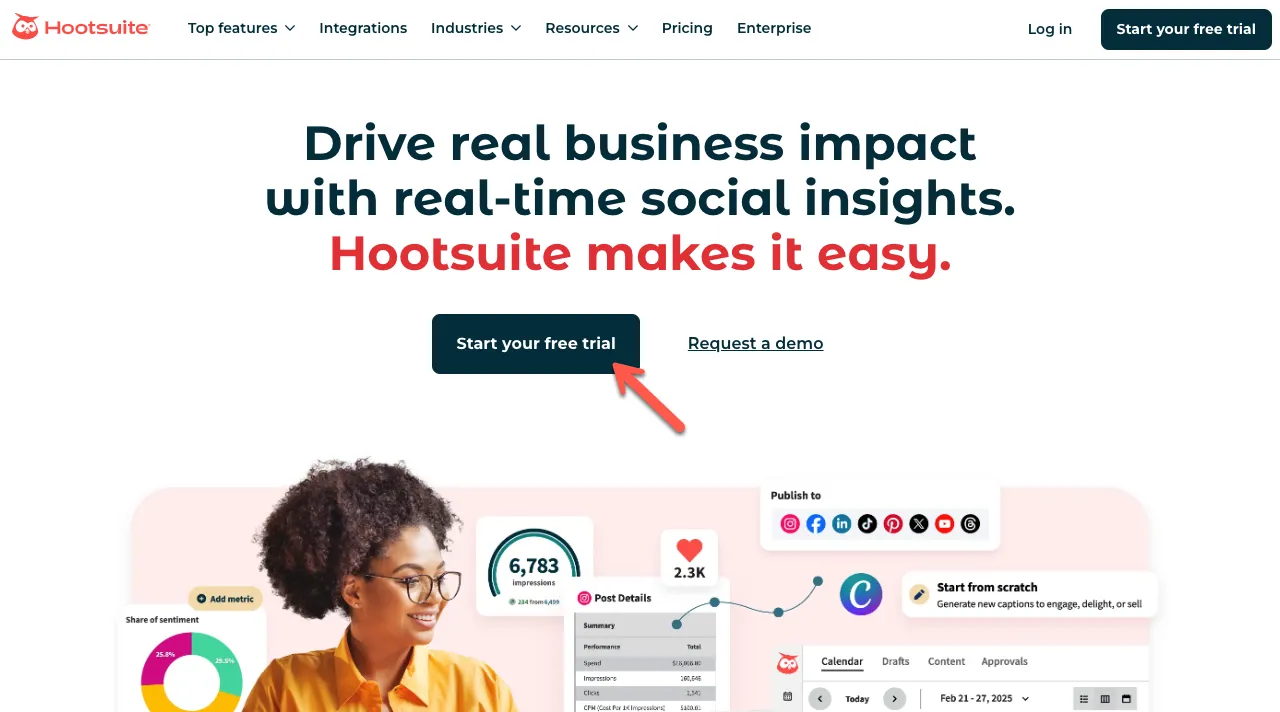
Go to Hootsuite and click on Start your free trial button.
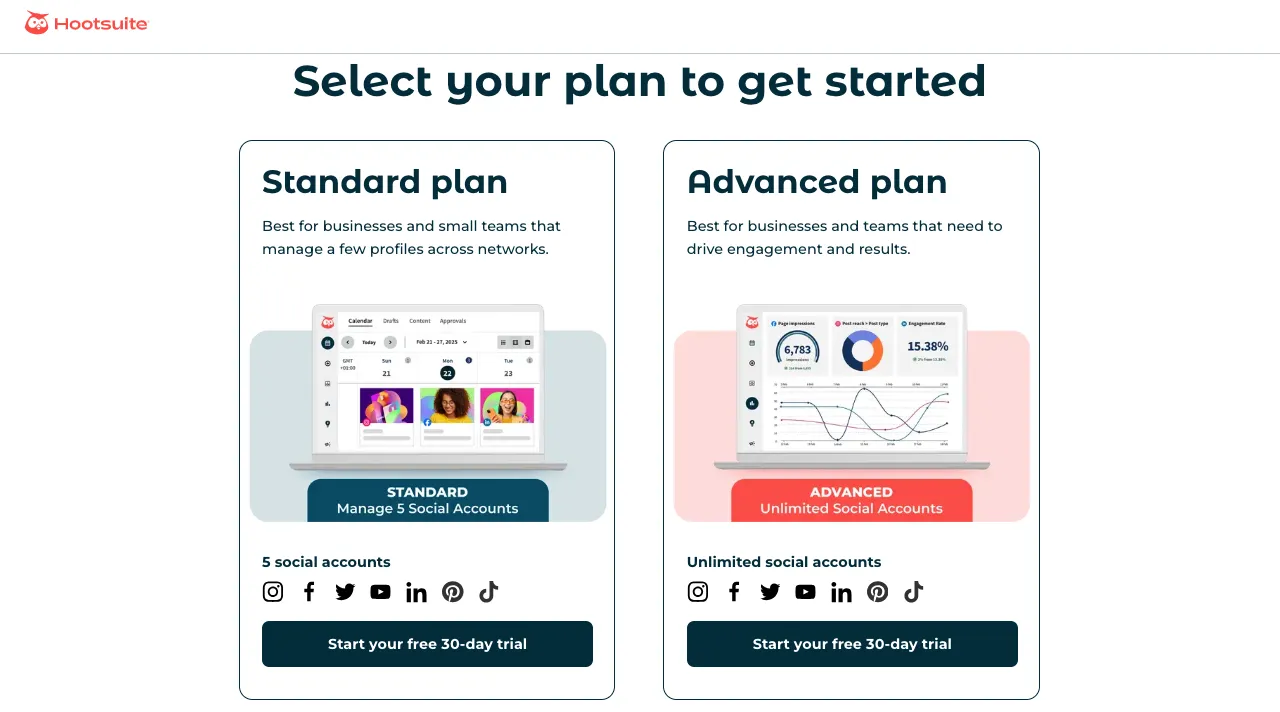
Select your plan. Hootsuite has two plans:
- Standard: for 5 social media accounts.
- Advanced: for unlimited social media accounts.
Select the one based on your requirement. Upon your selection, you will be redirected to the Let's create your account page.
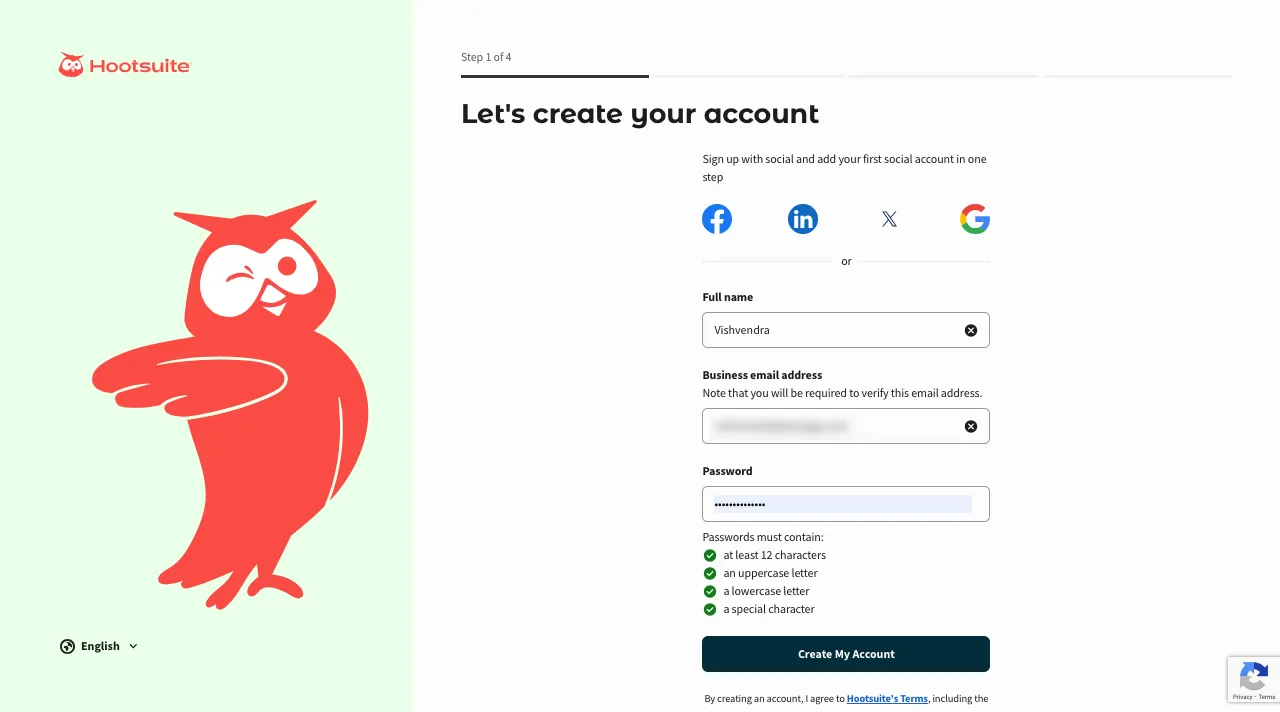
Simply provide your details and finish with the signup.
2.2 - Connect Instagram Account
The Hootsuite account creation steps will ask you to connect your Instagram Business account. So, for that, click on the Instagram Business.
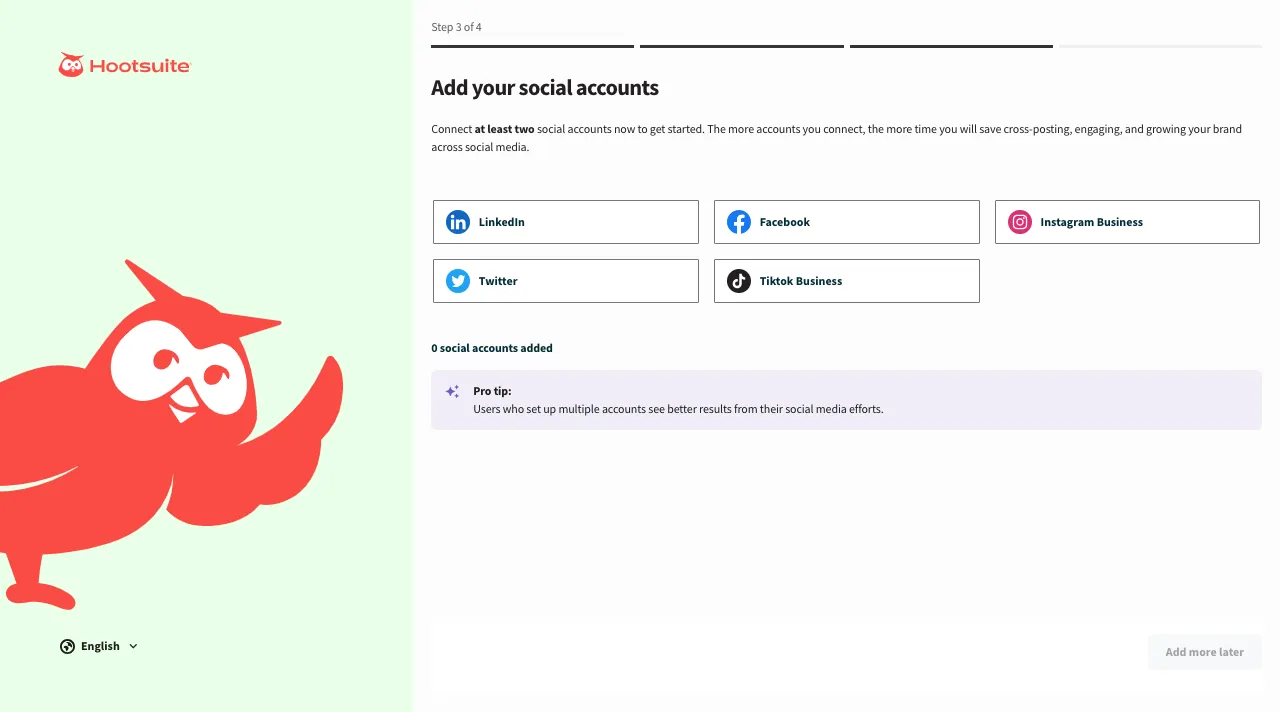
You have to do that by loggin into Facebook.
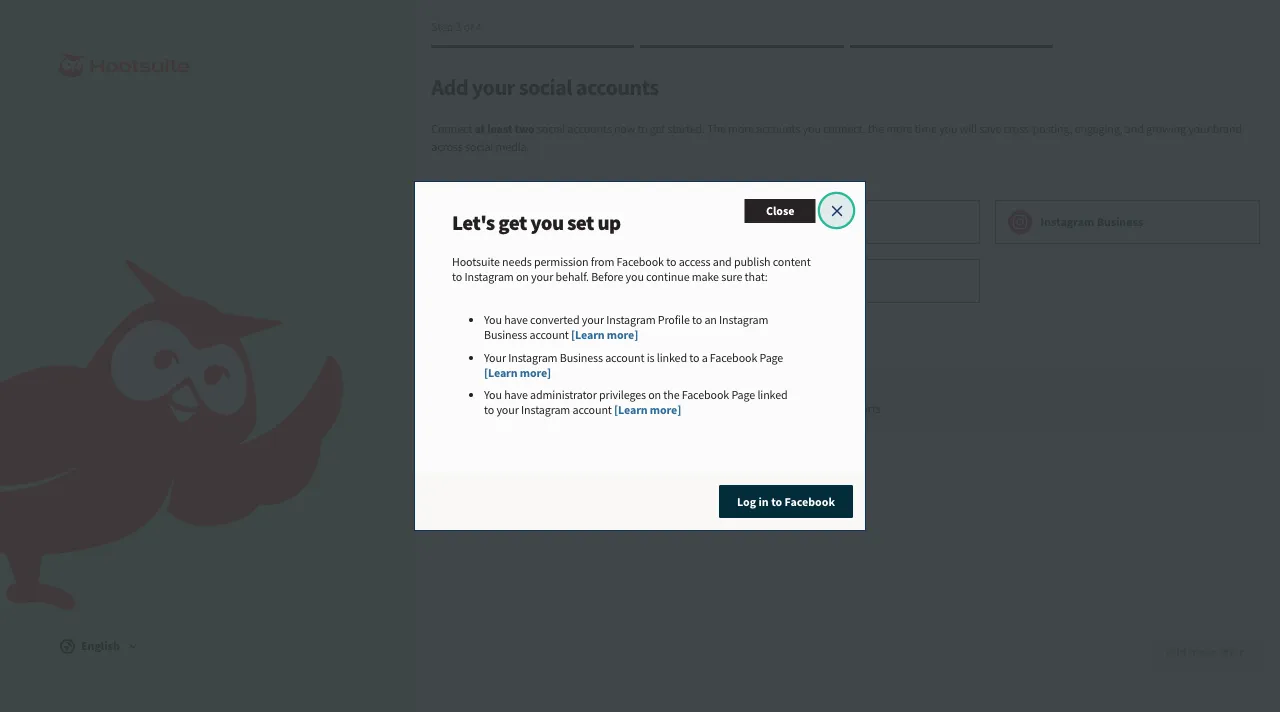
After loggin into Facebook, you need to allow providing Hootsuite certain permissions in order to schedule reels on Instagram on your behalf.

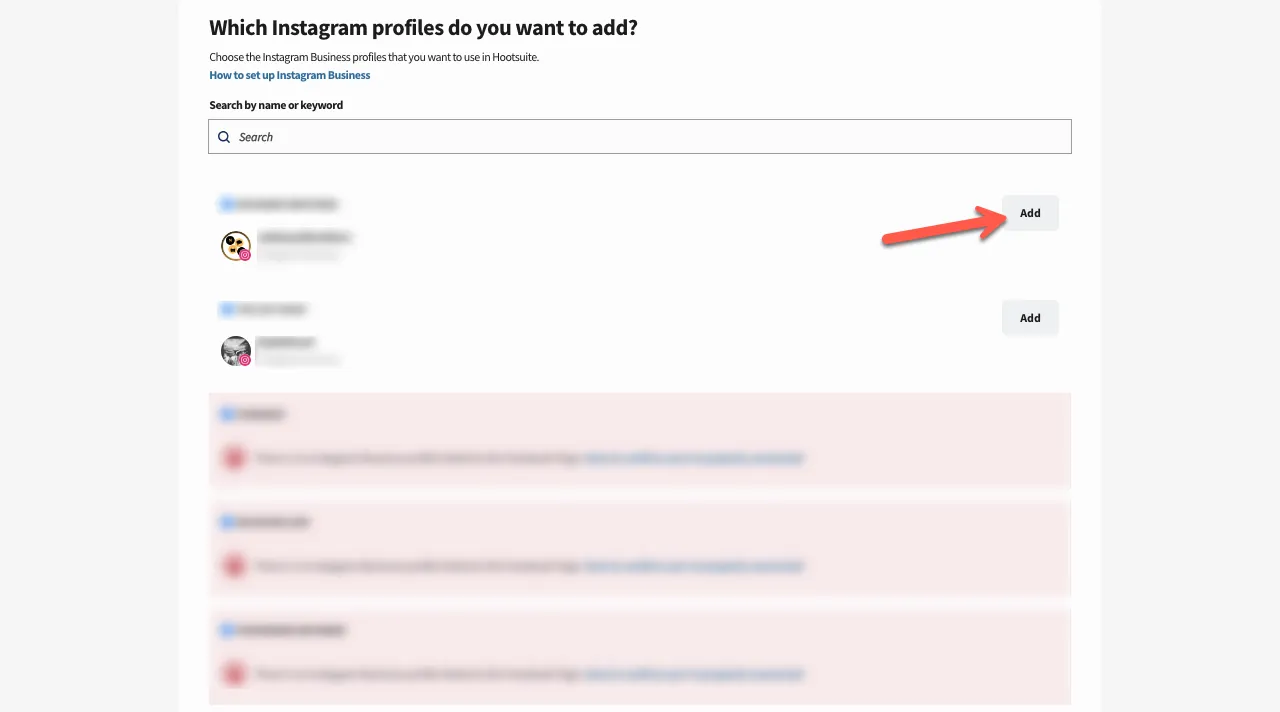
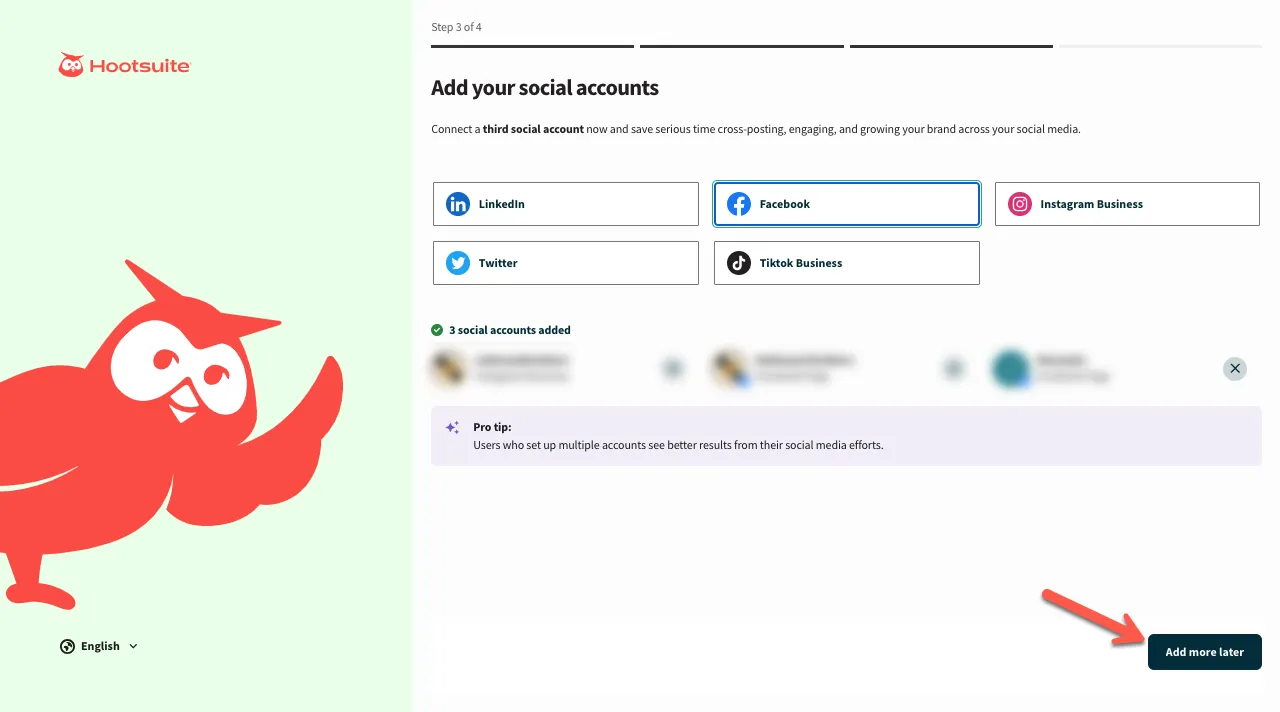
Click on the Continue as button. As you do so, you will be provided with all the Instagram accounts you can connect with Hootsuite to schedule reels.
Select the ones you need to schedule reels on. Simply click Add next to the Instagram accounts.
Once you have added the Instagram account to Hootsuite, click Done.
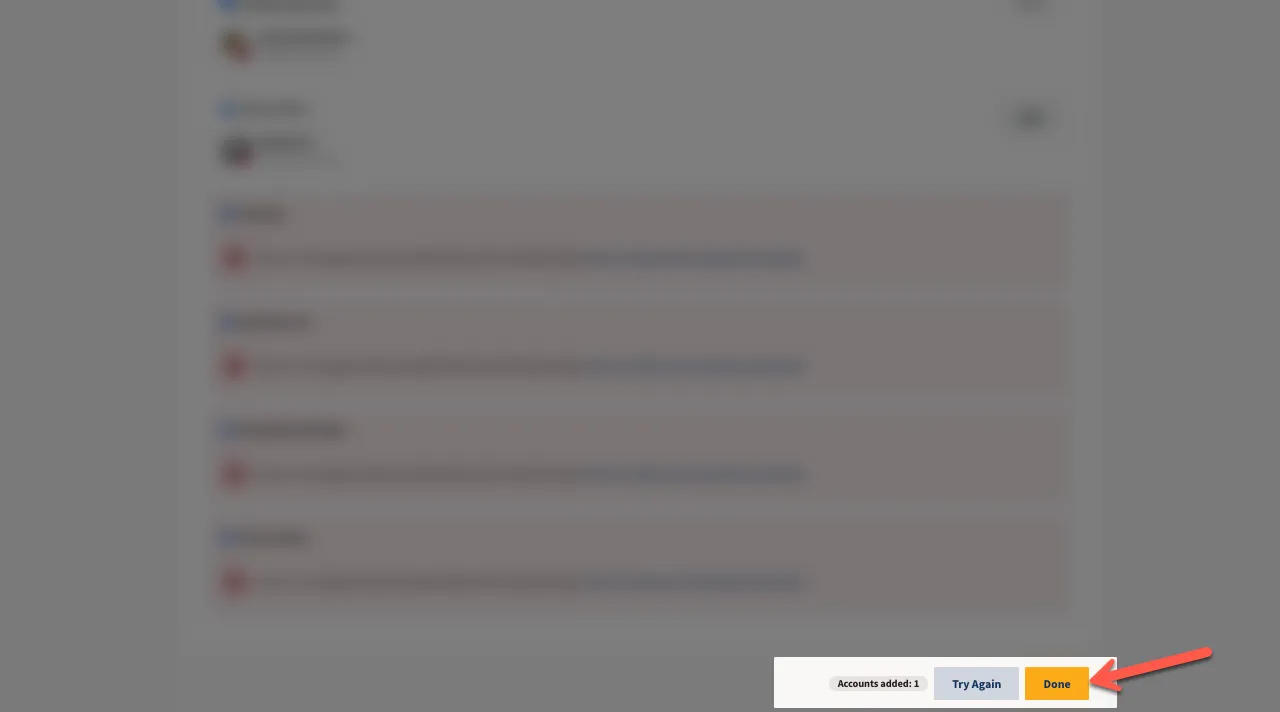
After adding all the accounts, click Add more later to proceed.
Your Hootsuite account is successfully created. You will be redirected to the Hootsuite dashboard automatically.
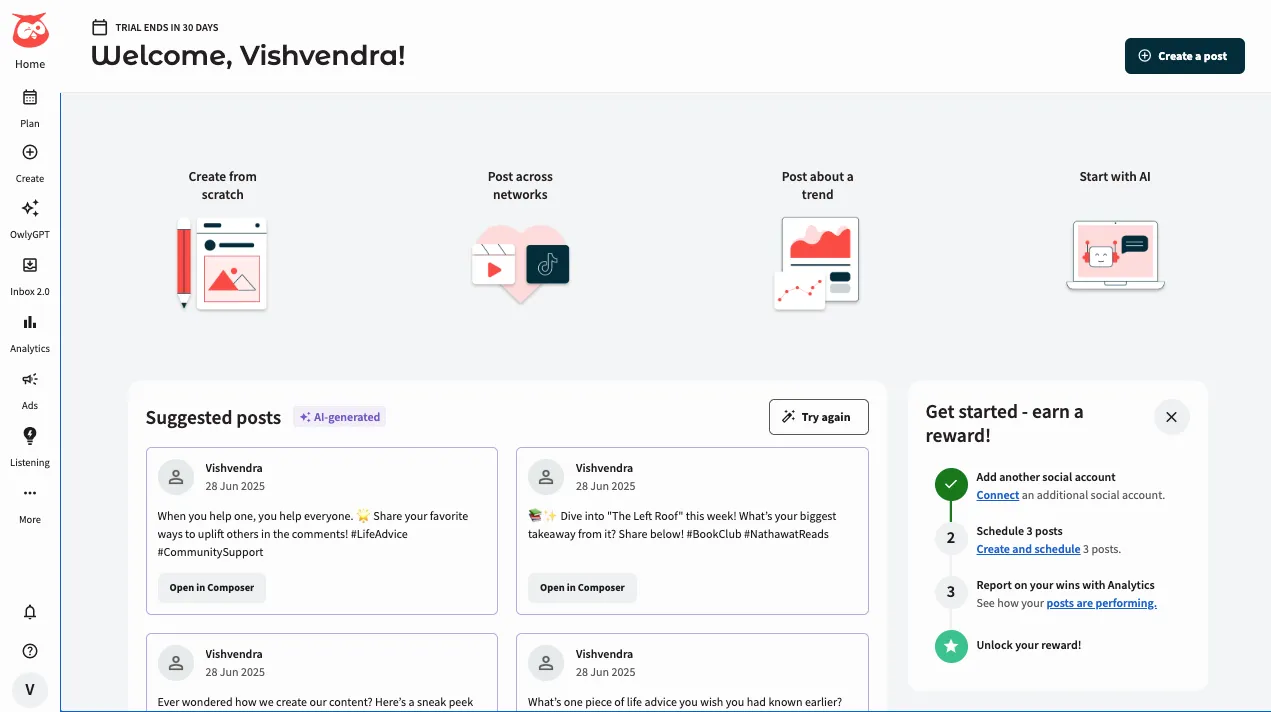
Now, move to the next step to learn how to schedule reel on Instagram using Hootsuite.
Step 3: Upload It in Hootsuite
While in the Hootsuite content section, tap the "Create" option.

Then, click the Post, and it will open the post publishing options like the following:
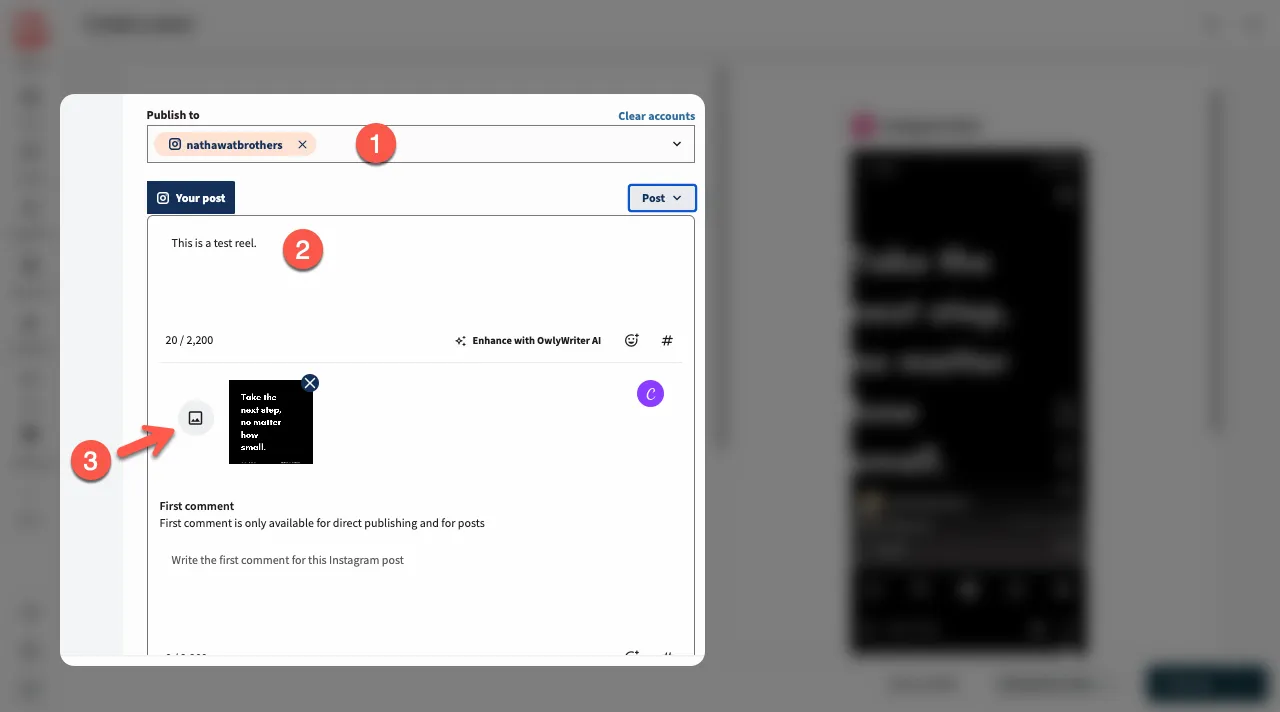
Now, what you need to do is:
- Select your social account where you want to publish the reel.
- Enter reel caption.
- Upload the reel by clicking the media button.
It is required that the reel ranges between 15–90 seconds in length. The ratio also needs to be 9:16 to prevent overlapping.
Step 4: Customize Your Reel
Once you are satisfied with your Reel upload, you can utilize other options of the Hootsuite reel scheduler. For example, you can emojis, hashtags, location, and the first comment.
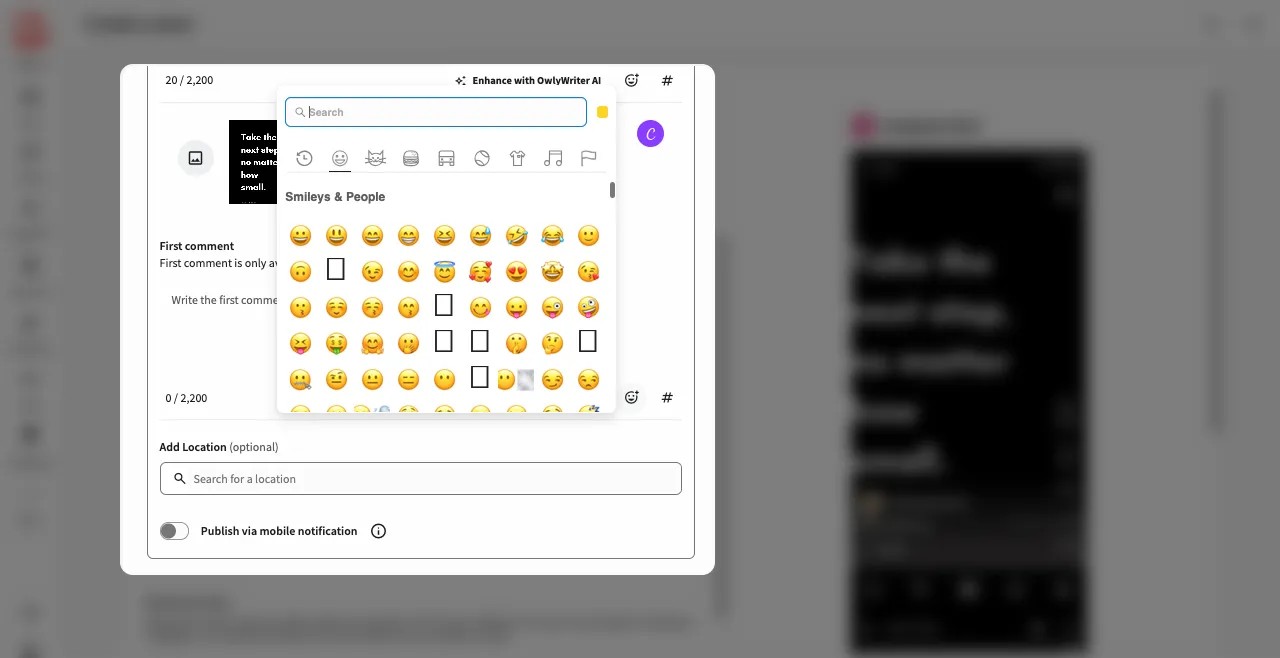
Be creative enough to make the reel engaging for your audience.
Step 5: Schedule Reel for Later
Countercheck your Reel and either post immediately or schedule the reel to be published at a later date. To do that, click on the Schedule for later.

Then, choose the date and time you would want it posted.
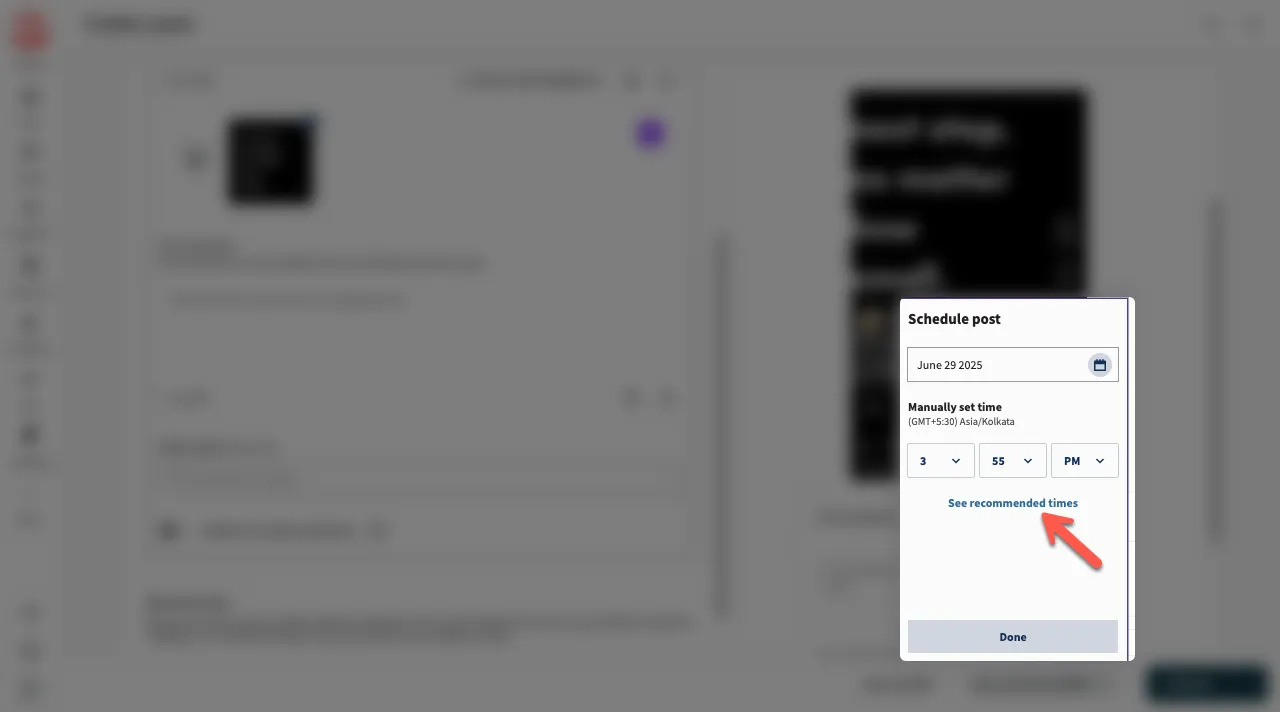
You can also see the times when it's best to schedule your reel by clicking the See recommended times option.
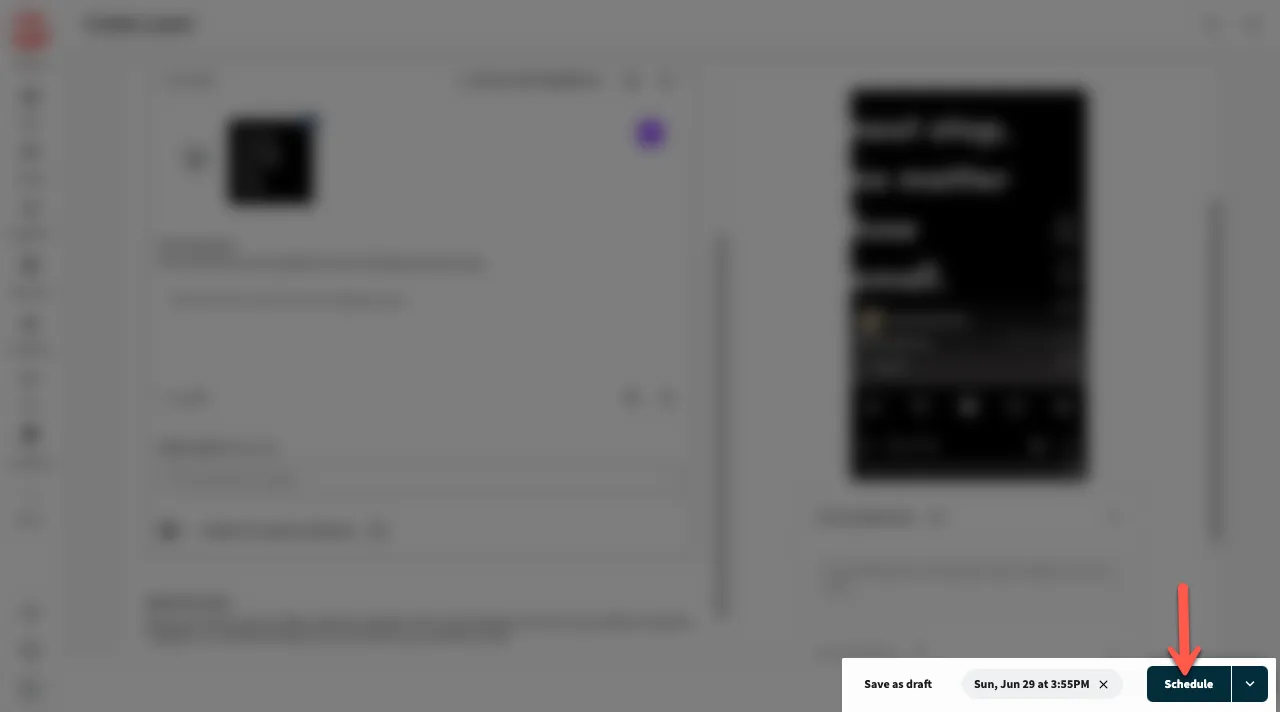
After selecting the time, click Schedule.
3. Use Creator Studio to Schedule Instagram Reels for Free
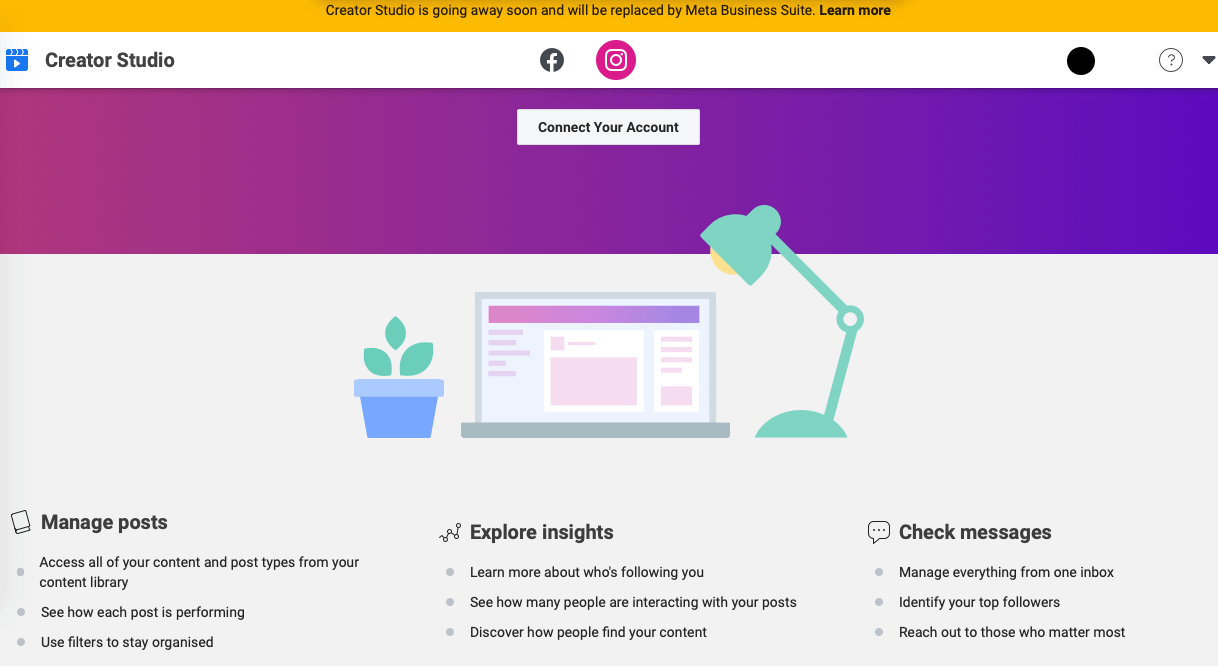
The other option is to schedule reels using Creator Studio.
Not only can it be used on Facebook, but also on Instagram. The method requires your Instagram and Facebook business pages to be connected
Step 1: Log in to Creator Studio
The first step is to log in to the Creator Studio account. Click on the "Create post" option and choose “Instagram Feed”, which will cover reels that are shorter than 60 seconds or “IG video” for Instagram videos that will be longer than 60 seconds.
Step 2: Customize Your Content
Luckily, you can customize your video to fit as a Reel. Also, remember to add a caption, emojis, hashtags, or SEO keywords to make it more visible and get more engagement.
Step 3: Schedule the Reel
Once done with the editing, save it as a draft so that it can be posted later.
4. Schedule Reels Using the Preview App
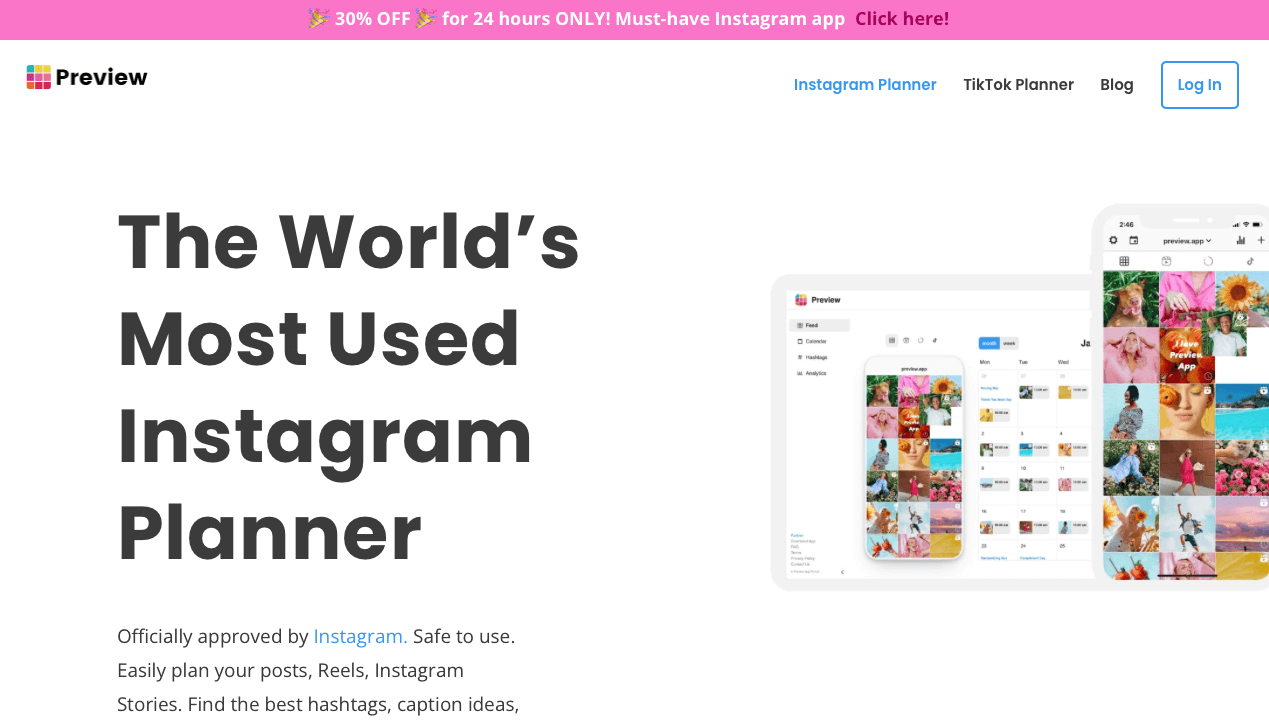
The Preview App is another Instagram Reels planner. It allows you to plan your feed, prepare captions, preview your reels, and change the cover images.
Step 1: Open the Preview App
First, you will need to open the Preview app and press on the Reels tab. Press the + button to upload videos.
Luckily, you can upload your reels from your phone, repost someone's reels, take videos, or upload a video. Rearrange the reels based on the order that you want.
Step 2: Modify the Instagram Reels Cover Image
Proceed on to modify the Instagram Reels cover image till you find the most preferred. You can choose a cover photo from the free photos option and use the beautiful photos or use the preview app filter to edit your cover photo.
Step 3: Write Your Caption and Hashtags
Proceed to write your caption and hashtags for the reels. You can research great captions that you can use for your reel. Also, explore the trending hashtags at the moment. Moreover, edit whether to show your reels in your Instagram feed.
Step 4: Scheduled the Instagram Reel Video
Proceed to schedule your Instagram Reels. First, turn on the "scheduled post" option. Next, choose a day and time when you would want to post it.
5. Schedule Instagram Reels Free on Planable
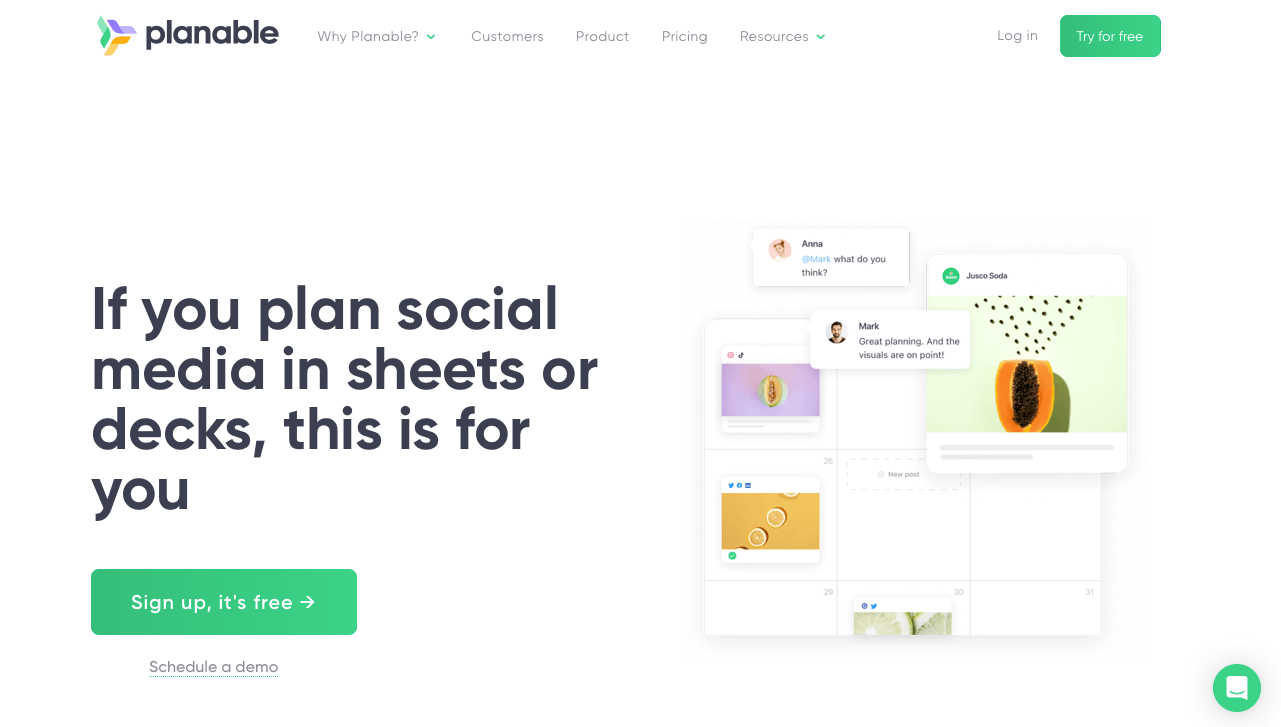
You can also use Planable to schedule Instagram Reels.
Step 1: Sign Up for Planable
Planable is a great platform for planning and scheduling social media content. You can do the scheduling so fast. First, log in to your account.
Step 2: Connect Your Instagram Profile
Connect your Instagram account to Planable. Proceed on to click “compose from”. On your workspace, select the Instagram tab and open the reels section.
Step 3: Upload Your Video
Either upload your video or choose from the media library. Edit the reel as you wish and add captions, hashtags, keywords, and much more.
Step 4: Schedule the Time
Proceed to select the date and time the Reel will go live and save the settings from your Instagram page within Planable.
That’s it.
What’s the Best Time to Schedule Instagram Reels for Free?
If you want to capture your audience's attention, try and schedule reels to be posted when they are most active. Therefore, based on your audience, check when they mostly like or comment on your posts.
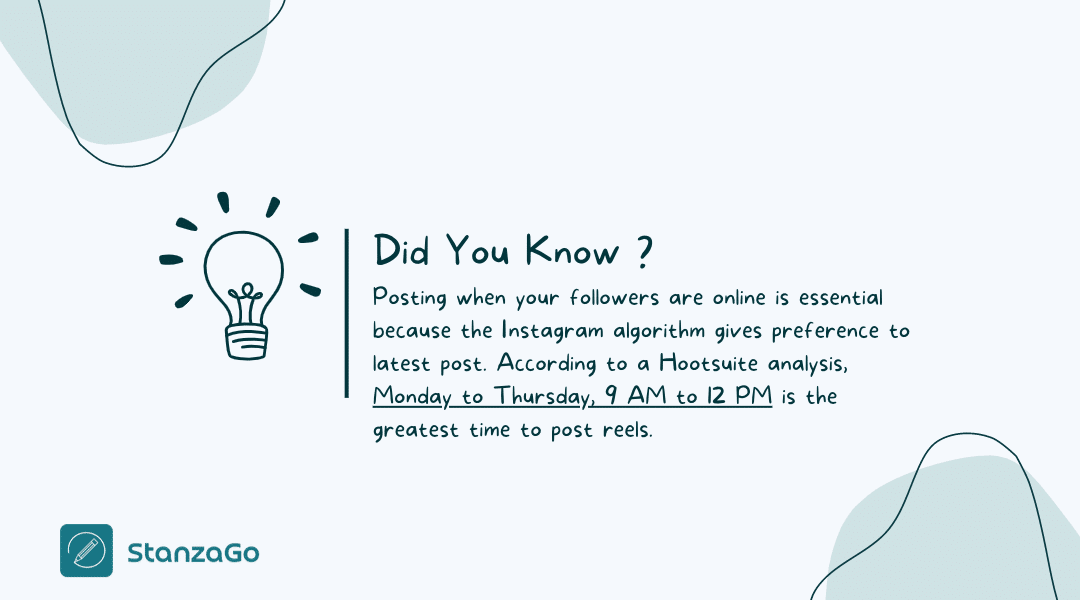
That's when they are most active. Make it a routine to post during those hours.
Why Do You Need to Schedule Reels on Instagram?
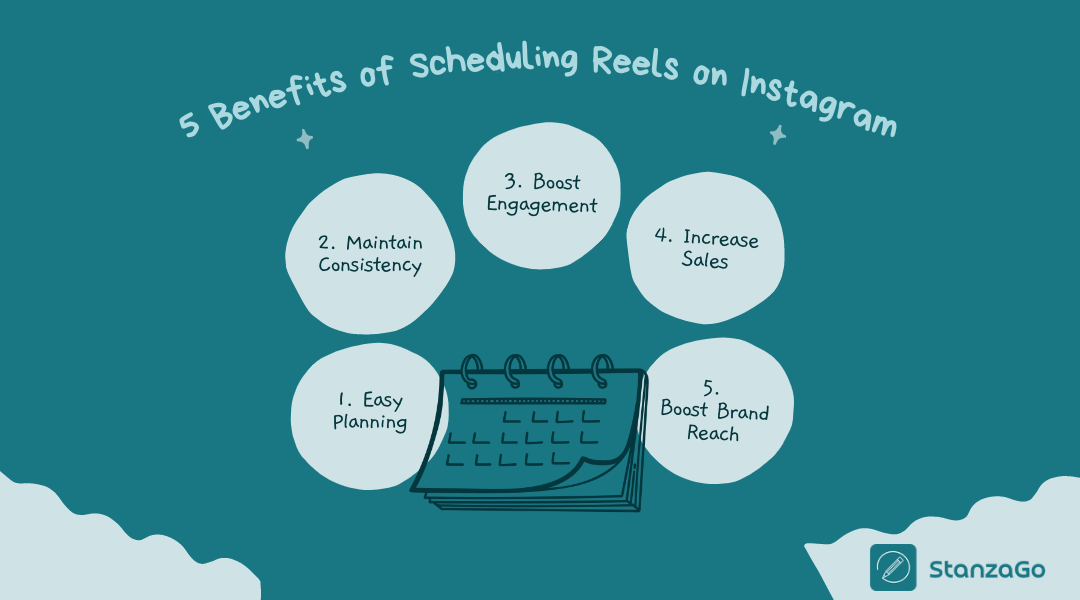
1. Easy Planning
Through scheduling reels on Instagram, it becomes easier to plan your content. Therefore, if you schedule reels during the weekend, you are assured that each day, a reel will be posted automatically.
You won't have to strain on how to record, edit and post the Instagram Reels. Planning reduces the last-minute rush to post, especially if it is for your brand.
Planning also makes you more intentional with your content to increase engagement rates. Therefore, if it is a brand, it will lead to more sales.
2. Maintain Consistency
If you use your Instagram account for business or influencer marketing, then consistency is key. Therefore, post high-quality reels often without compromising on quality.
The reels should have a consistent look and feel, but shouldn't look off. However, don't make them too uniform. Use your creativity to create amazing reels that people will share and engage with.
The comments or feedback you get from your followers are really important.
3. Boost Engagement
If you are into influencer marketing, you surely know that if you stay long without posting, your followers might start unfollowing or start asking what's up. Therefore, through scheduling reels, regardless of how busy you are, you can always keep your audience engaged and entertained.
Scheduling reels can be useful for content creators, musicians, and other brands. People love being fed content often.
Additionally, if you post regularly, it can increase your number of followers.
4. Increase Sales
Most people tend to buy products after watching reels or videos on how to use the items. Therefore, if you are serious about social media marketing, you need to learn how to schedule reels.
The videos or reels make it easier to show how to use certain products or access certain services. People are often convinced by visuals rather than just words.
Additionally, it helps to boost team collaboration since no one will be overwhelmed by when to post. You can plan and know when the best time is to post without putting too much pressure on one person.
FAQs - Frequently Asked Questions
1. How to schedule Instagram Reels for free?
You can use Meta Business Suite to schedule your reels for free.
2. Can I post a Reel at any time?
Yes, you can, but experts suggest posting reels when your audience is more active so that your reel can get better views and go viral.
3. Is Instagram allowing longer reels?
Yes, now, videos longer than 90 seconds are also considered as reels.
4. How to bulk schedule Reels on Instagram?
Utilize tools like Later or Hootsuite to schedule Instagram reels in bulk. You have to select multiple videos that you want to post as reels. Then, upload them to one of these platforms and choose your preferred date and time for publication.
5. Why are Reels only 90 seconds?
Previously, Instagram had a limit on Reels. Videos that were 90 seconds only qualified as Reels. But videos even longer than that also come under Reels. The 90-second duration limit was to keep content short, considering the low attention span of users these days.
Schedule Reels for Later
With a busy schedule, it can be hard to post often on social media. Therefore, you can consider scheduling reels for later. You can use Later, Creator Studio, Planable, preview app, or Hootsuite. They all come with different capabilities; therefore, make a wise choice.
Also, if you want to have a great social media presence, ensure you engage with your audience often, and this will also help increase your number of followers.