You can add an Elementor image magnifier using a plugin or code. If you are running an artwork website, portfolio website, gallery preview, e-commerce site, blog, or business, having the image zoom in and zoom out option is essential.
Many website users will appreciate being able to check an image thoroughly without a problem.
Moreover, ensure your pictures have high-quality resolution so that, even with the zoom functionality, users can see well.
Websites should also be responsive on the desktop, mobile phone, or tablet to ensure they can easily accommodate high zoom levels. Image clarity and quality can help reduce bounce rates and increase retention rates on your website.
Ideally, it can lead to the conversion of potential buyers to customers.
In this article, we will provide more information on how to add an image magnifier in Elementor with and without a plugin and why to use the Image Zoom Elementor Widget.

Technical Writing Service
Simplify Onboarding With Clear Documentation
- Well-structured user guides & API docs
- Custom graphics for better understanding
- Video tutorials & knowledge base setup
How to Magnify an Image in Elementor (2 Easy Methods)
You can add an Elementor image magnifier and apply the magnifying effect to images in two ways.
- Using a plugin
- Using a custom code
We will discuss both ways so that you can access this feature according to your feasibility and ensure all the images on your Elementor website can have the image zoom in on hover effect for easy viewing.
If you’re ready, let’s get started with method 1, which is adding Elementor Image Magnifier using a plugin.
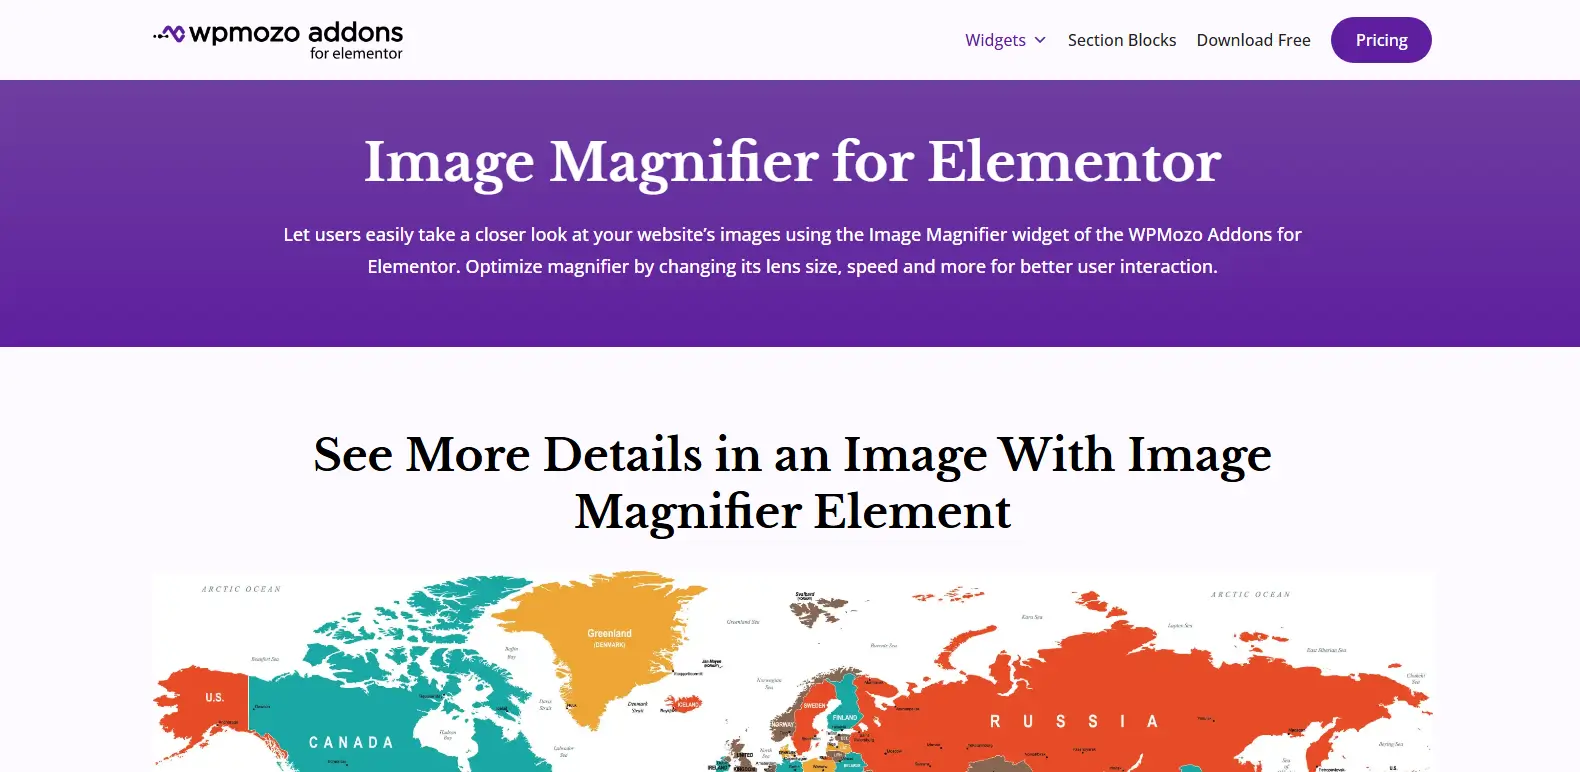
Method 1: Use the WPMozo Elementor Image Magnifier Widget
The Elementor Image Magnifier widget we will use is part of the free version of WPMozo Addons for Elementor plugin.
It’s a powerful and multi-widget Elementor plugin using which you can create different kinds of webpage elements. With this plugin, you get over 55+ widgets and prebuilt free design sections that will help make your website more interactive.
The widget, Image Maginifer, we will use is an intuitive and highly customizable Elementor widget for applying the magnifying effect on images. It allows you to change the size of the image magnifier lens, enlarge, change border size, color, and much more.
After adding images using this widget, you won’t need any other image zoom Elementor widget, this single widget will be enough for you.
Let’s see how we can do our job and create images with zoom in and out on hover effect.
Step 1: Install the WPMozo Addons for Elementor
First, you will need to download the WPMozo Addons for Elementor plugin, which features the Image Magnifier and other widgets.
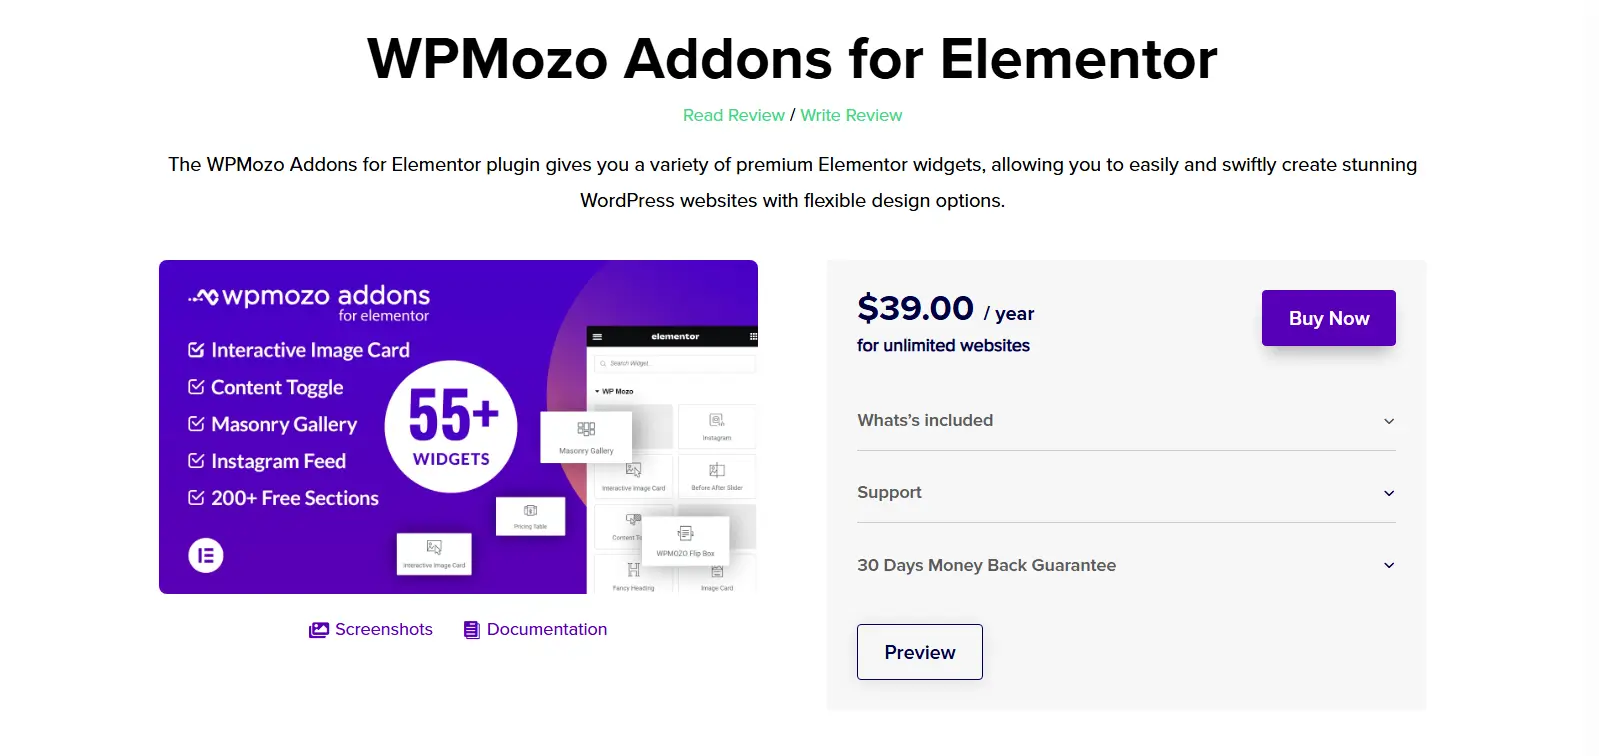
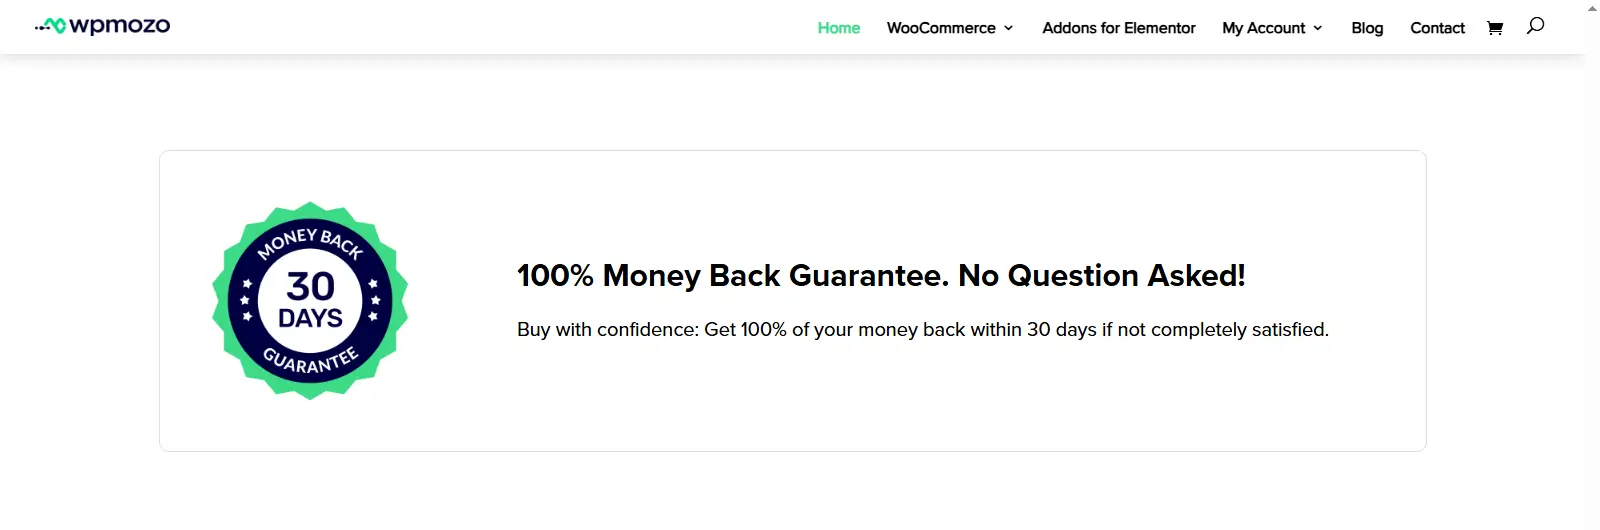
WPMozo provides multiple licenses for this Elementor plugin. Choose what’s right for you without any stress as they also offer a 30-money back guarantee and with a dedicated team of support agents.
The plugin also comes with frequent updates, which means that, with time, you can expect more features and resources to utilize. So, overall, by choosing it for the Elementor Image Magfniferi widget, you are choosing a good future for your website.
So, get the license based on your requirements and then download the package.
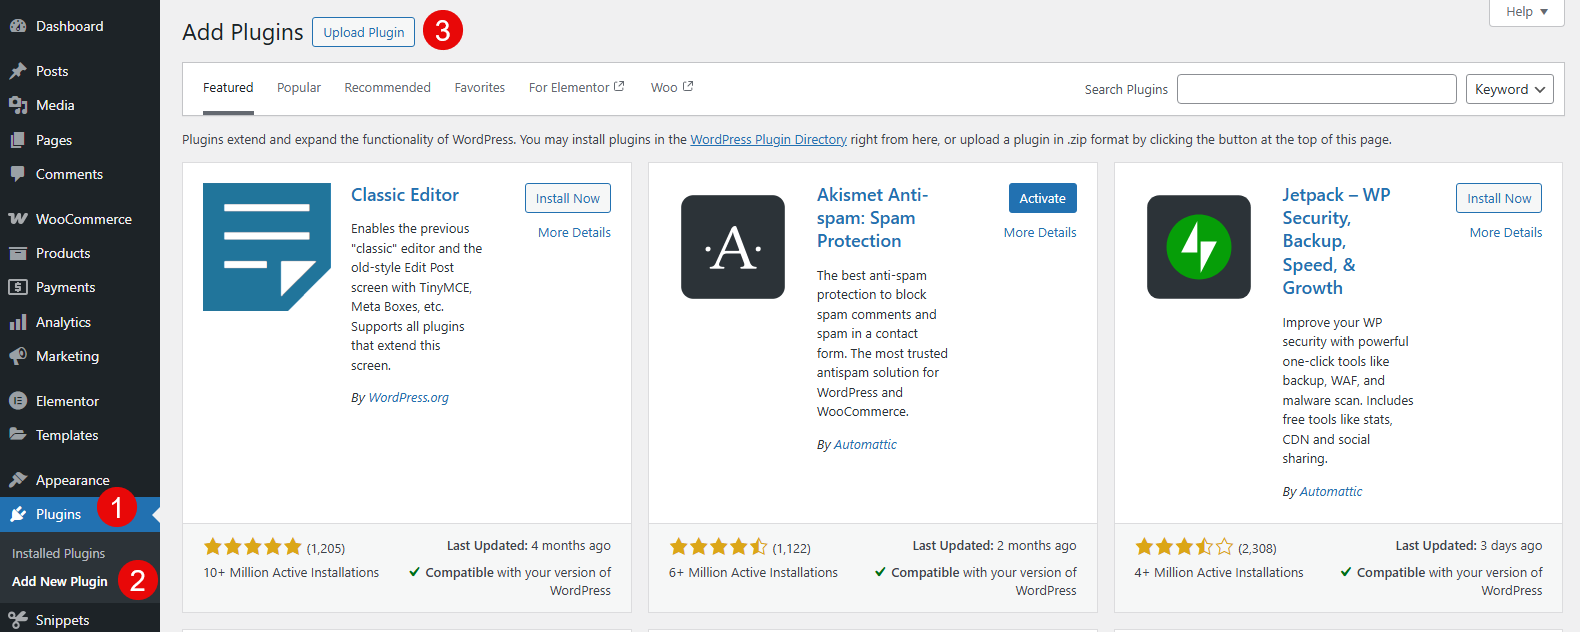
Now, log in to your WordPress Dashboard. Go to Plugins → Add New Plugin → Upload Plugin and add the WPMozo Addons for Elementor file.
Once installed and activated, the plugin will appear on the sidebar menu.
Our job isn’t done yet; we need to activate the widget first. Therefore, move to the next step.
Step 2: Activate the Elementor Image Magnifier Widget
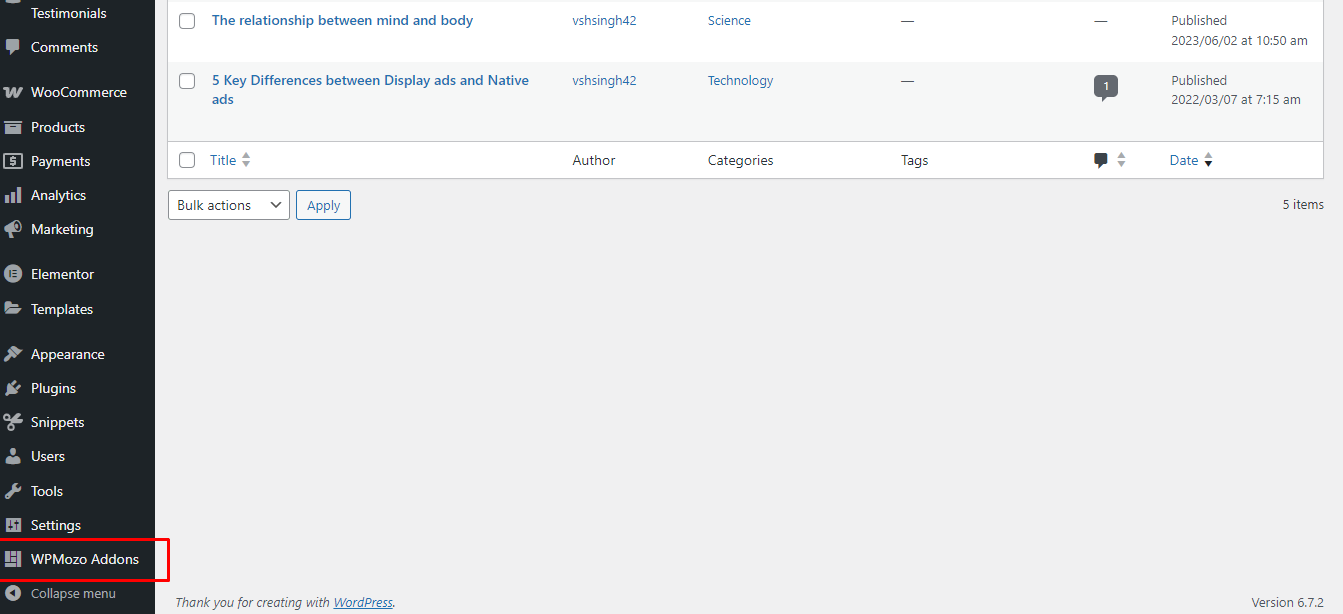
Proceed to click on the WPMozo Addons menu option in the WordPress sidebar.
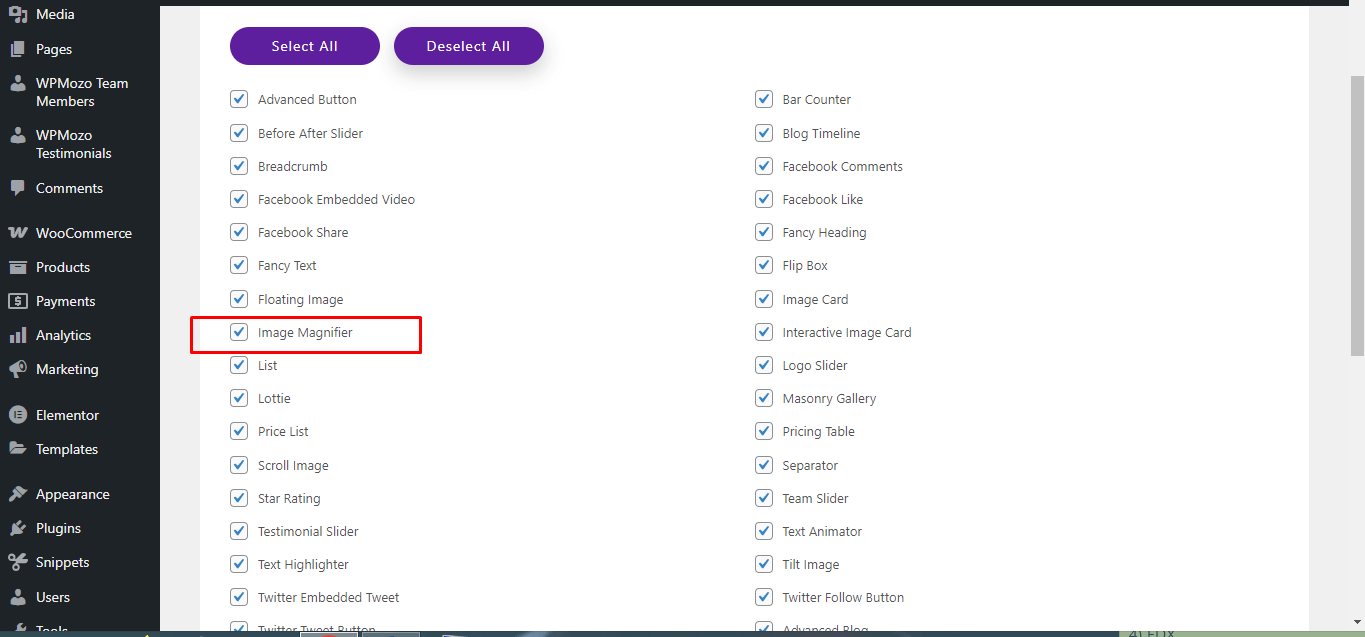
Select all the widgets you want to use at the moment and deselect the ones you don’t want to use.
Make sure the Image Magnifier widget is selected.
Step 3: Create a New Page/Post or Edit an Existing
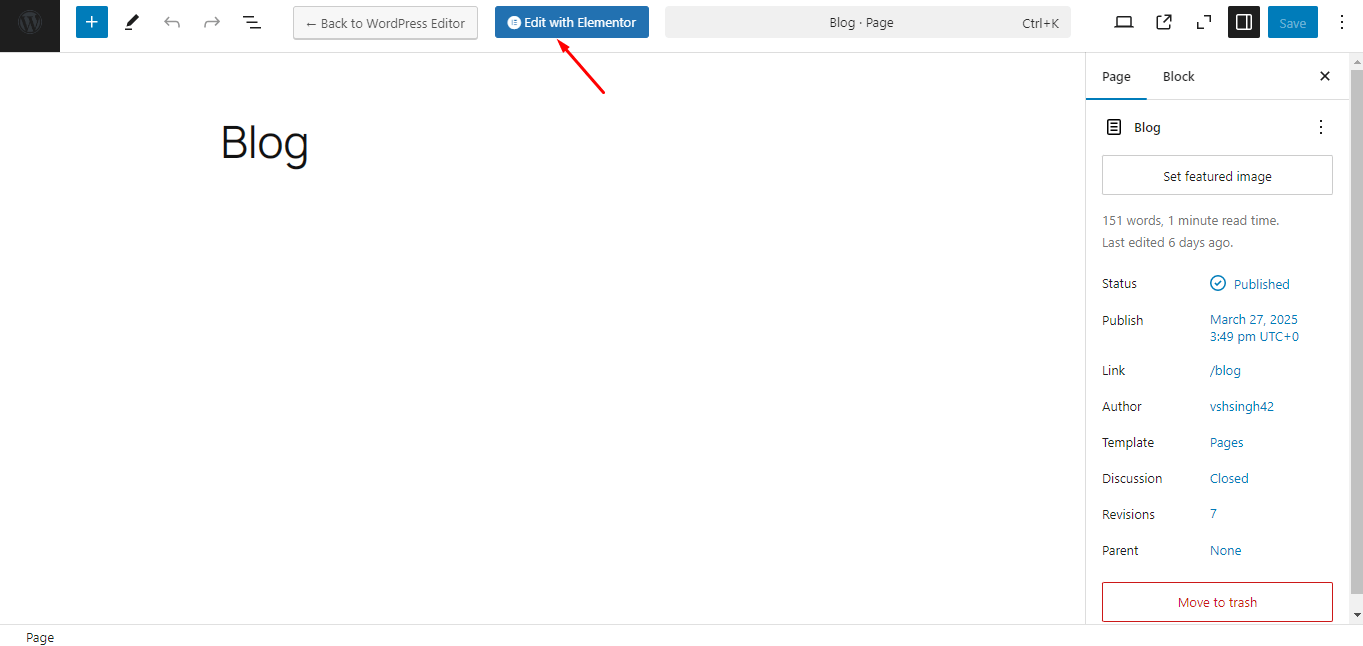
Proceed to select the page or post where you want to display images with the magnifying effect added using the Image Magnifier widget.
Once you are redirected to the page, on the topbar menu, click on Edit with Elementor.
Step 4: Add the Elementor Image Magnifier Widget by WPMozo
Once the Elementor page builder has been loaded, go to the Widgets section on the left and search for Image Magnifier.
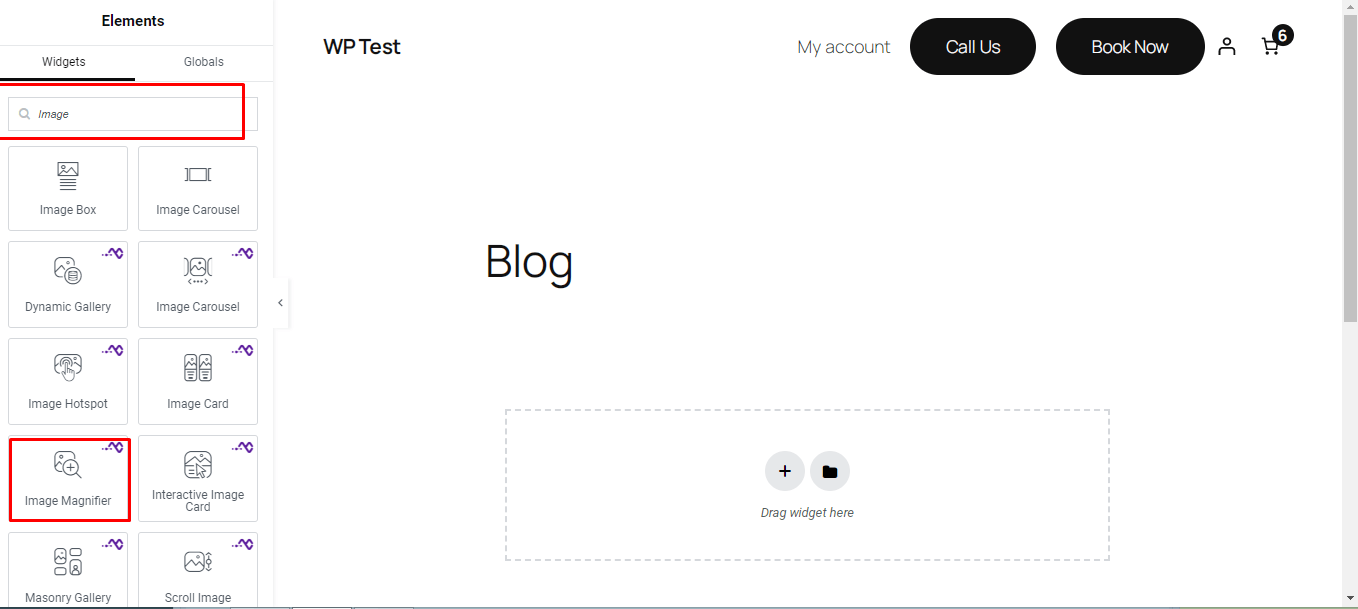
Alternatively, you can scroll down to the WPMozo section and find your image zoom Elementor widget: Image Magnifier.
Simply click on it to add it to the page.
Step 5: Add an Image or Modify the Present Image
First, you will need to add an image from your media library or upload from your local storage and use the image magnifier widget on it.
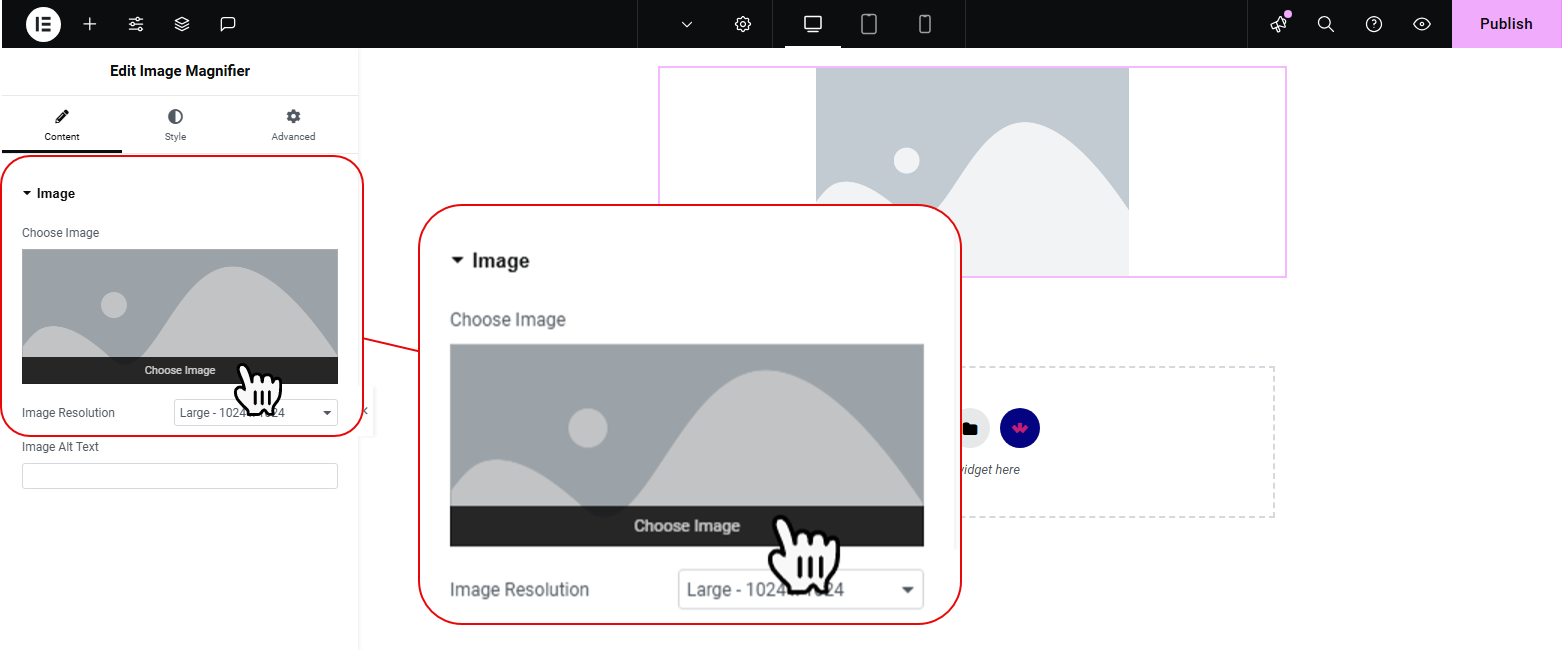
To do that, access Content → Image and choose the image already available in the media library or upload a new one.
You also get a chance to change the image resolution based on the size of the image that you want: thumbnail, medium, medium-large, large, etc.
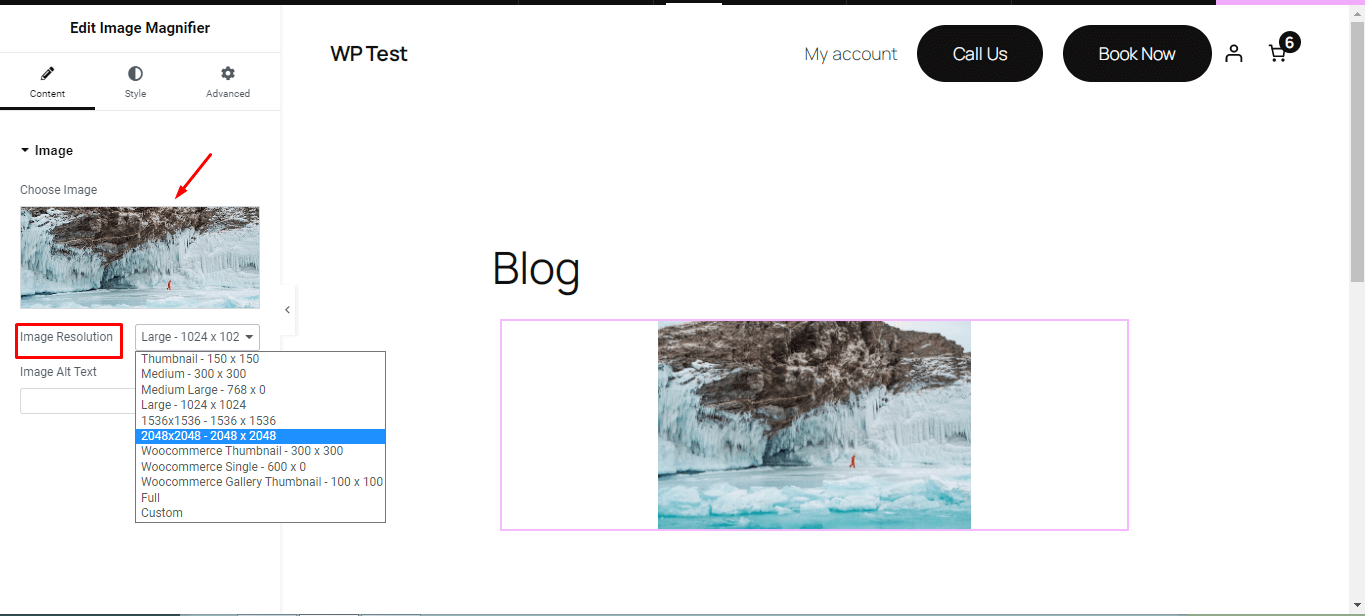
You can also add an alternative text; in case the image takes long to load, the text can be displayed.
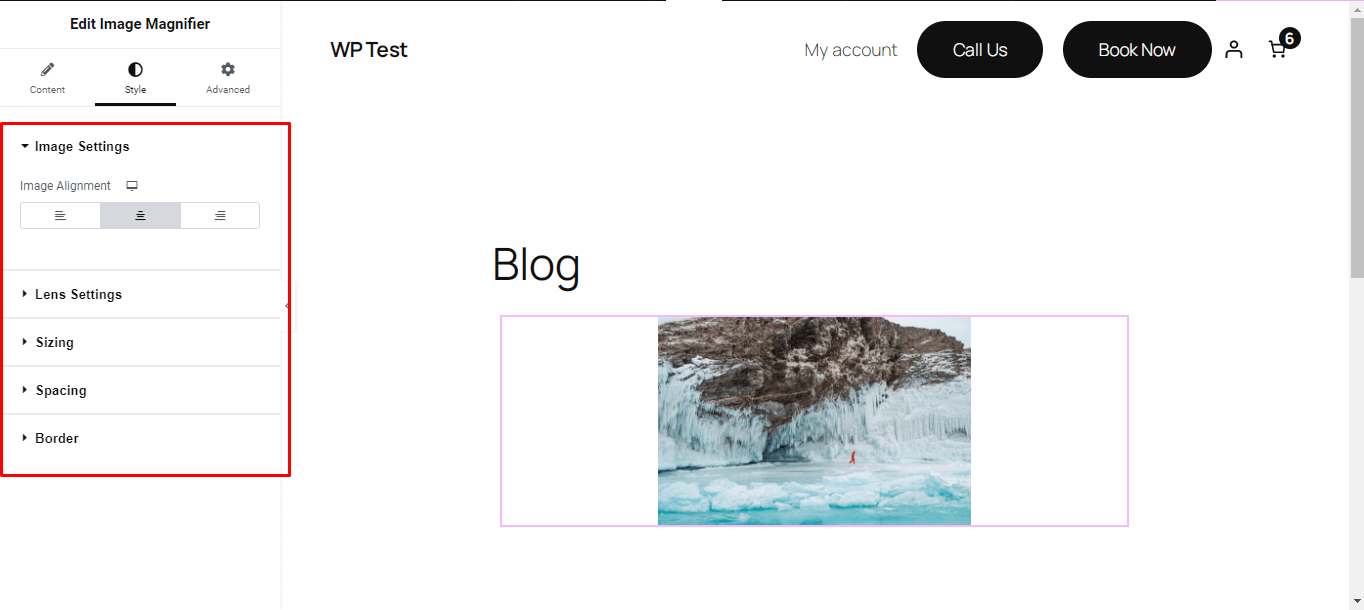
Step 6: Modify the Image and Magnifier Style
The next step is to modify the image and the magnifier style.
i) Image Settings – These settings allow you to change the image alignment to be left, right or center.
ii) Lens Settings – Through the lens settings you can change the lens width, transition speed, border width, and border color.

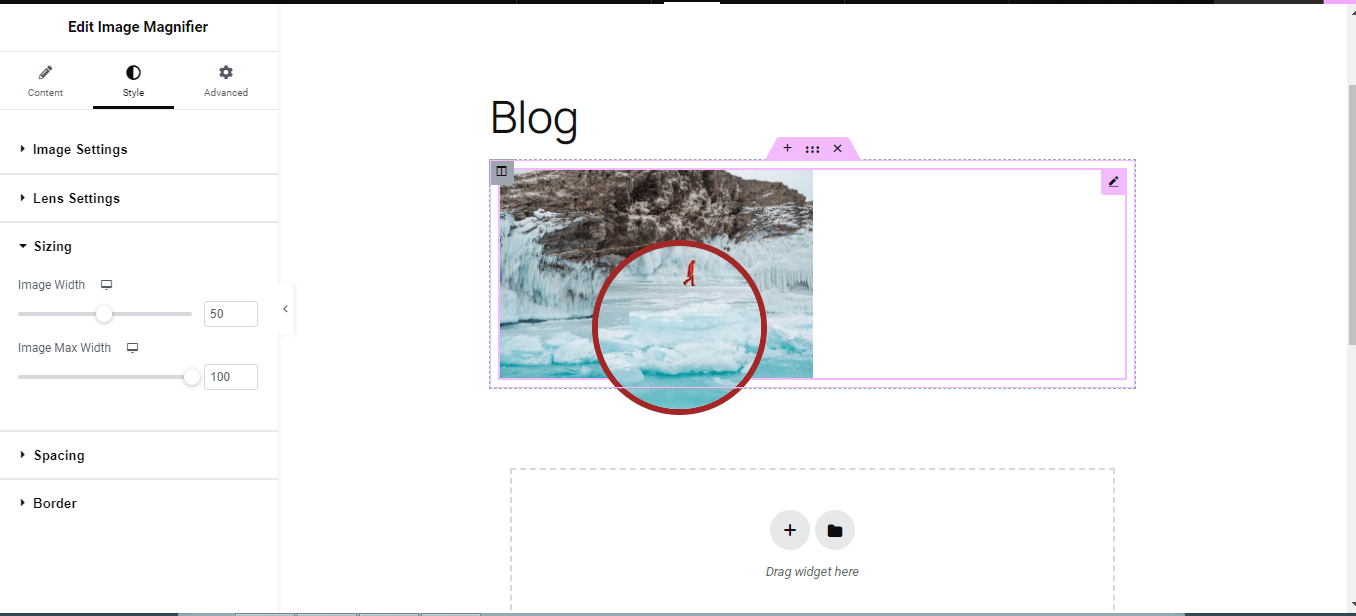
iii) Sizing – Proceed to now change the Image Size in terms of width and maximum width. You can leave the default options or modify them.
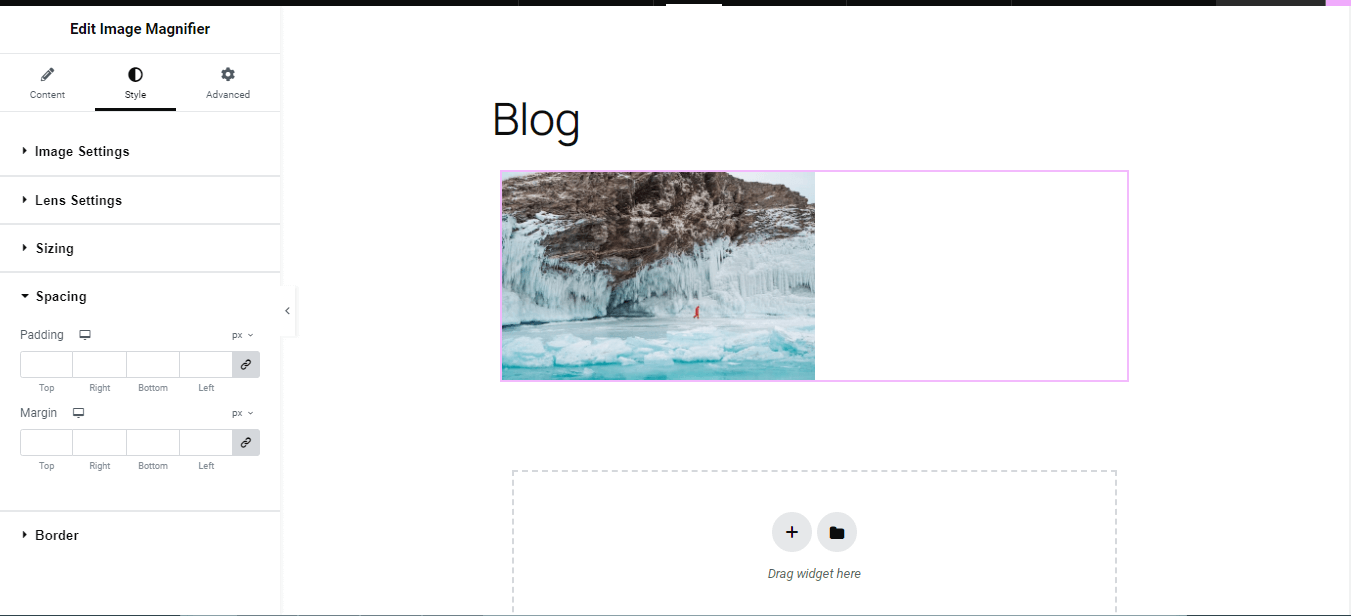
iv) Spacing – Proceed to modify the image spacing in terms of padding and margin. This allows you to change the space above, below, or on the sides of the image.
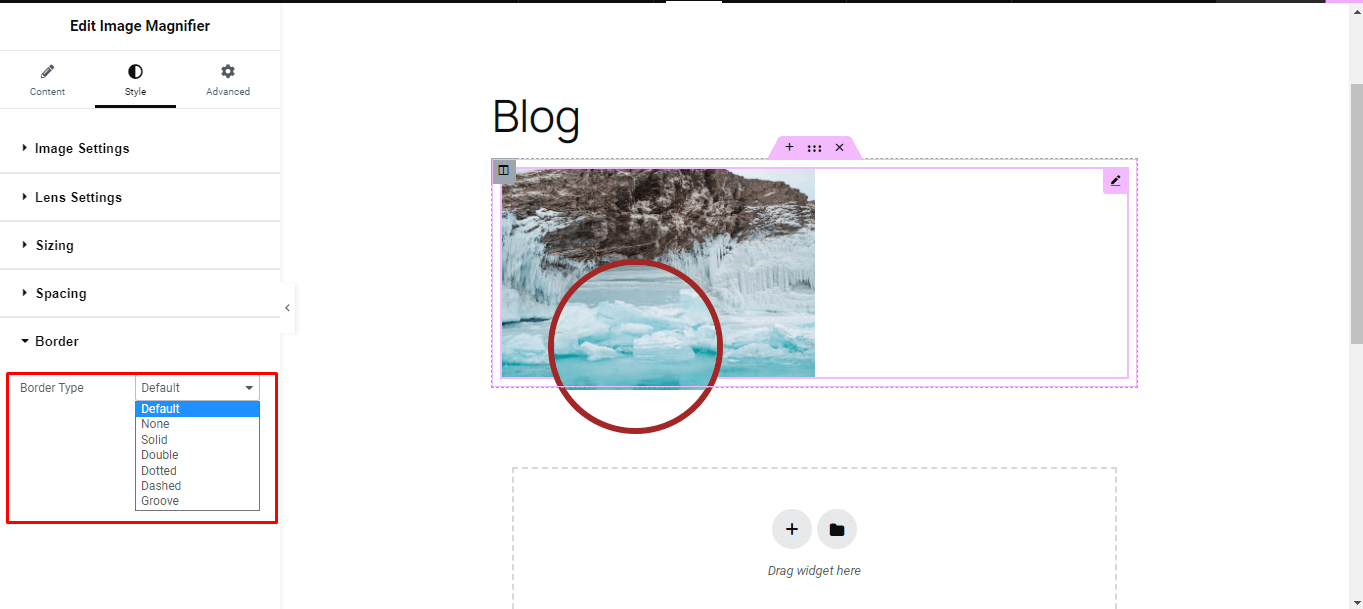
v) Border – This allows you to change the image’s border type, border width, and color.
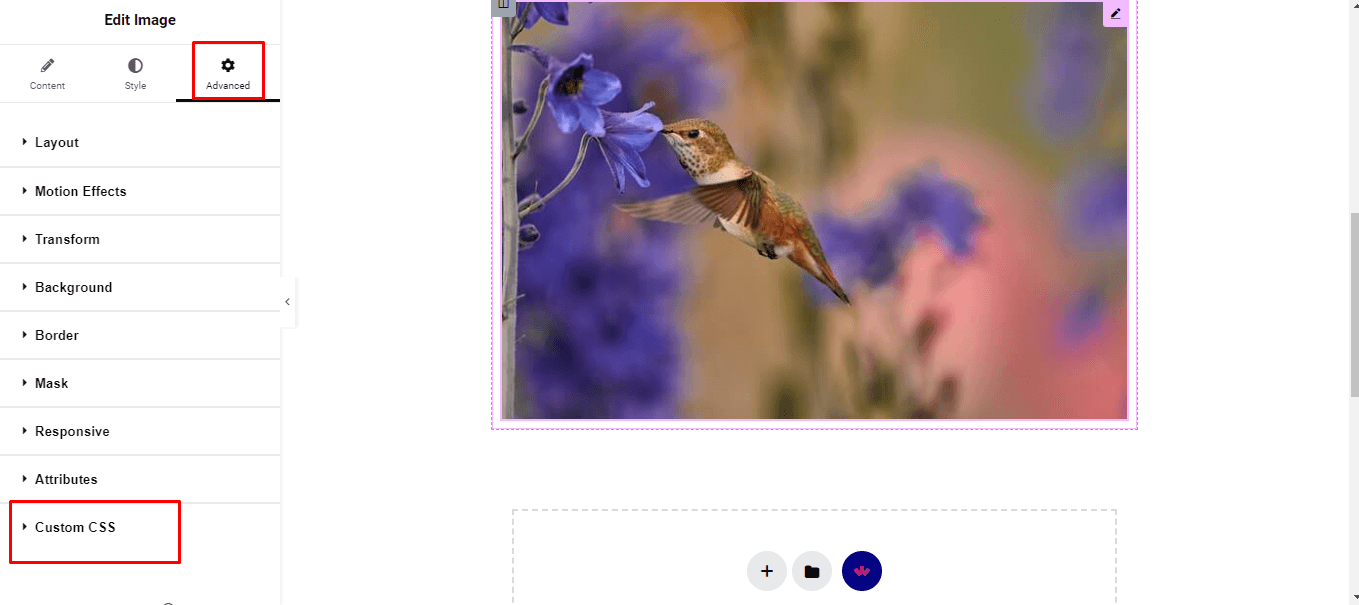
Step 7: Modify the Advanced Settings of the Elementor Image Magnifier
In the Advanced Settings, you will get a chance to modify the layout, motion effects, transform, background, border, mask, responsiveness, attributes and custom CSS.

i) Layout – The layout option allows you to change the margin size, padding size, width, column span, row span, position, z-index, CSS ID, and CSS index.
ii) Motion Effects – Through this option, you can modify the motion effects. However, for some options, you will need to pay for a premium subscription. It also allows you to change how the image magnifier will appear.
iii) Transform – Through the transform option you can modify the transformation effects like rotation, offsetting, scaling, skewing, flipping horizontally or flipping vertically either on the normal or hover option.
iv) Border and Background – You can also change the background type, color of the image, border type, radius, and box shadow.
v) Mask – The next step will be to modify the image to look more presentable. You can either enable or disable the mask capability, change the shape, size, and position. Indeed, you have full control to choose how the image should look.
vi) Responsive Nature of the Image – You can choose whether to hide on desktop, tablet portrait, or mobile portrait.
Step 8: Preview Your Image Using the Image Magnifier.
Save the page by clicking the Publish option, and then preview it to see it.
You can magnify the image as you wish and see even the finest of details. Below is the working example Elementor image zoom-in on hover effect.
That’s it, we have successfully used the Elementor Image Maginifier widget by WPMozo and applied the magnifying effect on the image. Likewise, you can do that same with other images on the website.
Method 2: How to Magnify an Image in Elementor Using Code
You can also apply the magnifying effect on Elementor using code. Below are the steps:
Step 1: Access Your WordPress Site
First, access your WordPress website, and click on a page or post of your choice. When the page opens, click on the Edit with Elementor option. On the sidebar, search for the image widget and add an image to your page from the media library or upload from your local storage.
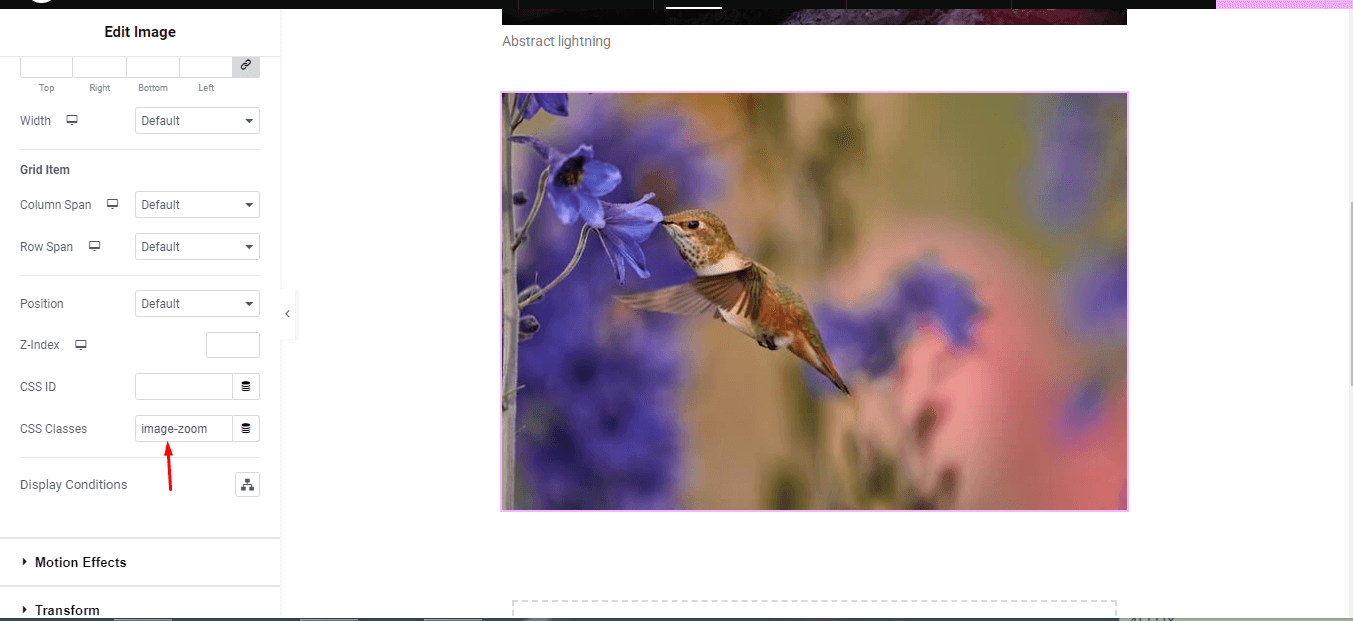
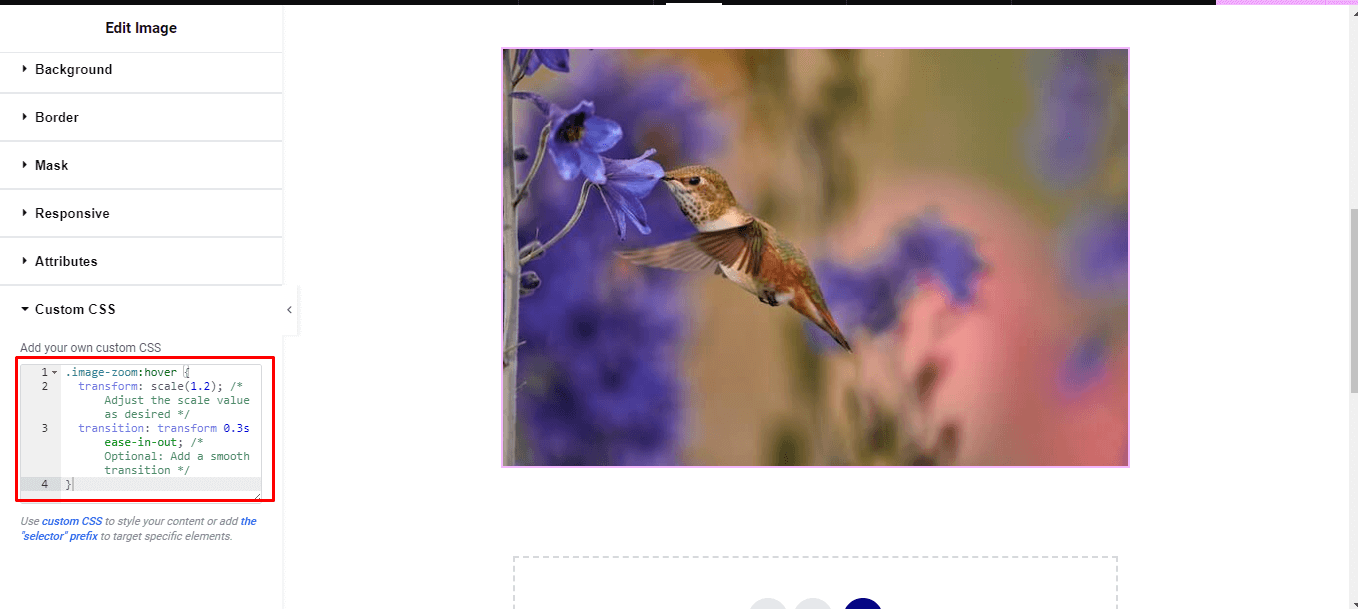
Step 2: Click on the Advanced Settings Tab
Click on the image, then proceed to select the Advanced Settings option. While on the layout option, on the CSS classes input box, type in image-zoom.
Step 3: Select the Custom CSS Option
Scroll down and select the Custom CSS option and add custom code that will allow the image to be easily zoomed in and out.
Code Example:
.image-zoom:hover {
  transform: scale(1.2); /* Adjust the scale value as desired */
  transition: transform 0.3s ease-in-out; /* Optional: Add a smooth transition */
}
Step 4: Text the Zoom Effect
Save the changes or publish the page/post, then preview the page to see whether when you hover, the image zooms in and out. You can use a wide variety of codes based on the capability you want to add.
That’s how you can use a plugin or code to add an image magifier in Elementor.
Importance of Using the Image Zoom Elementor Widget
There are various reasons why you need to use an image zoom Elementor widget to make photos more visible.
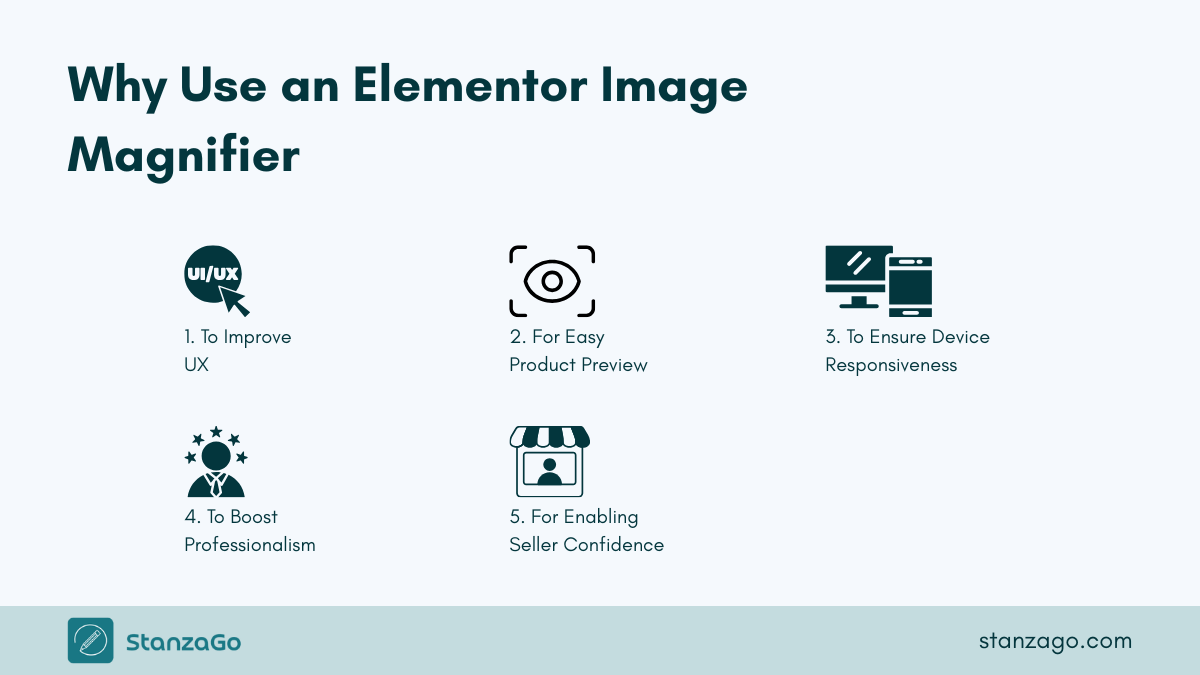
1. Improve User Experience
Allowing users to be able to zoom in and out of an image makes it easy for them to see the photo, artwork or product well. Therefore, they can decide to make the purchase or even understand documents easily.
Therefore, website users will be able to interact with images well. Also, those with visual impairments will be able to easily enlarge images for better readability.
2. Easy Preview of Product Images
If you are running an online store, potential buyers or website viewers must be able to zoom items on your site easily. This will help them make an informed decision. Moreover, the zoom effect helps to build trust and confidence in the product’s quality. Therefore, consider using the Image Zoom Elementor Widget to improve product visibility.
3. Support Multiple Devices
Since screen sizes are a bit limited on some devices, having the zoom effect makes it easy for those using mobile devices or tablets to see images better. Therefore, ease in navigation. Making it easy for users to interact with content can even improve retention rates and reduce bounce rates.
4. Boost Professionalism
If images can be zoomed, it also makes the website look more modern and even easy to pay attention to detail, therefore creating more user satisfaction. Also, it will be easy for users to make informed decisions, therefore, an increase in sales and lower item return rates.
5. Boost Seller’s Confidence
By allowing customers to easily zoom product images, it makes them trust your website more and have confidence in what you are offering, whether they are new or used products. A reduction in bounce rates means more retention of customers.
Conclusion
The methods we discussed above to add magnifying effect on your images, help your website to look more stylish, professional, modern, and easily-accessible. Not only the average person, but people with impairments will find it easy to see what they want, without struggling too much.
Using the Image Magnifier widget by WPMozo, it will be easier for you to add the zoom in and out effect.
Therefore, if you are a developer or website owner who wants to prepare the effect quickly and efficiently, it’s the tool you can have in your toolbox. Because when you go to get the widget, you get more widgets and other useful resources with WPMozo Addons for Elementor.
Now, go and try it on your website and let us know what your experience was using it.
FAQs – Frequently Asked Questions
Below are some of the general questions you might have in your mind and want to discuss. Let’s have a look at them as well.
1. Is it free to add an image magnifier in Elementor?
Yes, most plugins like WPMozo provide you with a free solution to create your image magnifier. However, with the premium feature, you get more options and dedicated support from the developer.
Therefore, it’s recommended that you choose the premium version.
2. Is it important to be able to zoom images on a website?
Whether it is important or not to add a zoom effect on the website, you should add it based on the requirement. If the project requires it, you should. The plus point here is that, it gives users a better experience and ease to see finer details of the images.
3. What is image magnification?
Image magnification is the process of making an image larger than its actual size and see more details.
4. What are the different user cases of the image magnifier in Elementor?
It helps potential buyers to see product images better, users to examine documents with finer details, easily zoom images for retouch or editing, improve accessibility, especially for the visually impaired, and enhance general user experience.
5. What are some good practices to ensure images are easy to zoom on websites?
The images need to be high resolution, responsive website layout that can accommodate high zoom levels, fast image load, and have alternative text.
Technical Writing Service
Simplify Onboarding With Clear Documentation
- Well-structured user guides & API docs
- Custom graphics for better understanding
- Video tutorials & knowledge base setup